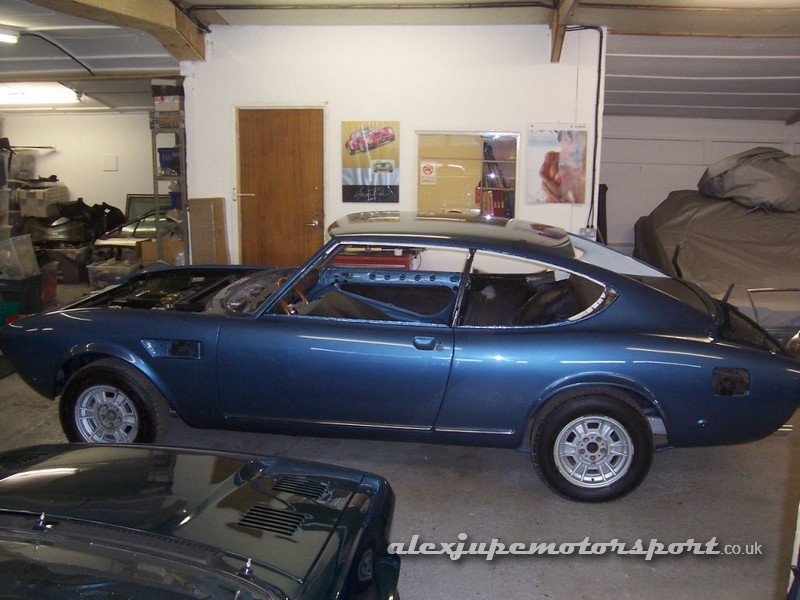
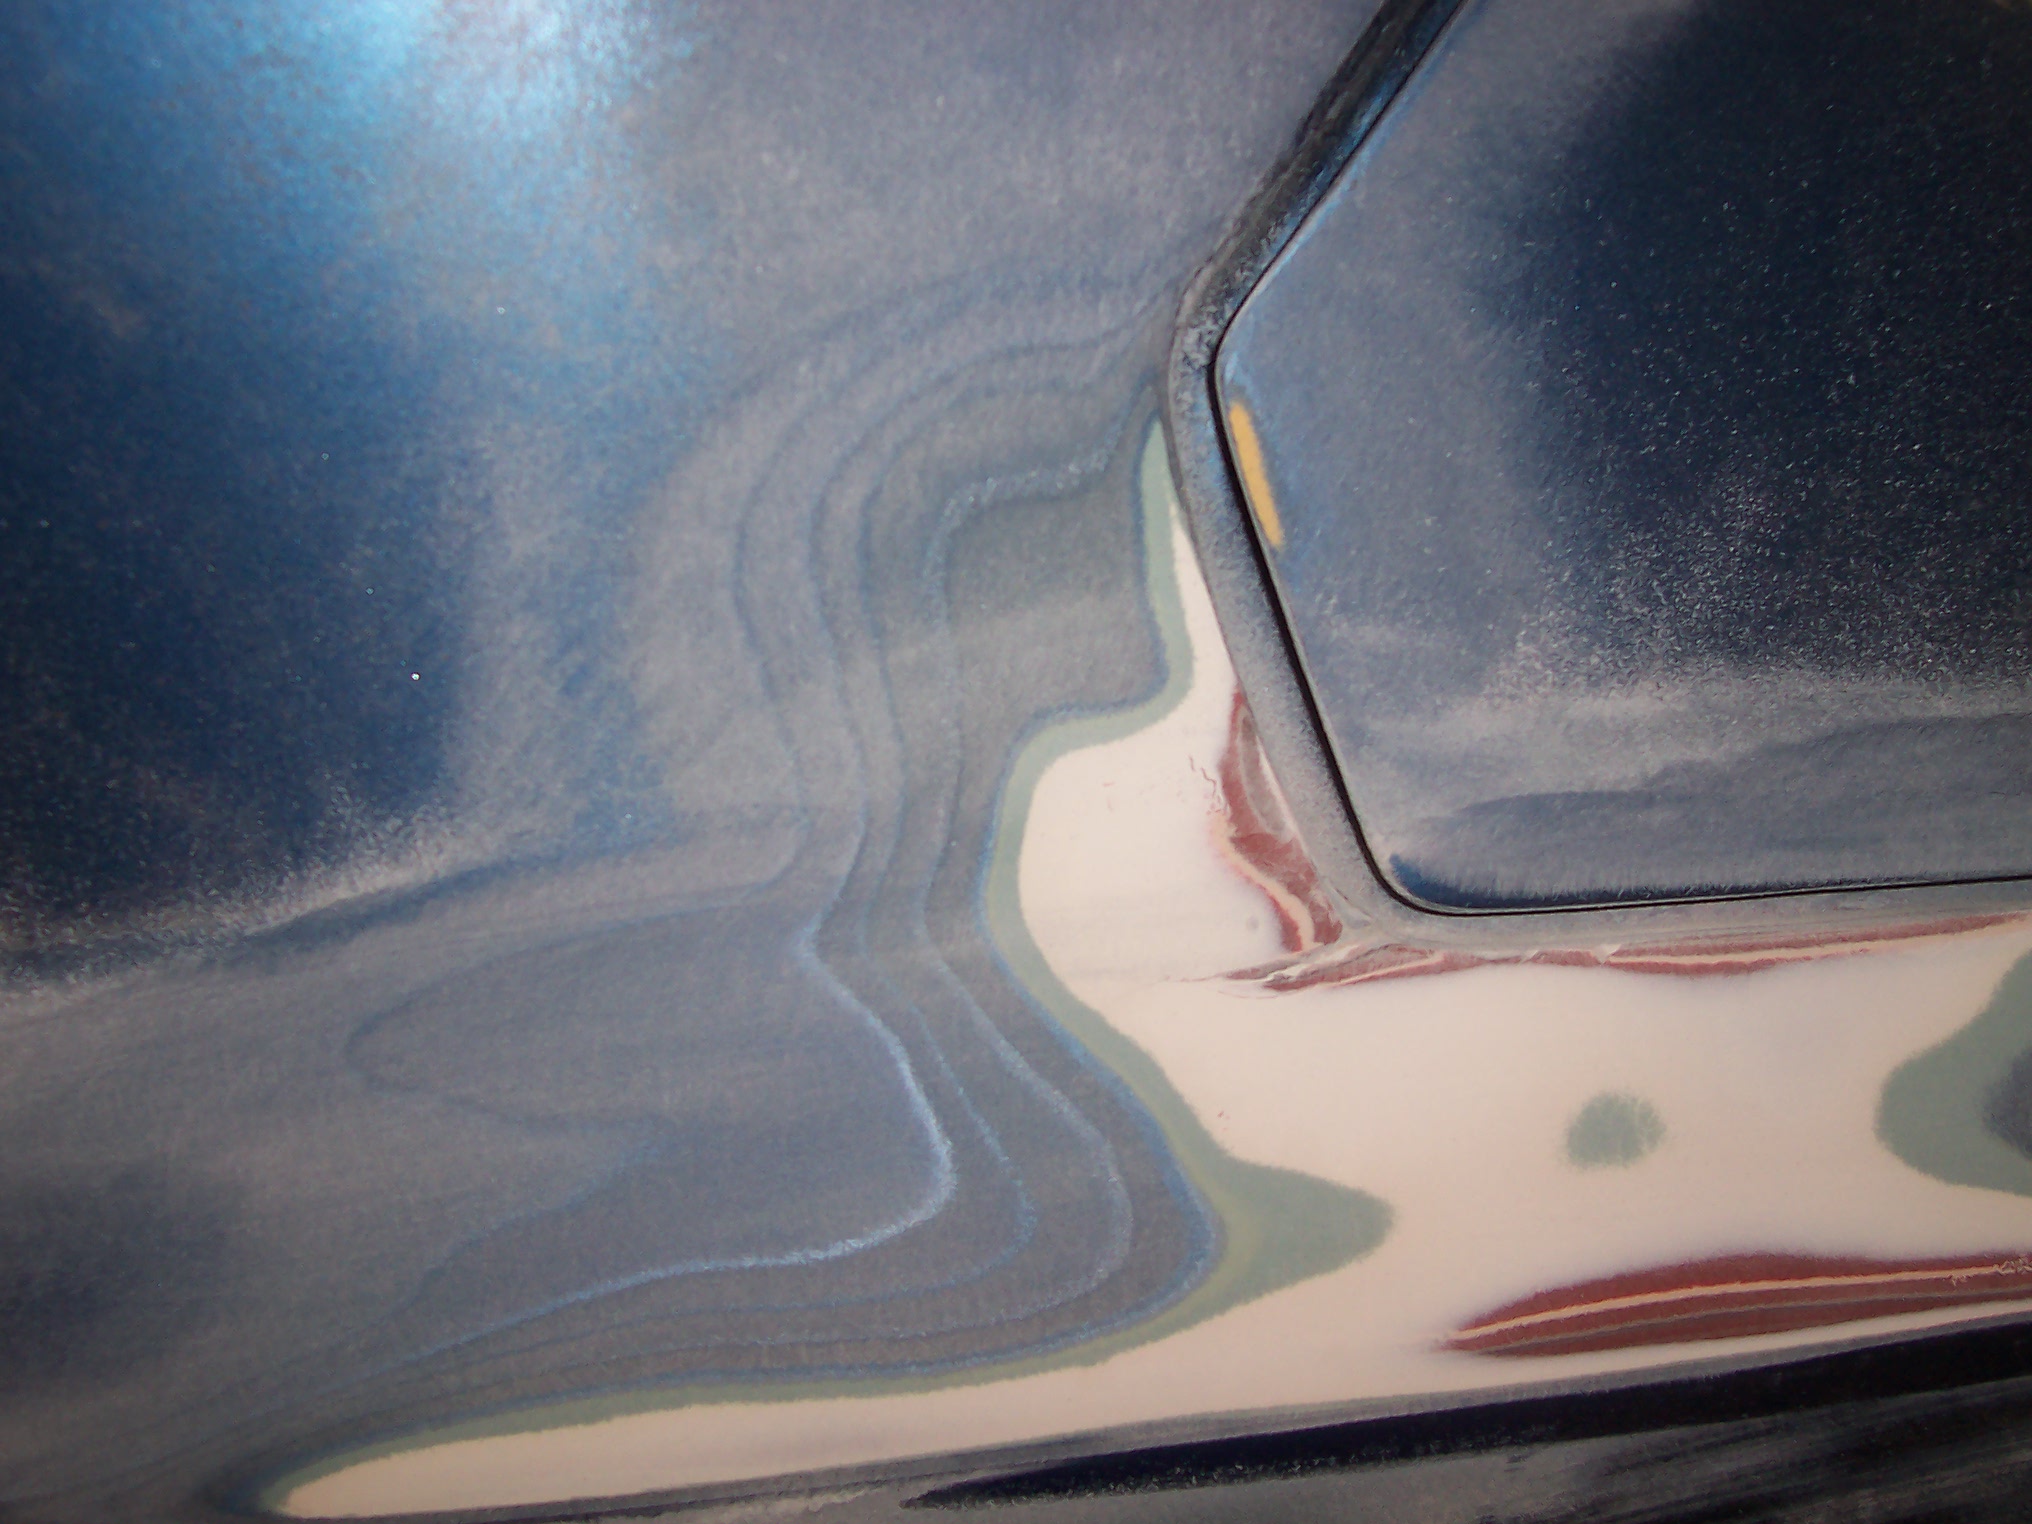
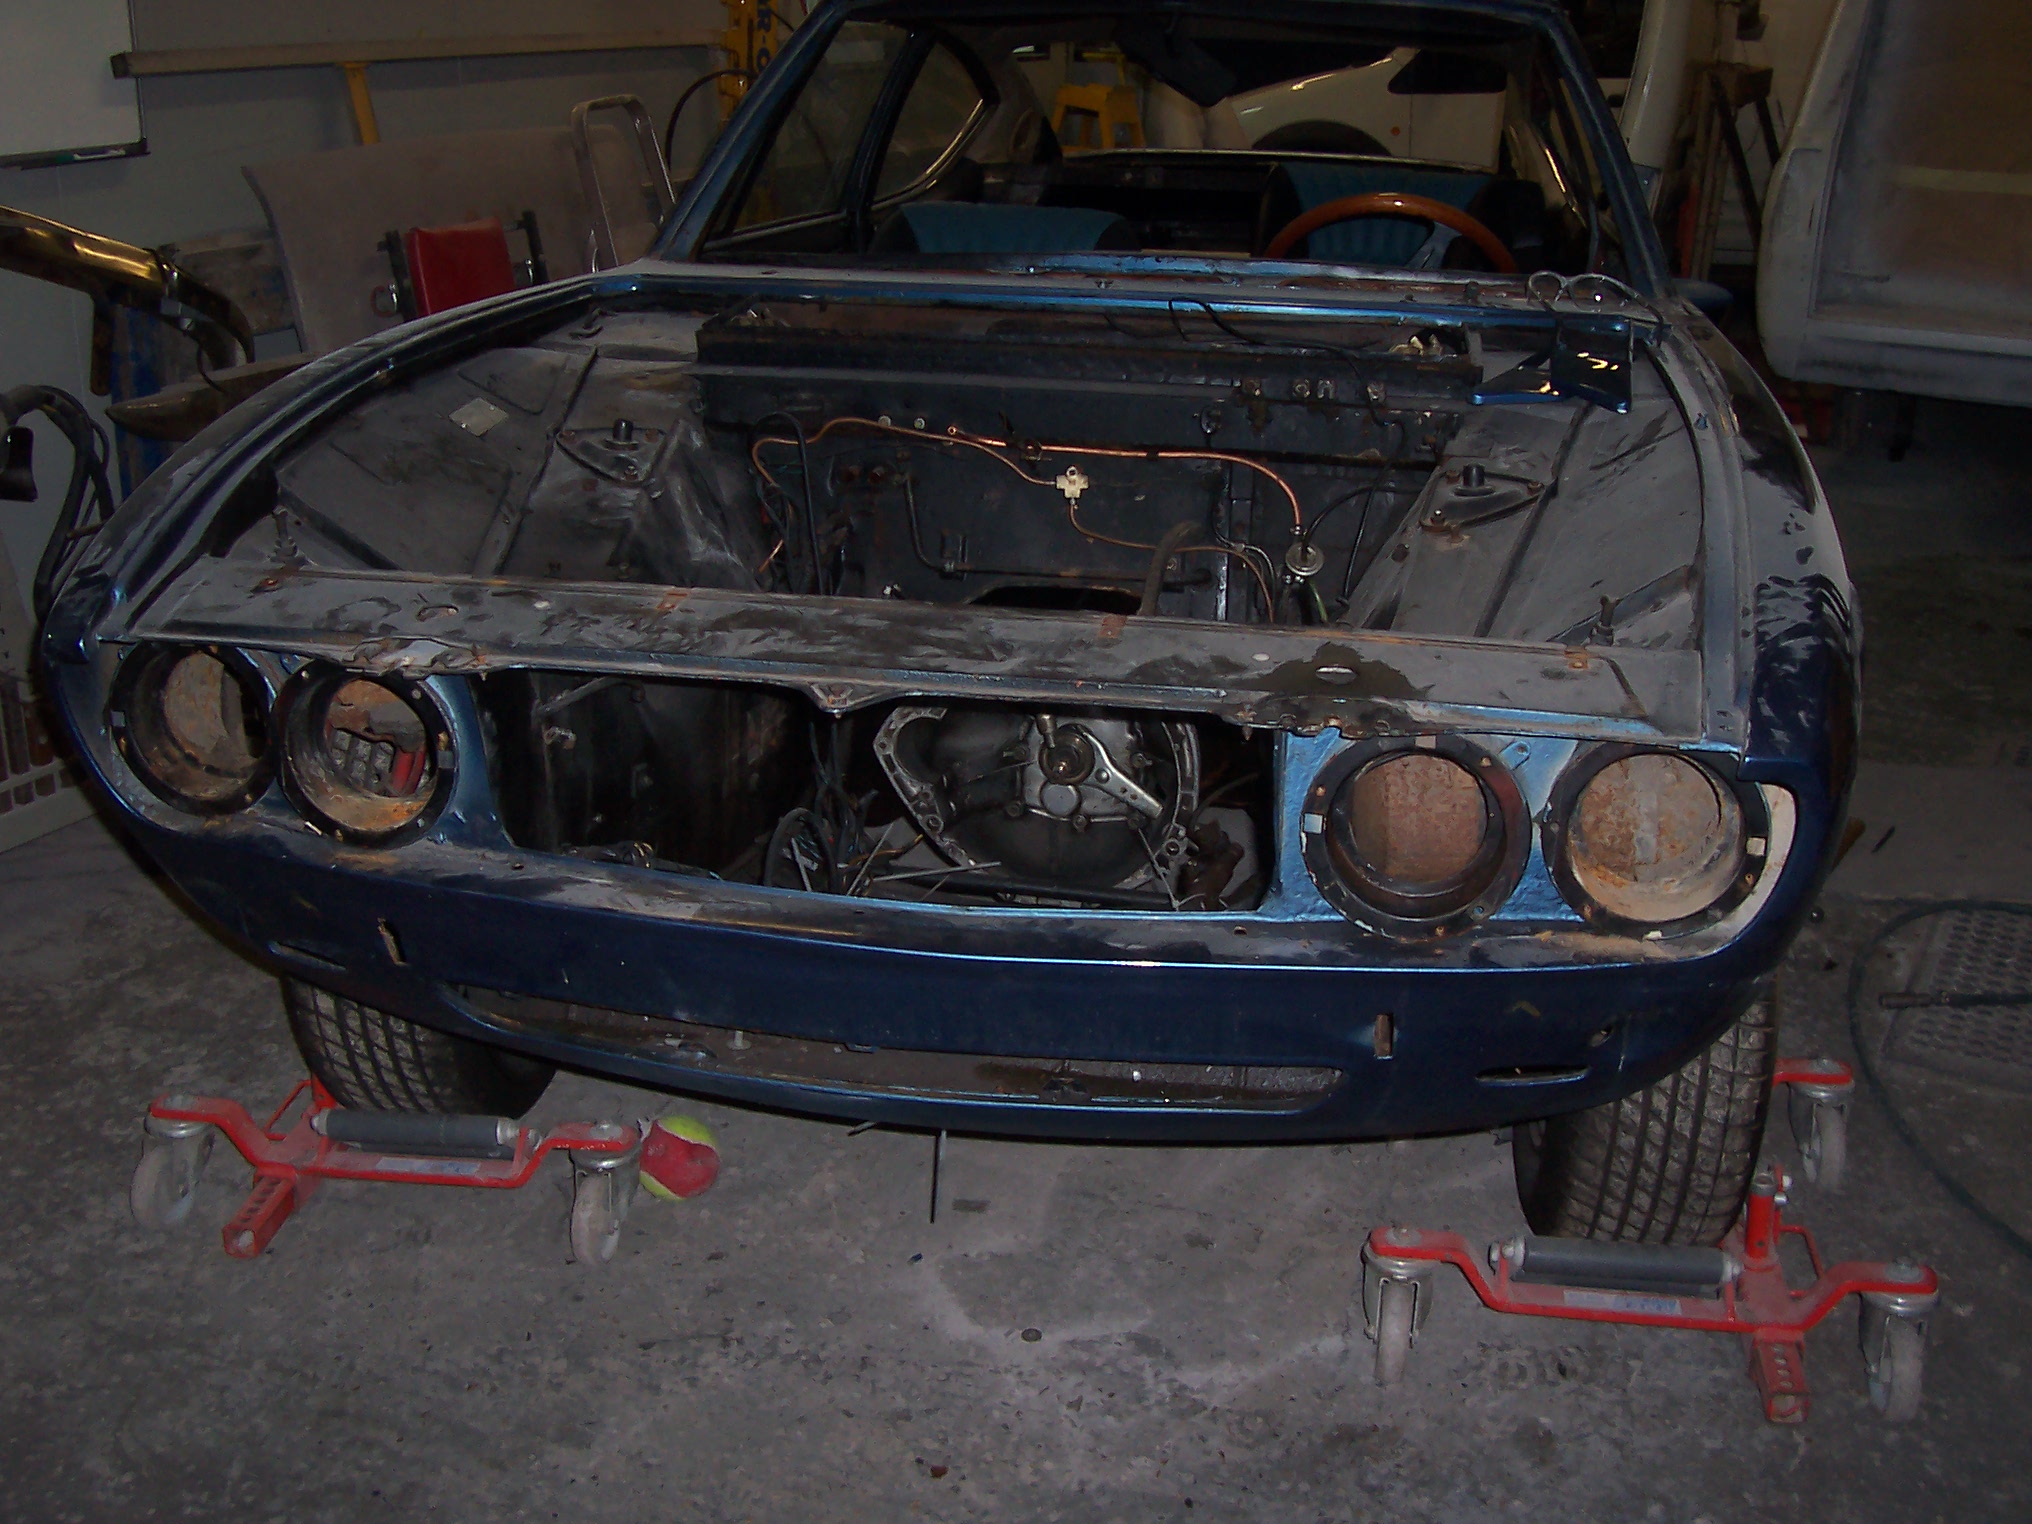
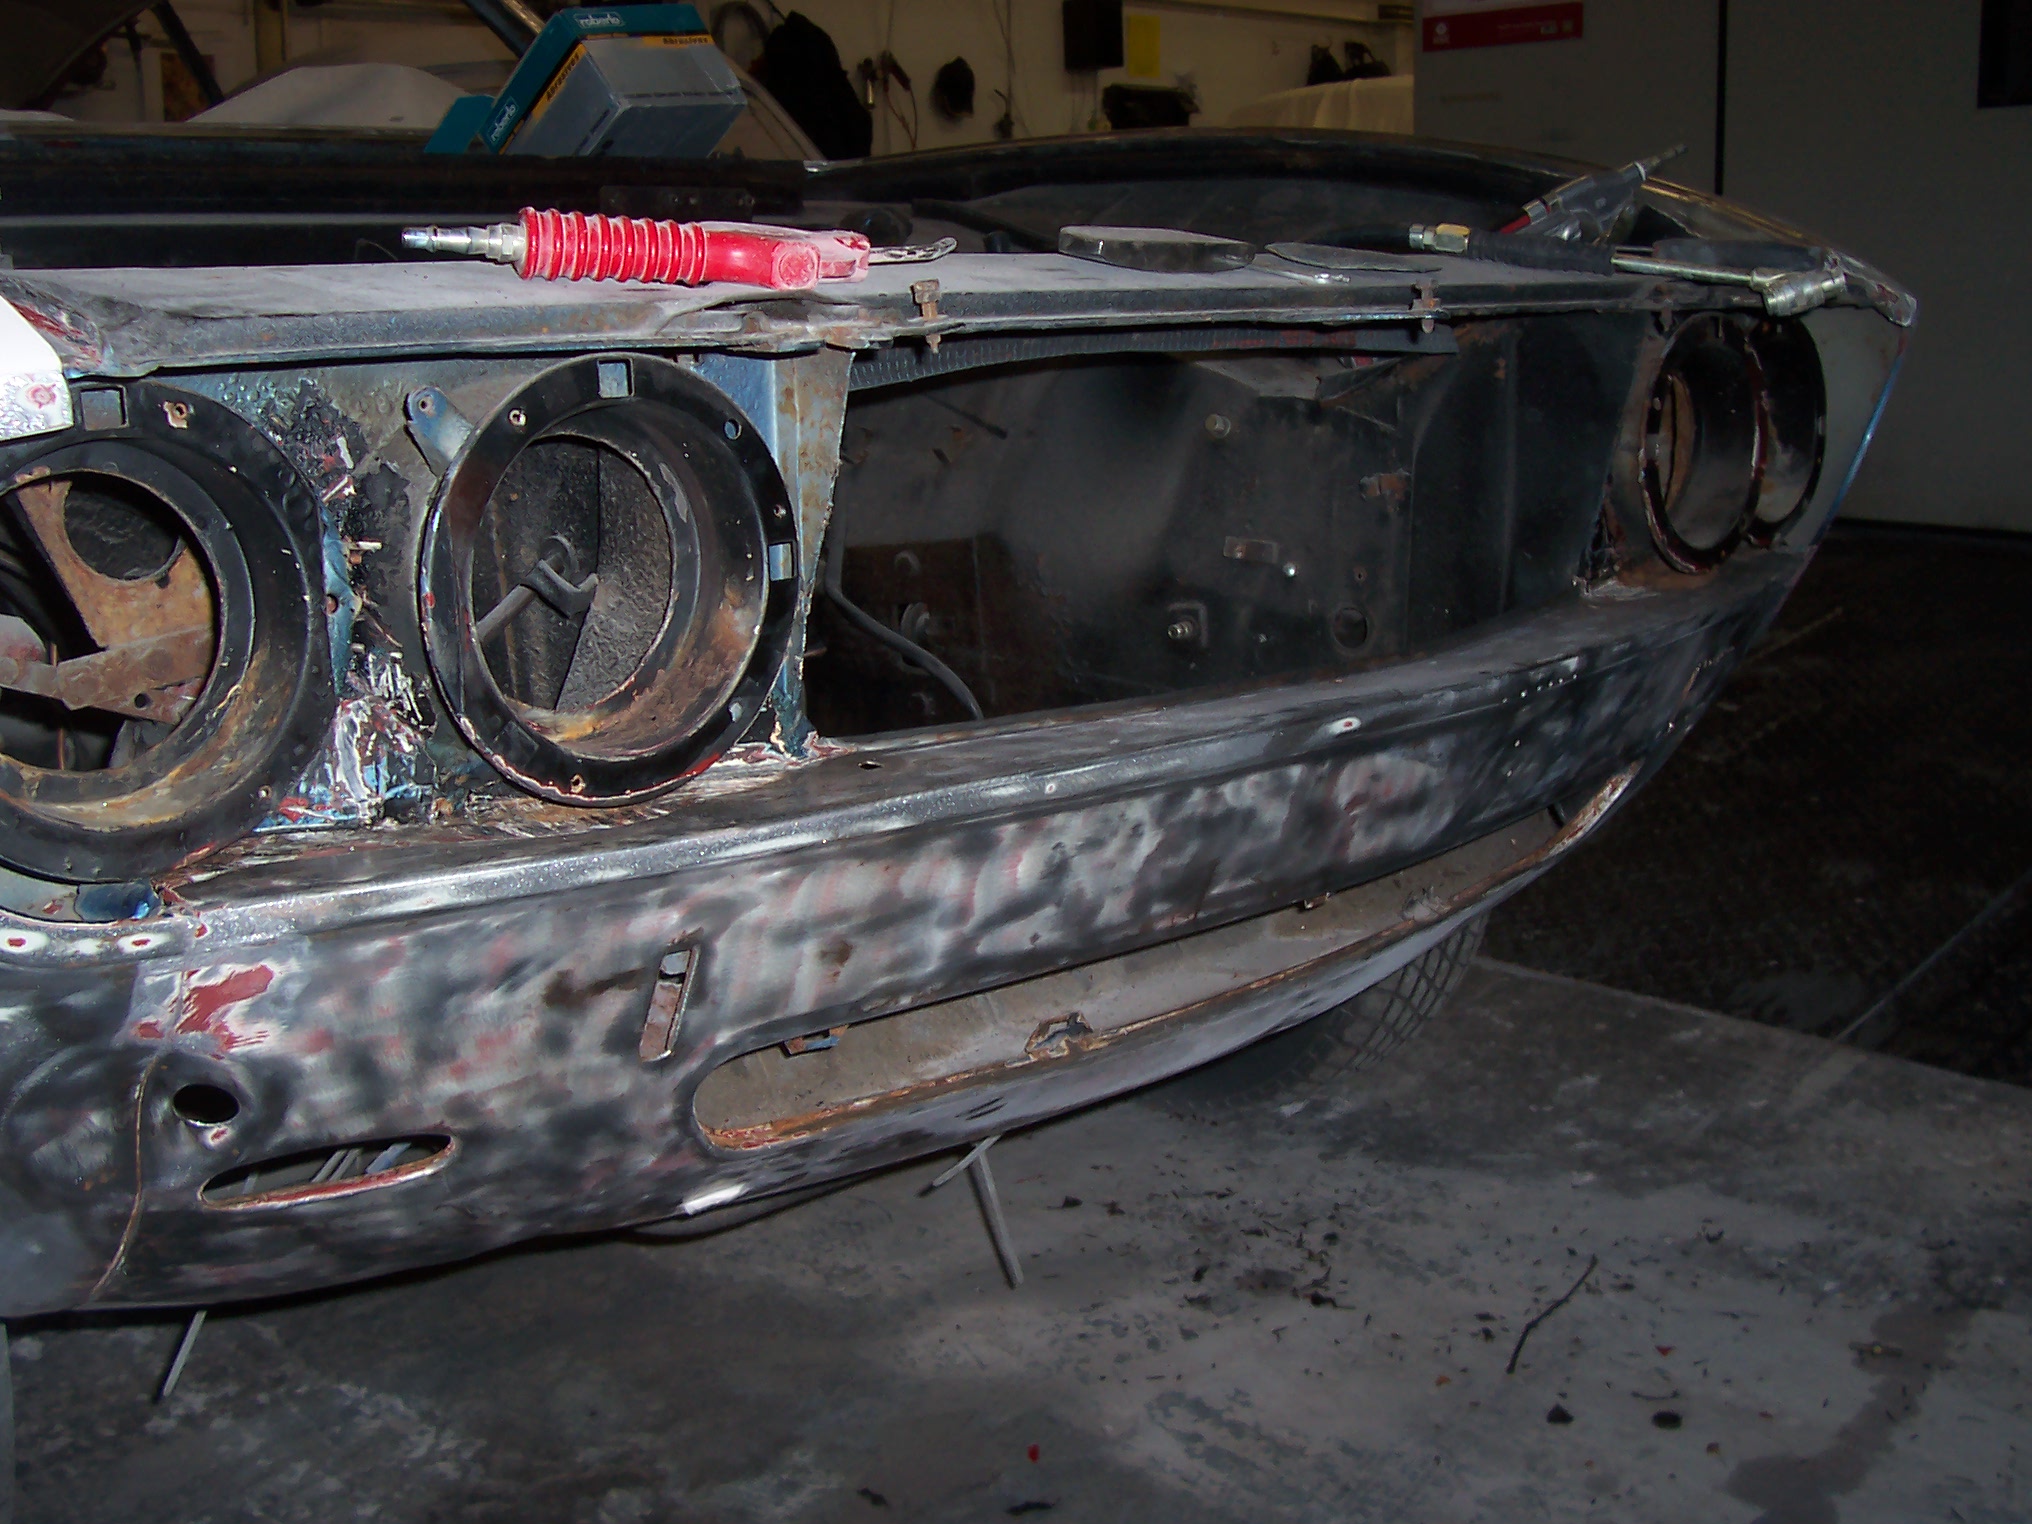
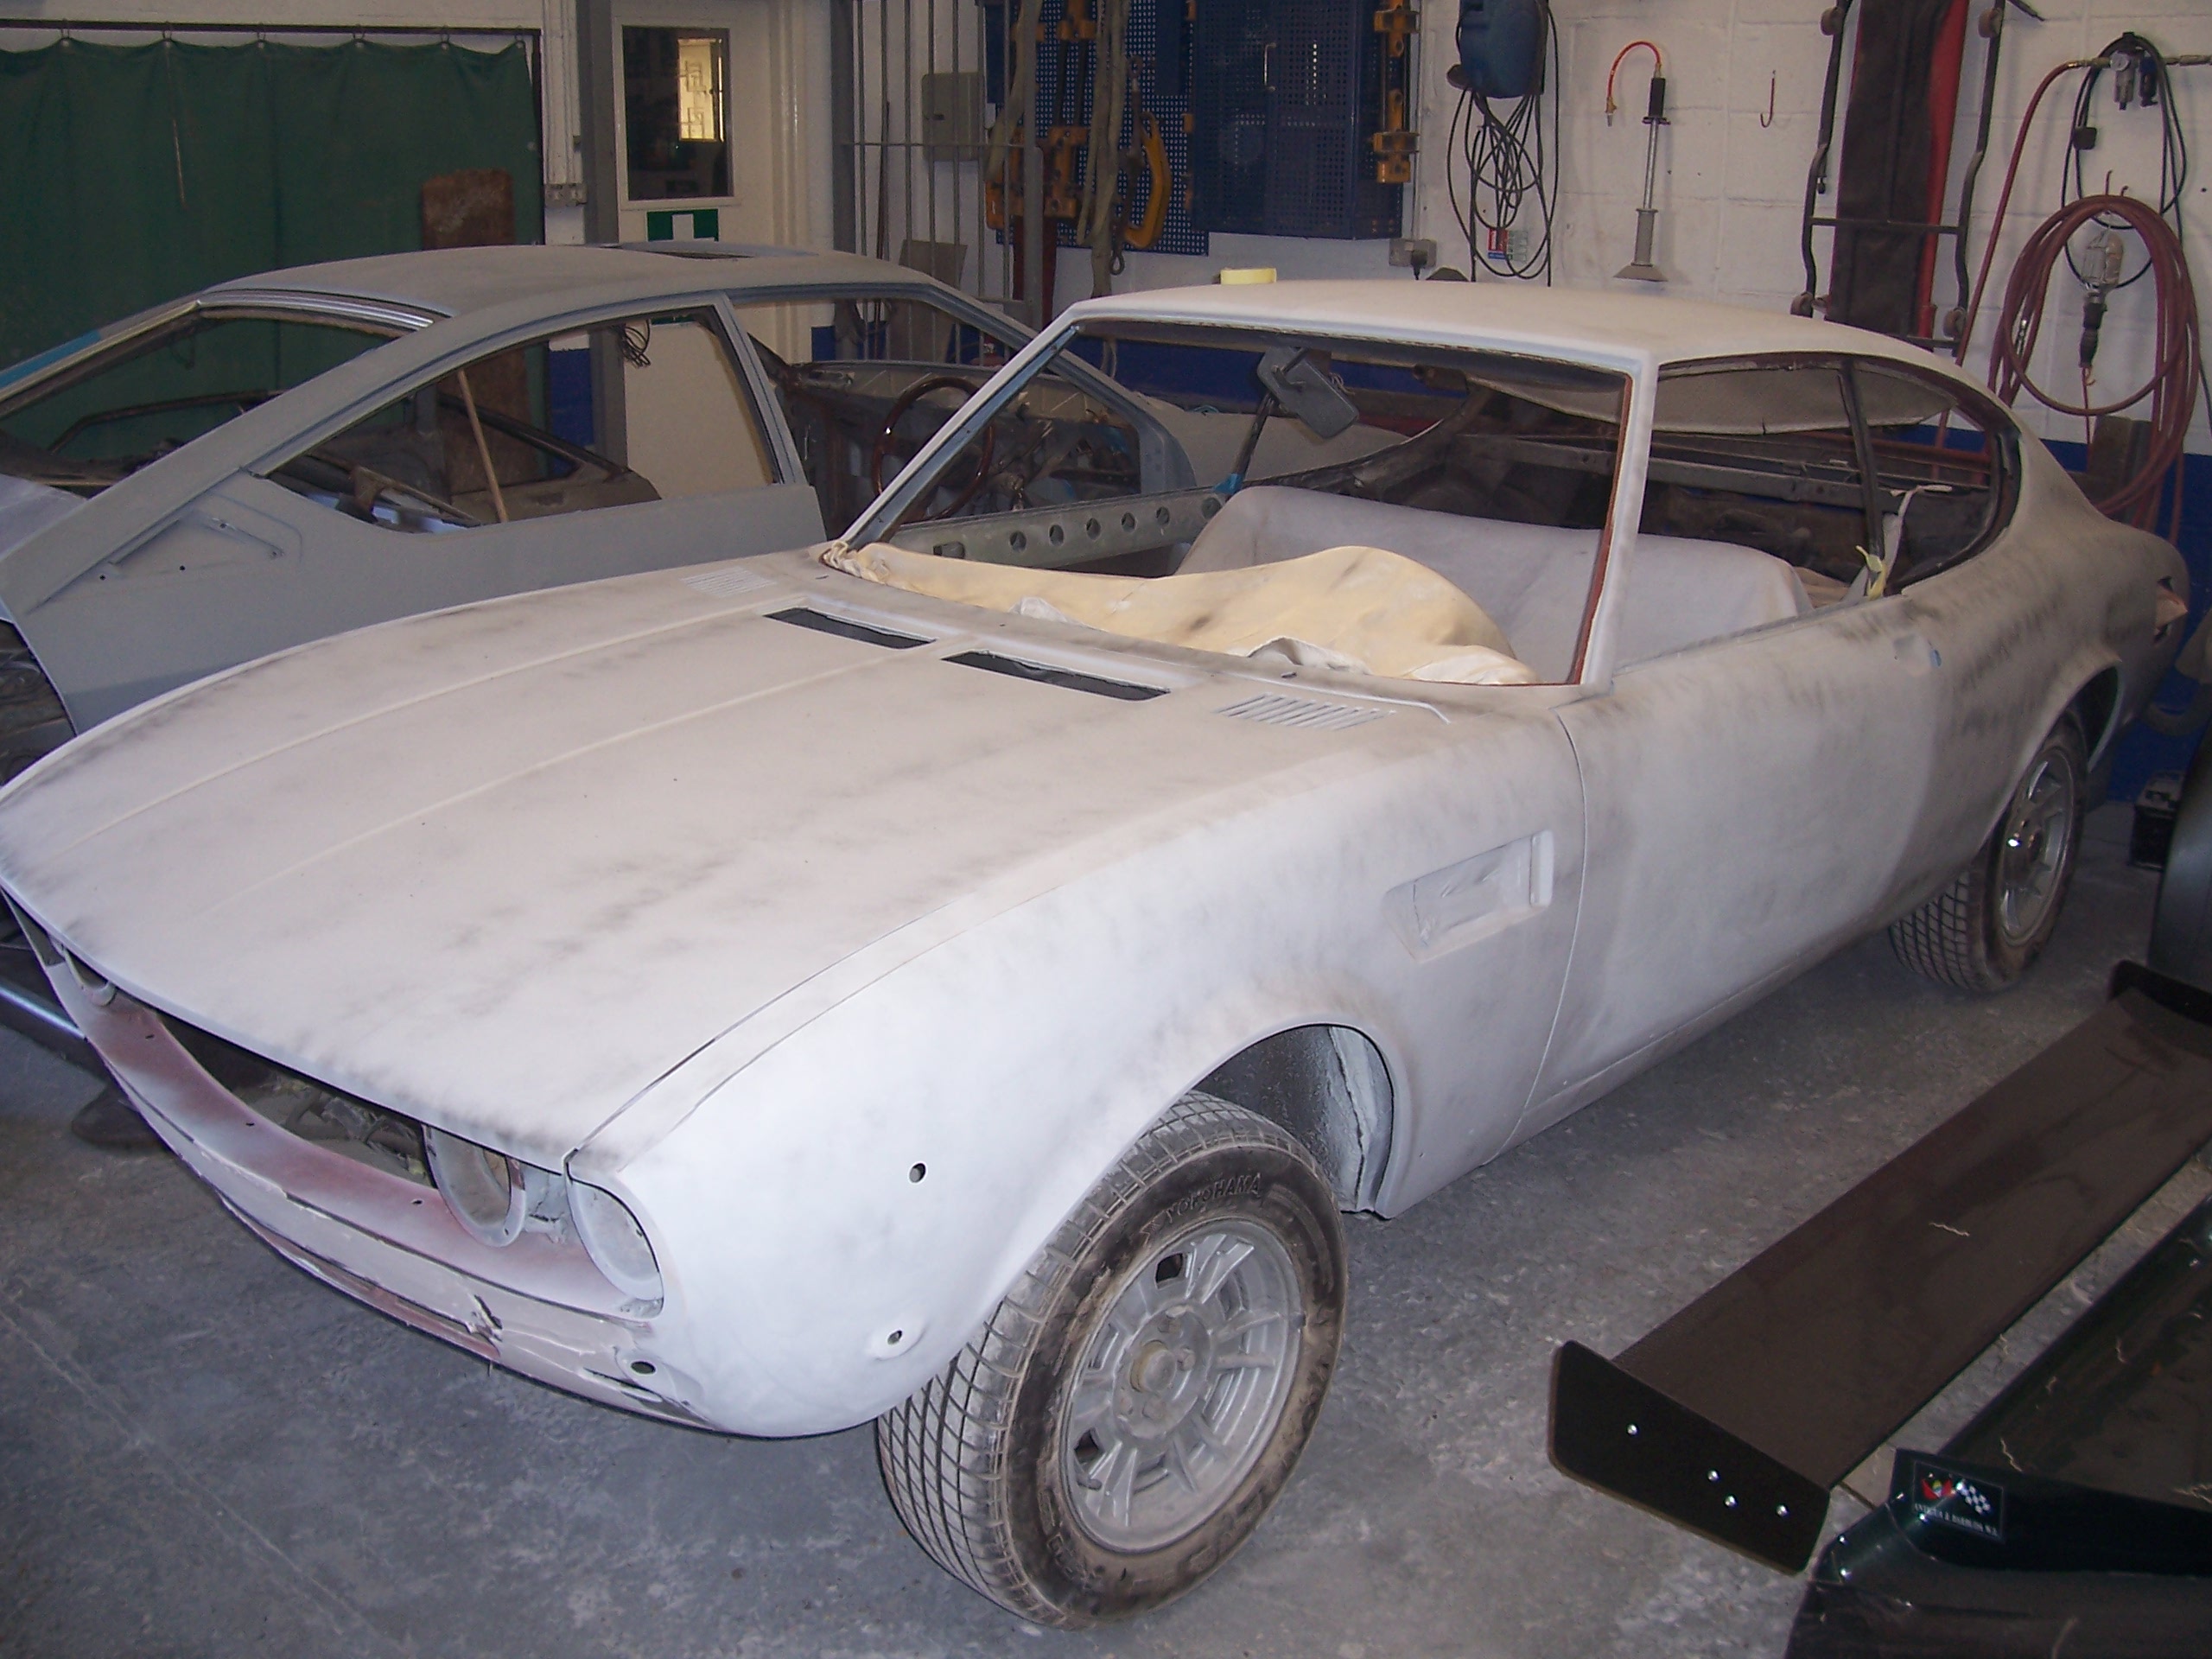
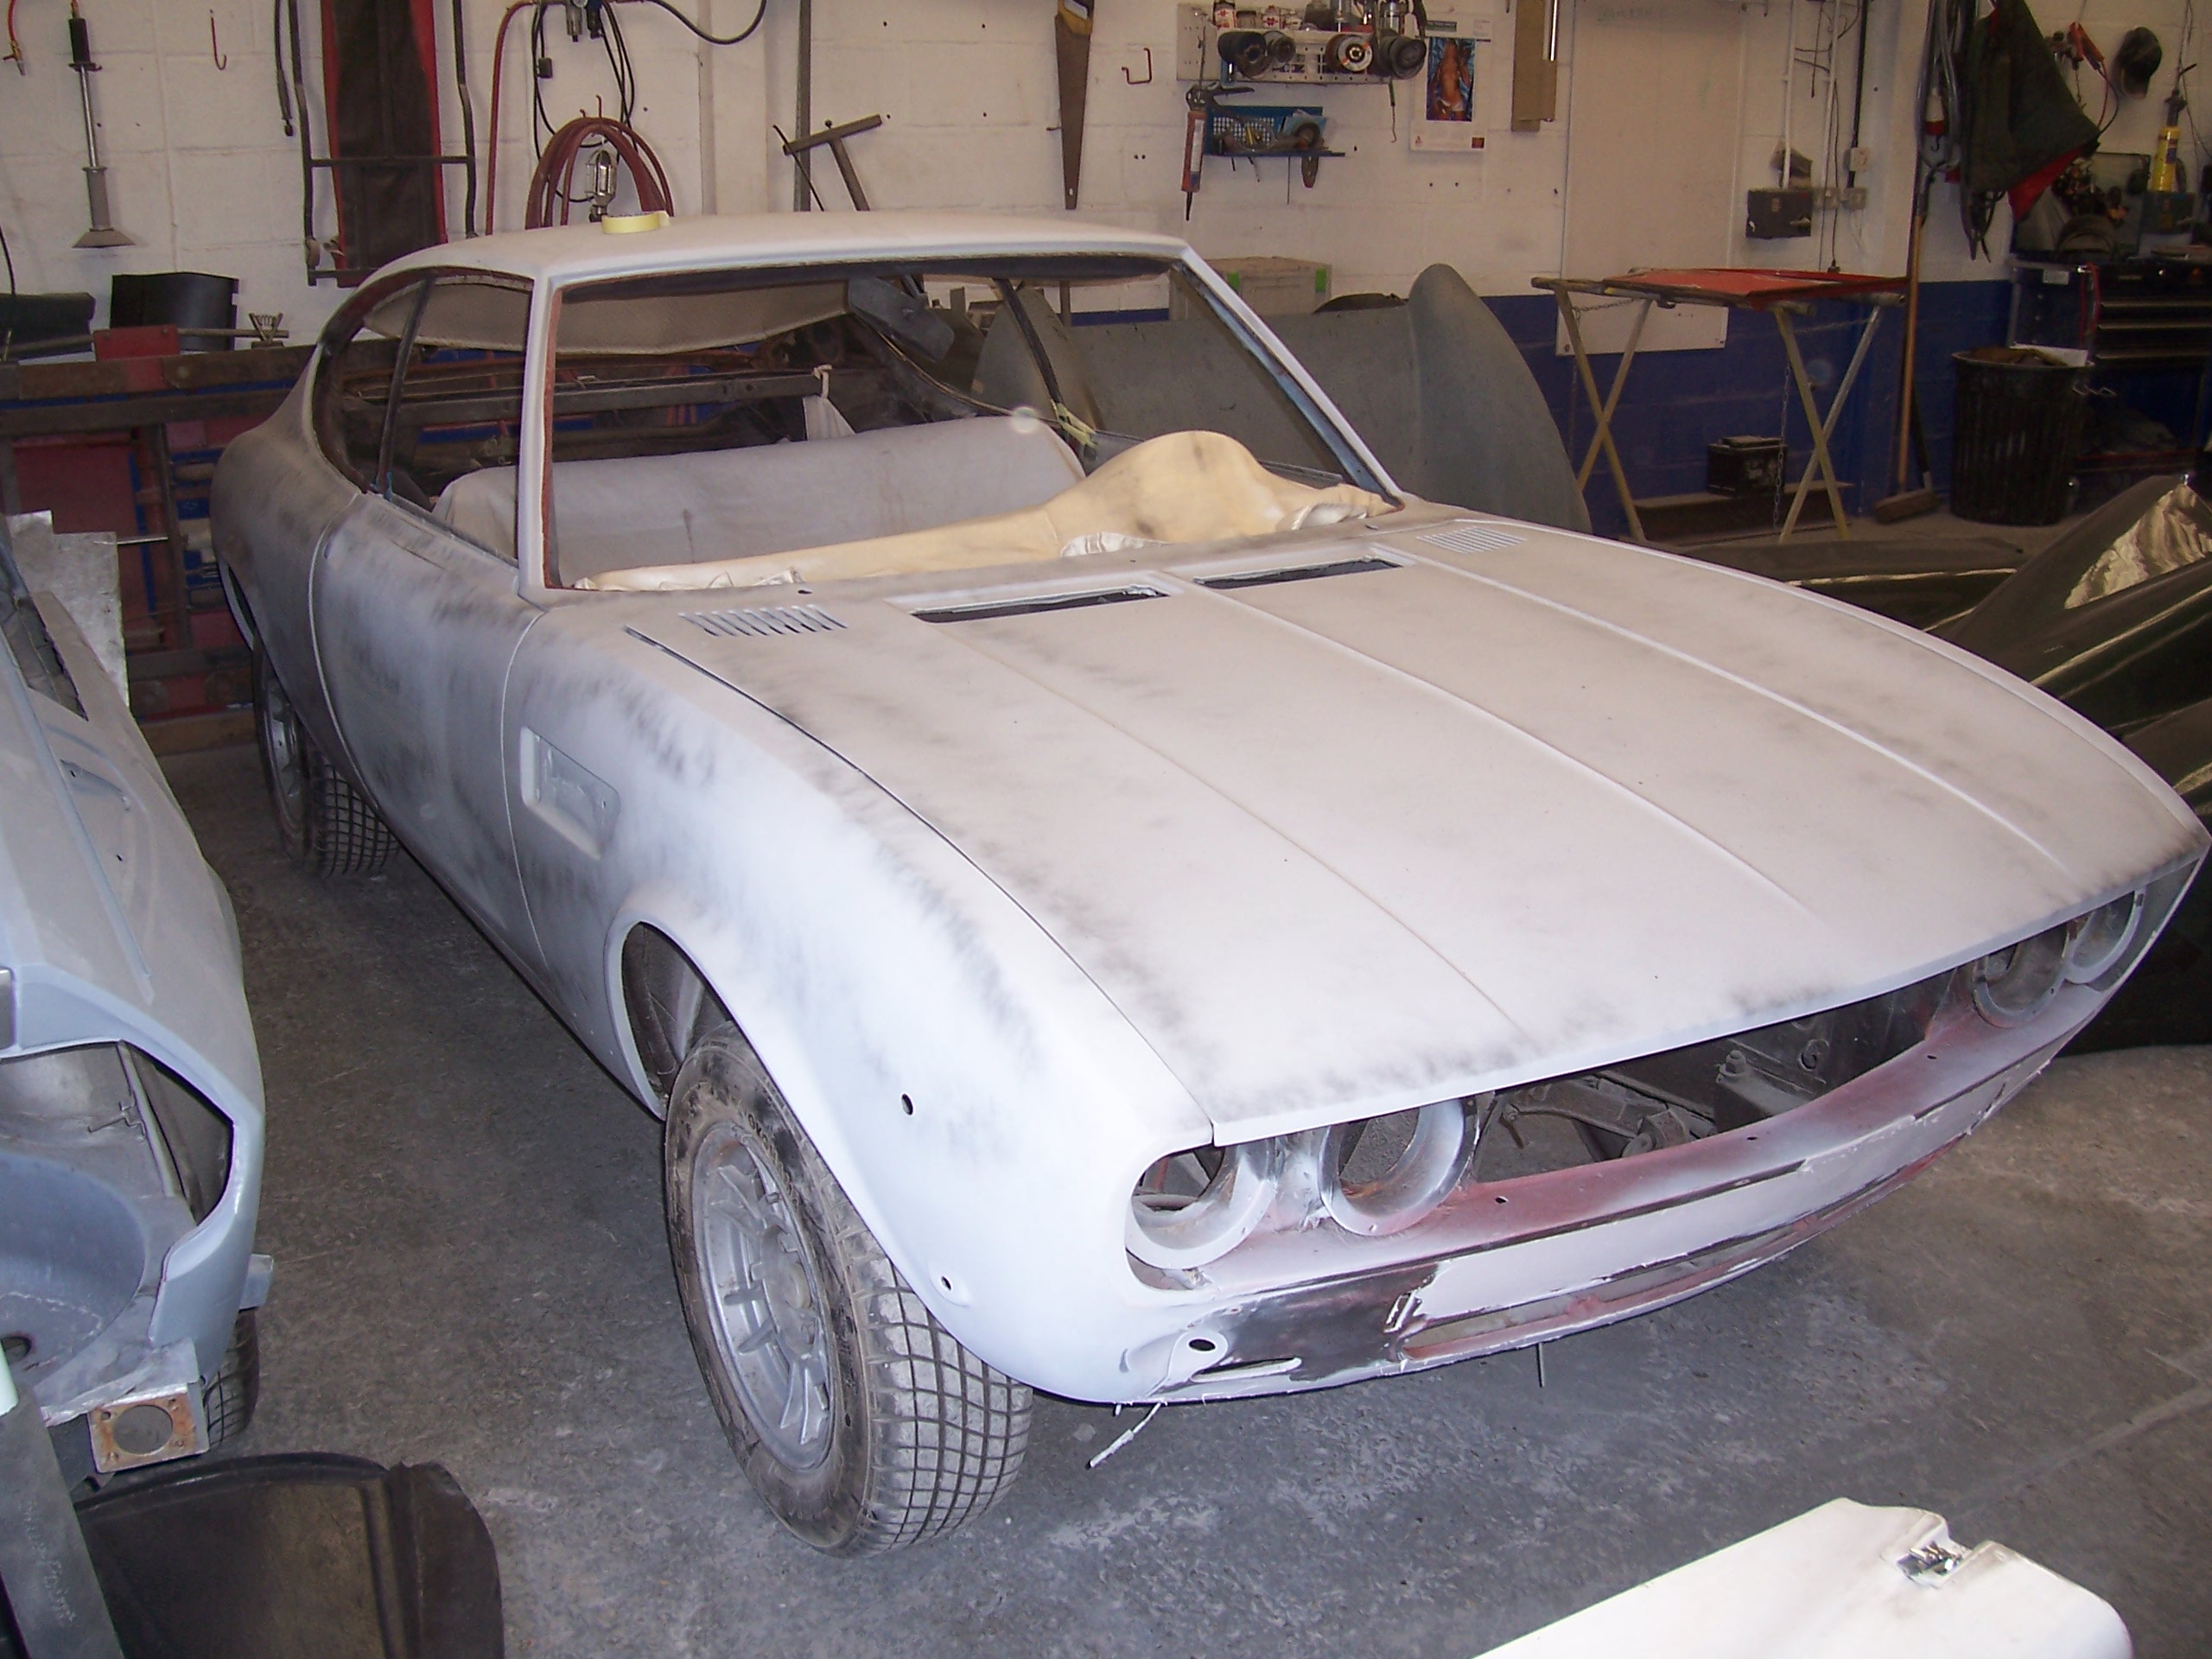
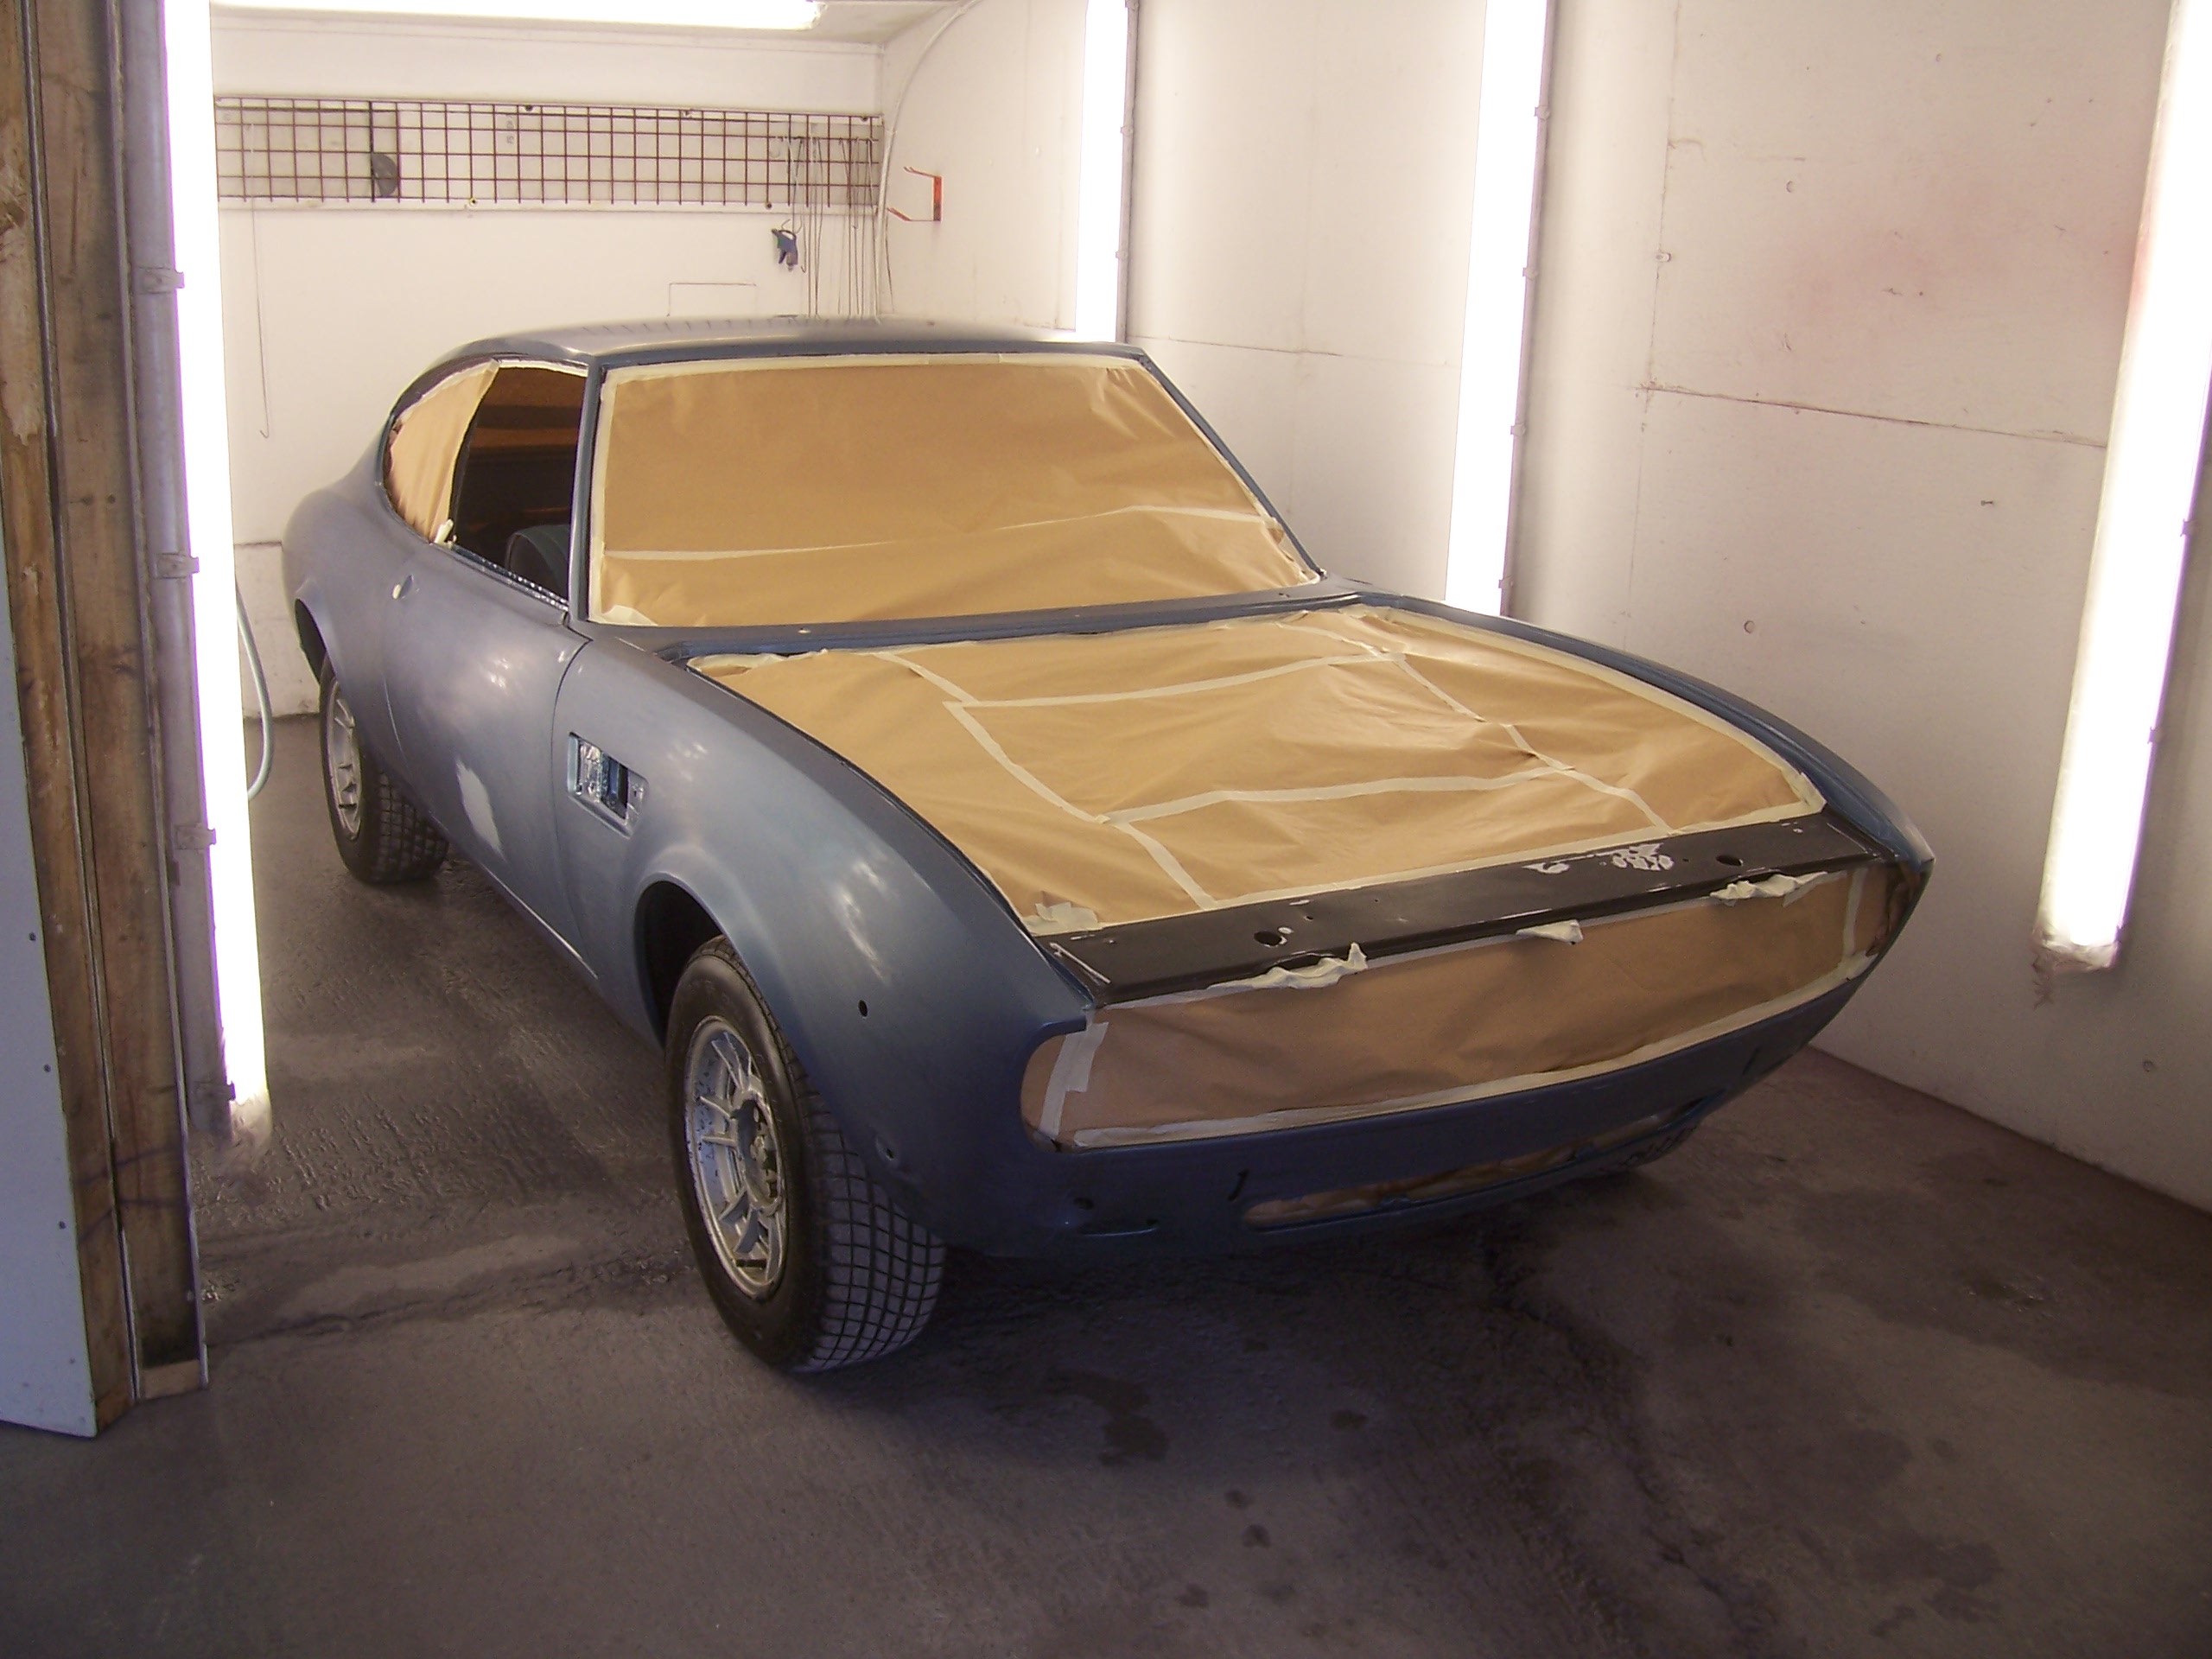
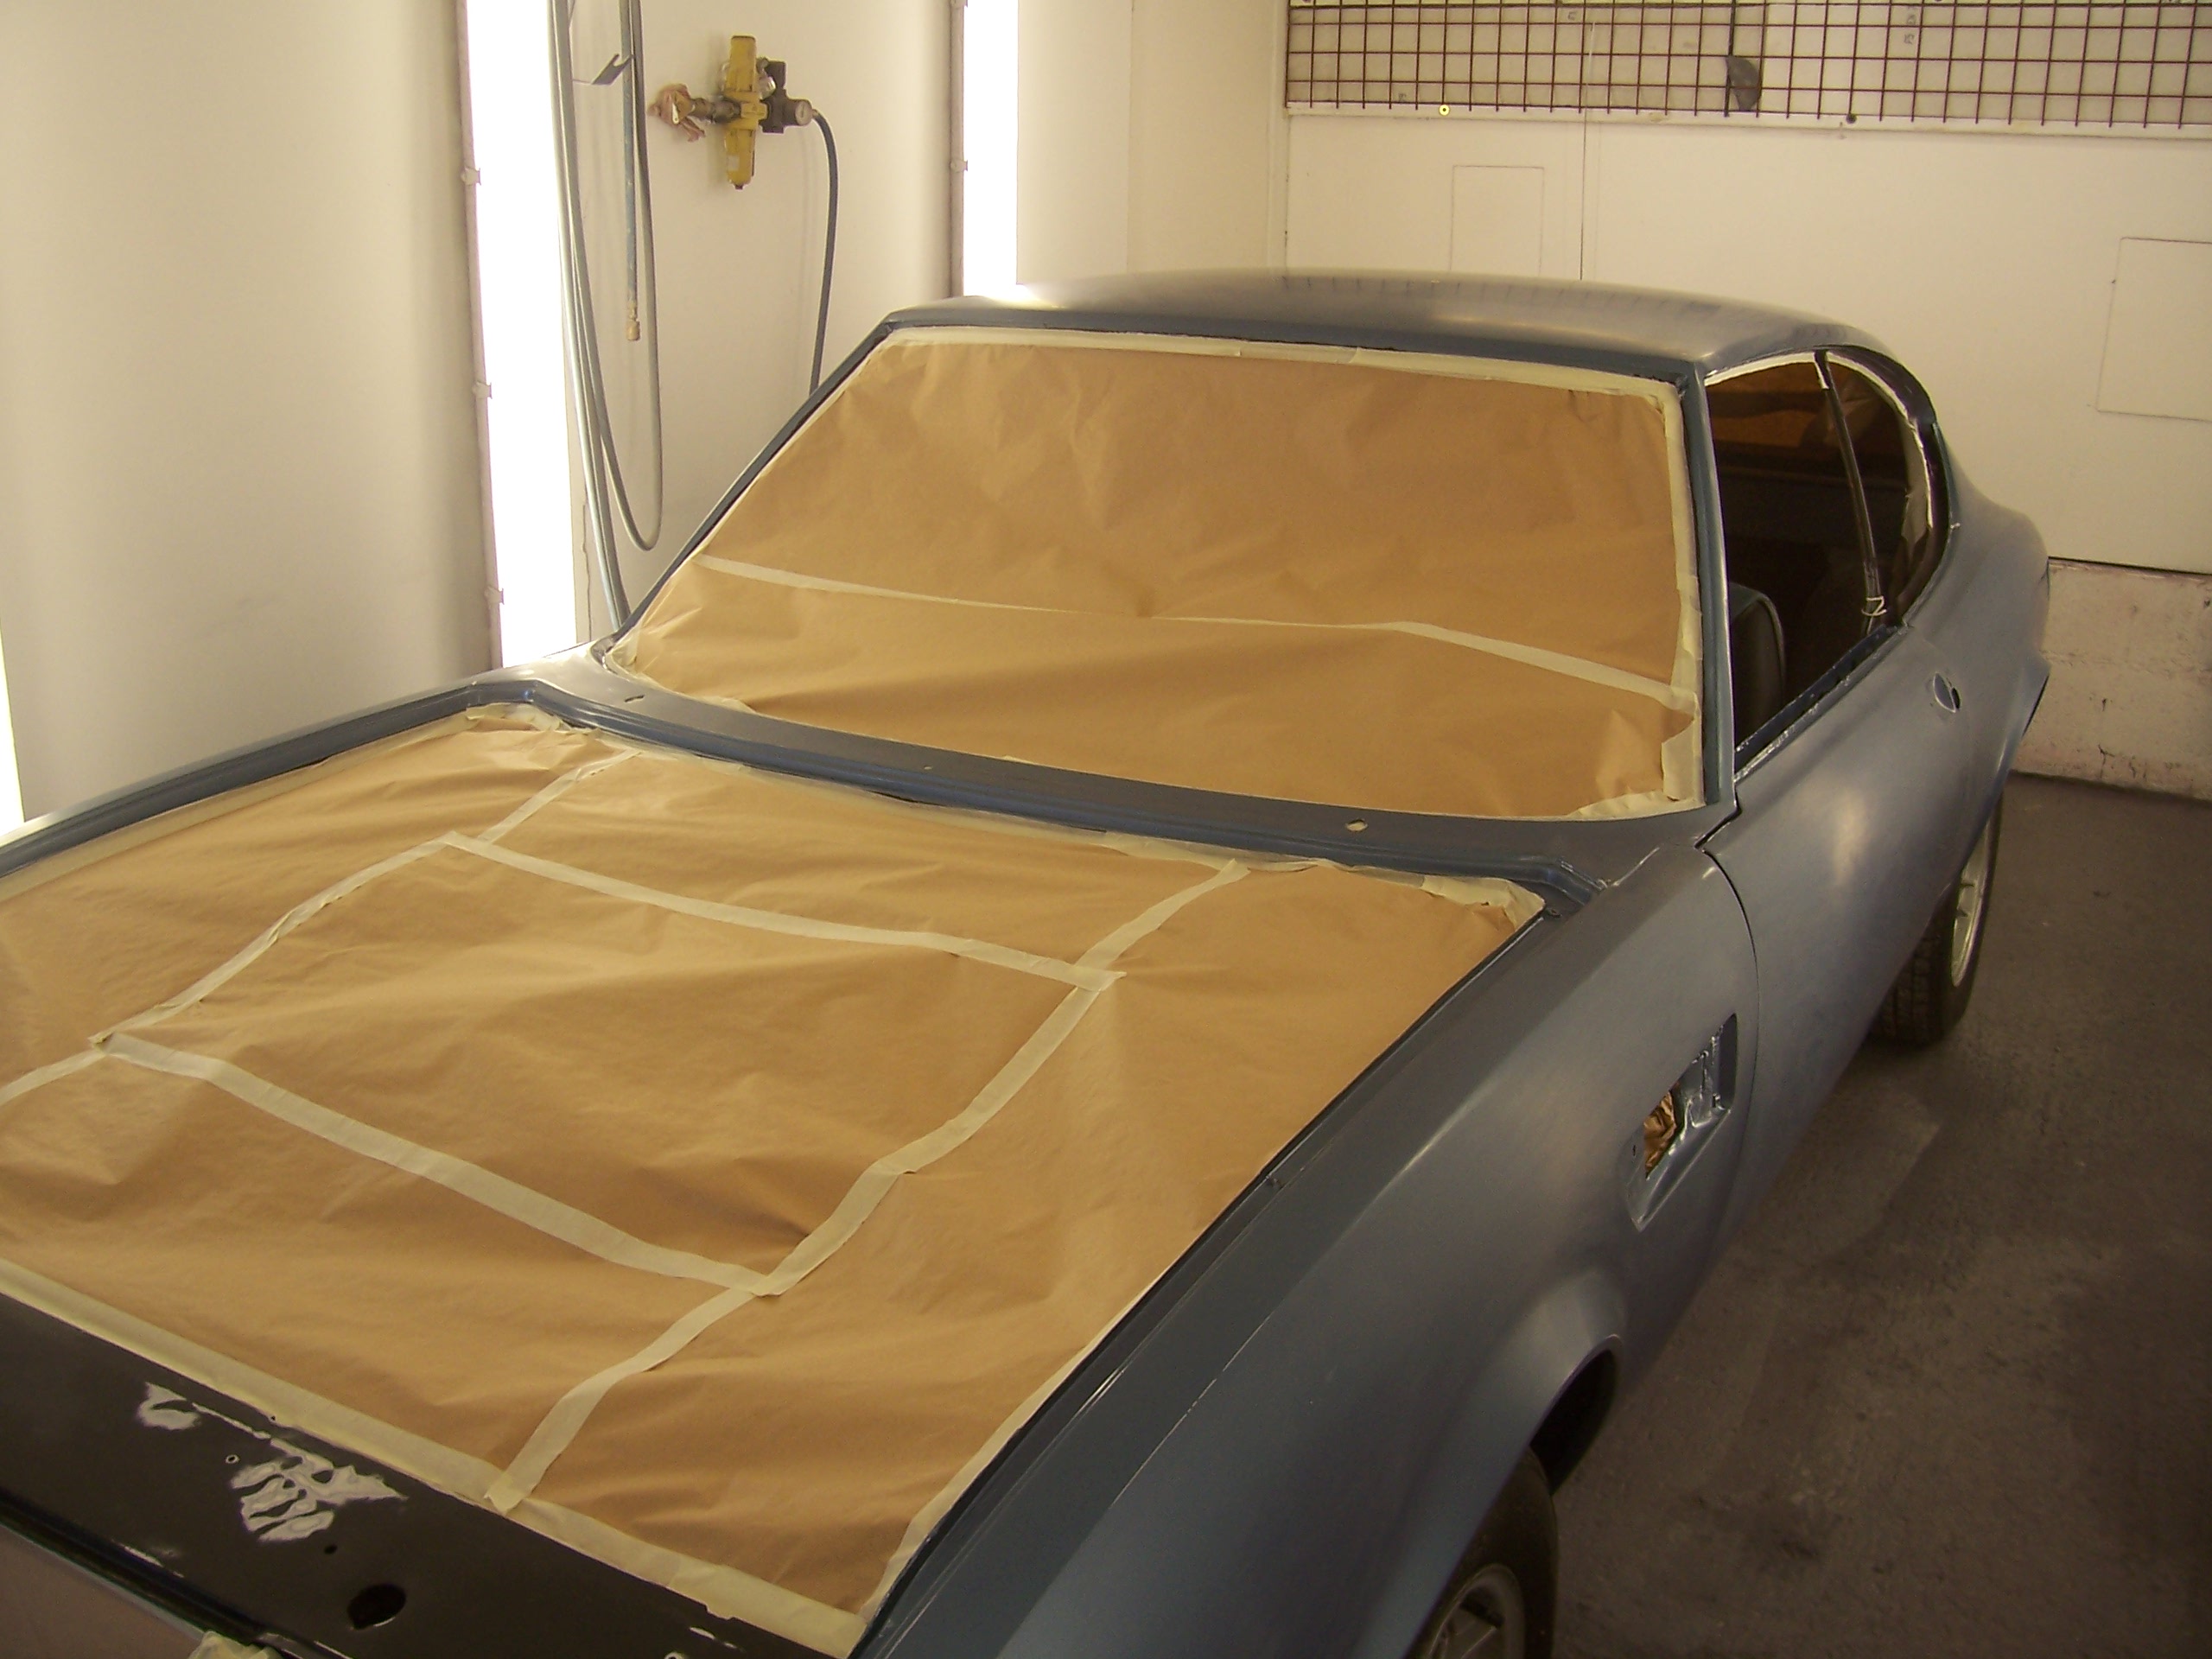
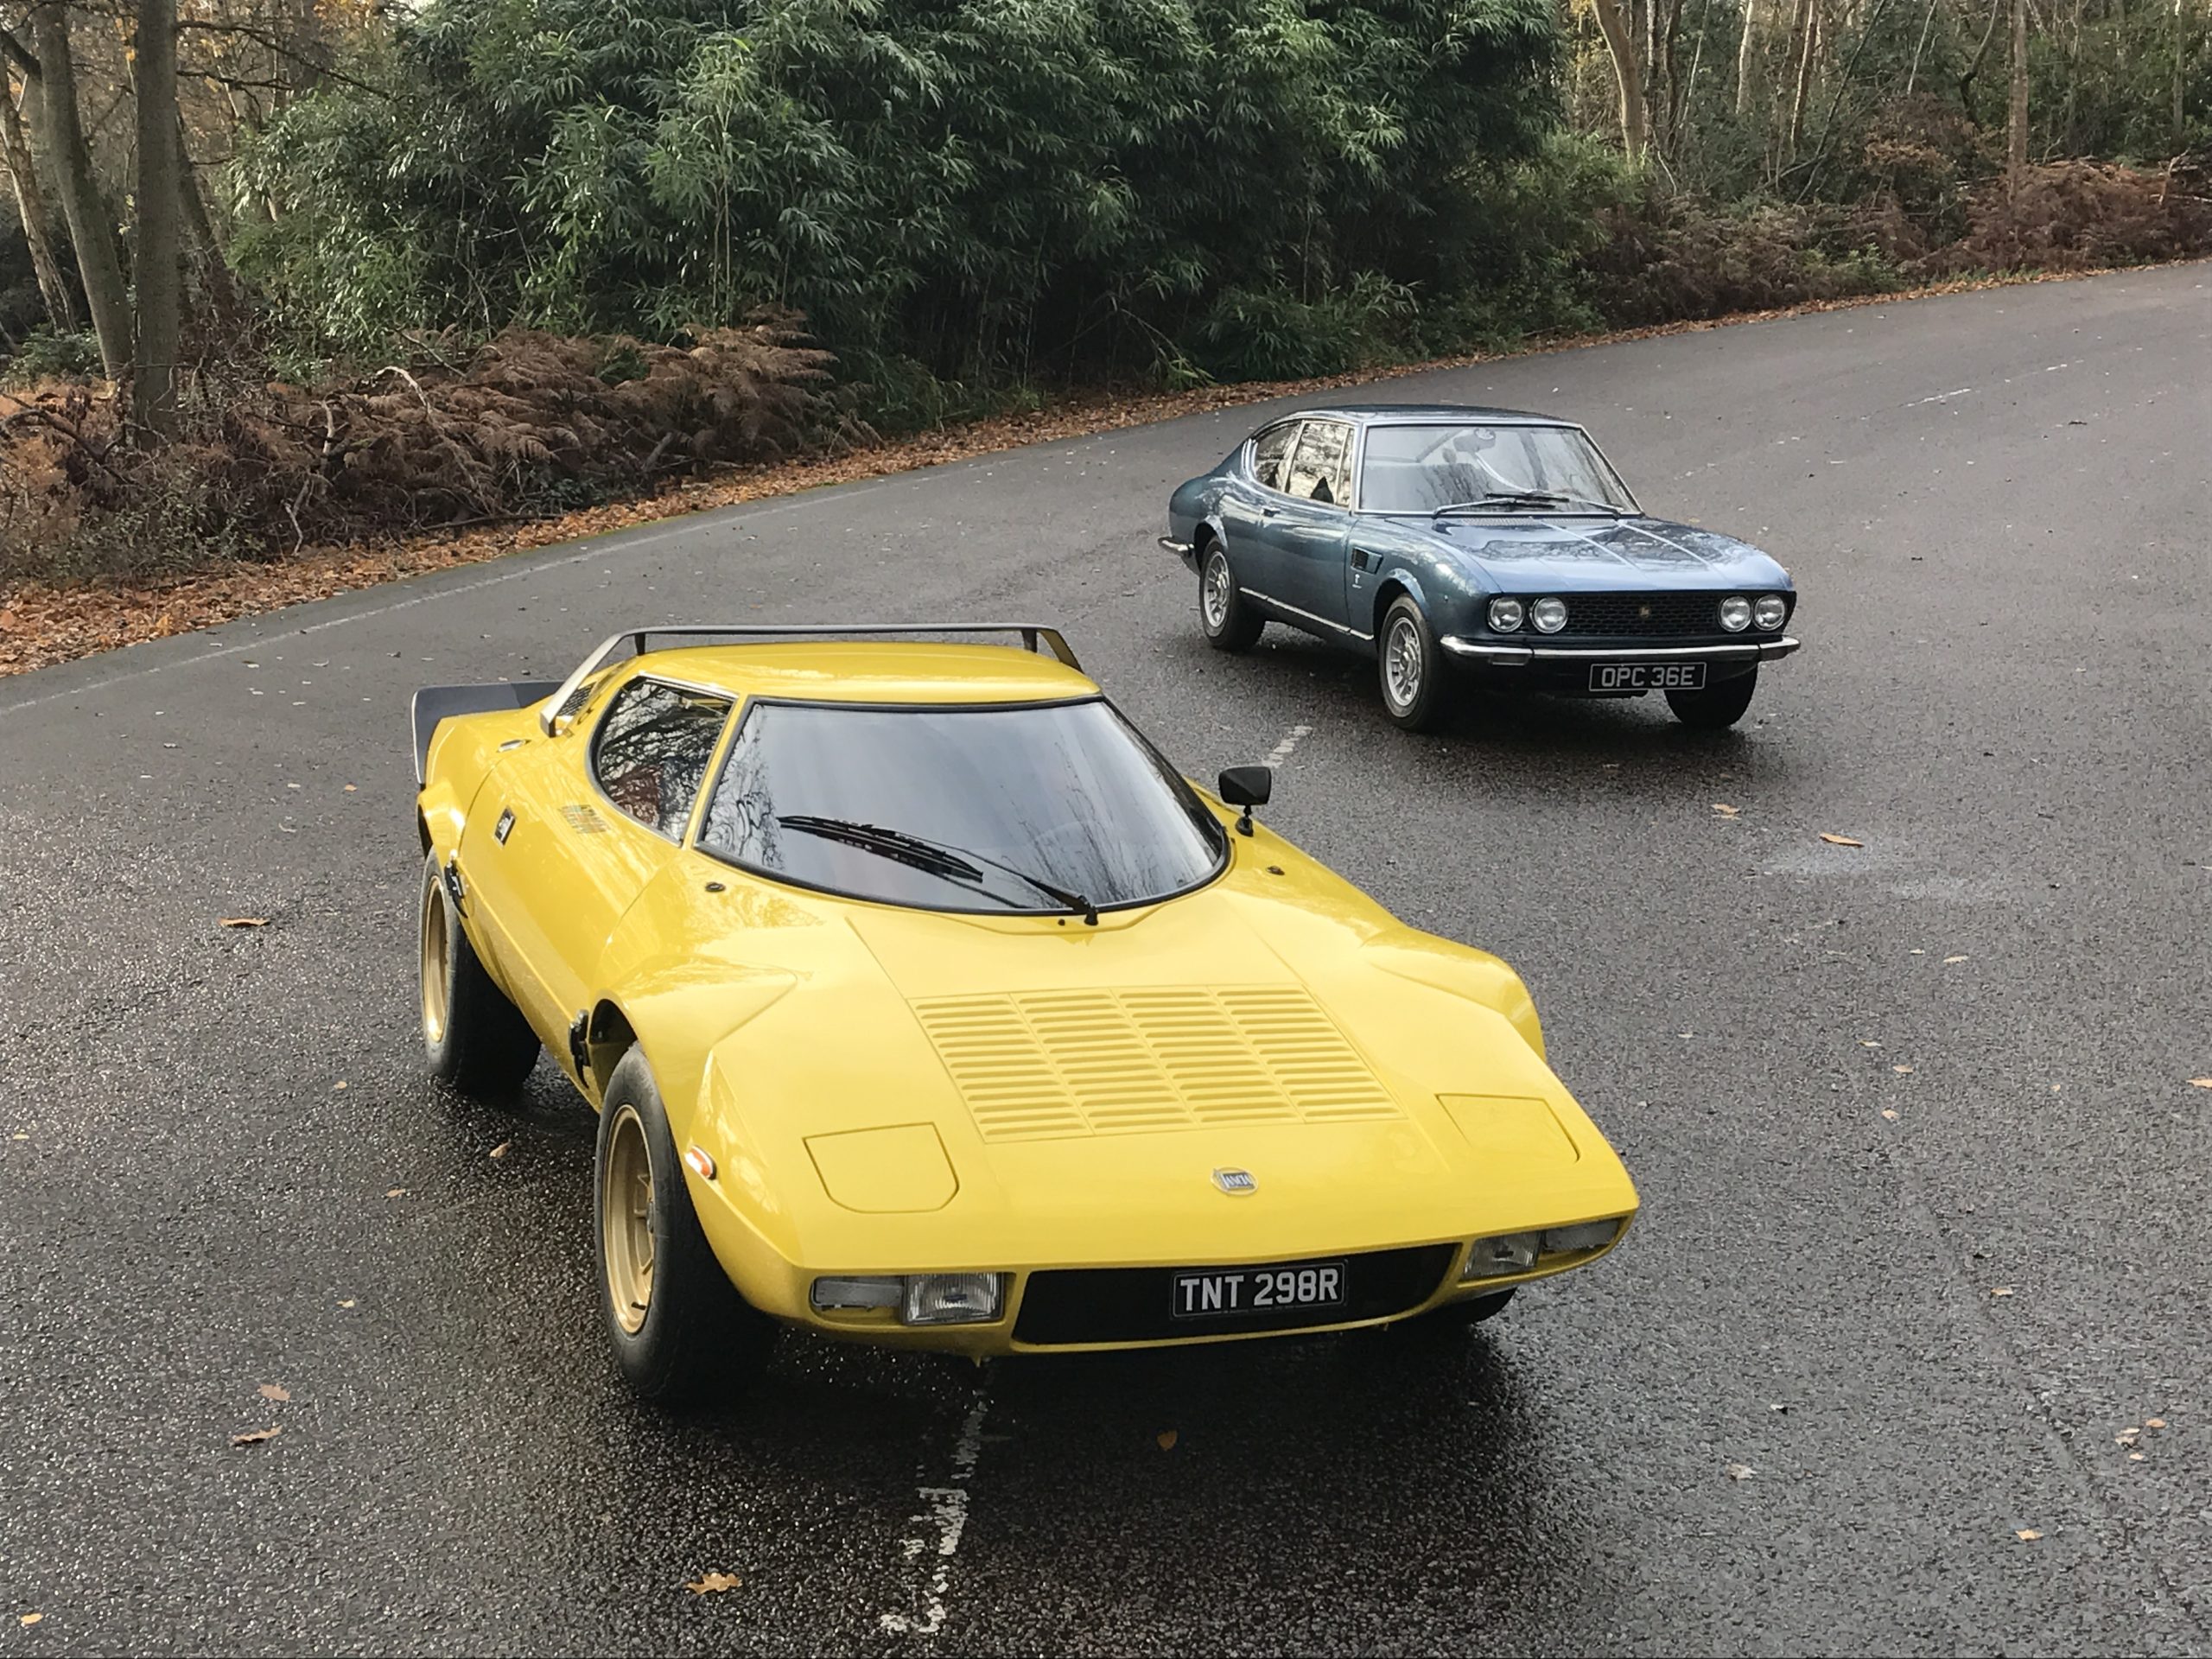
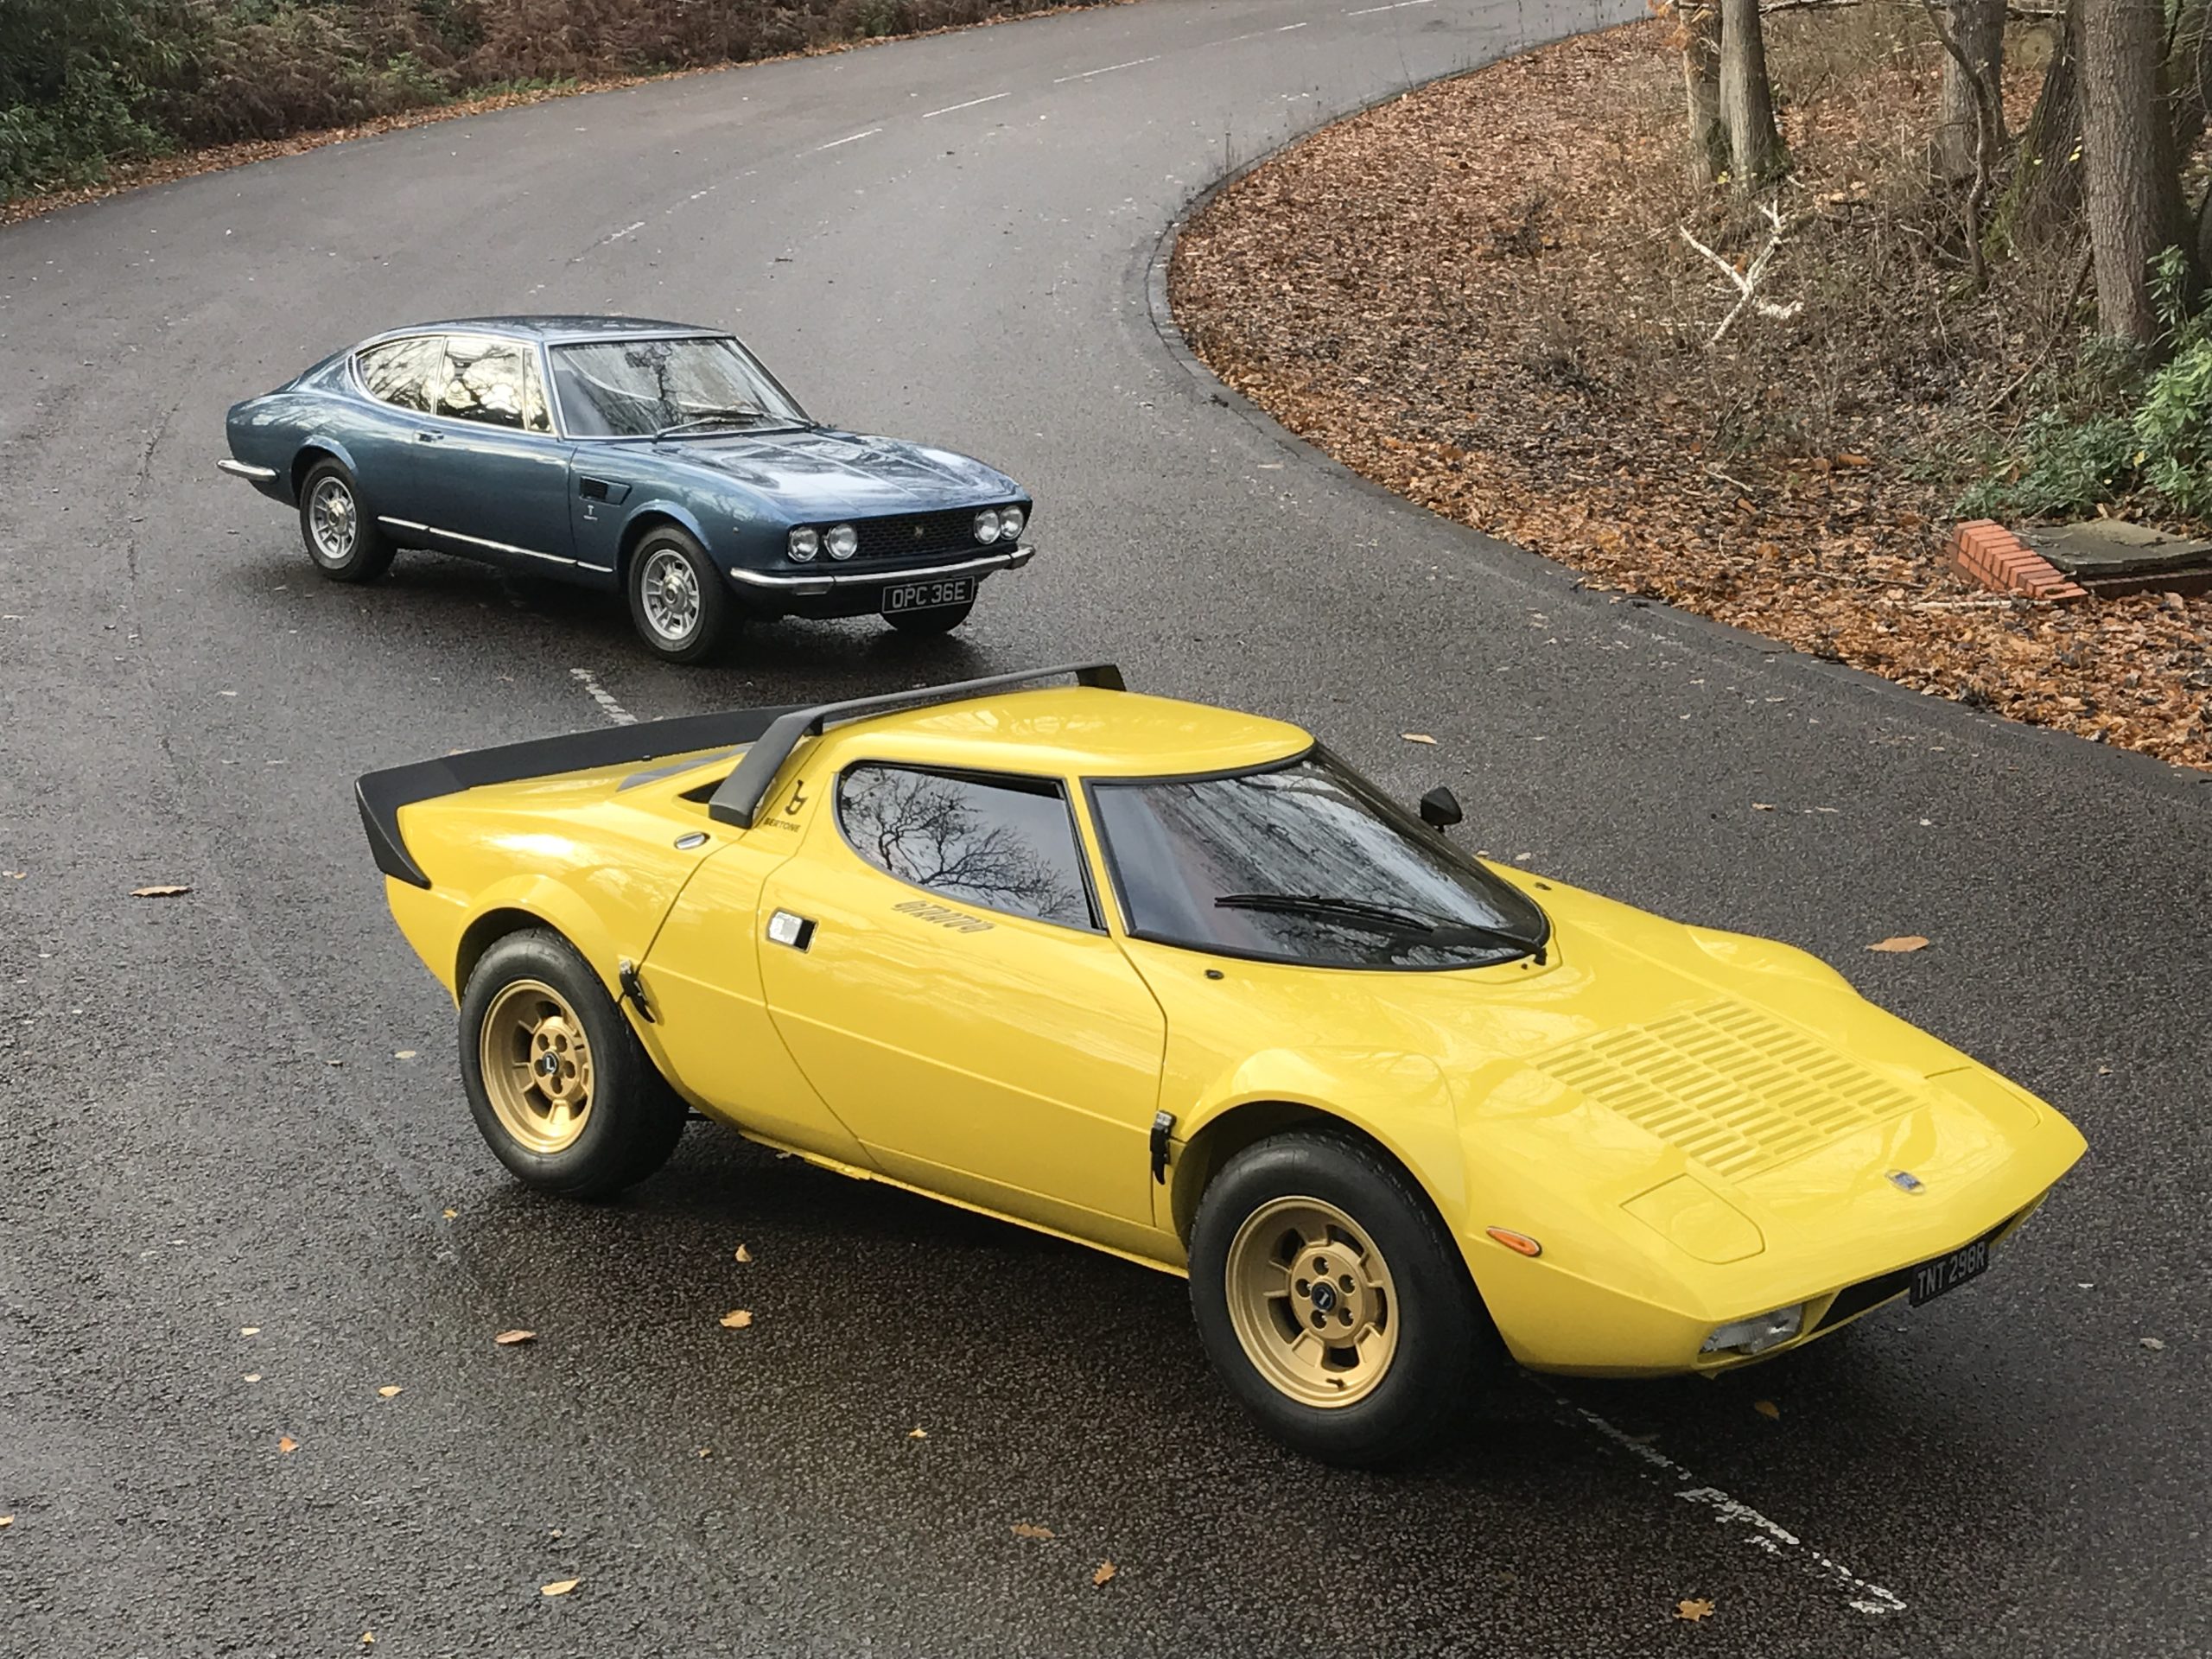
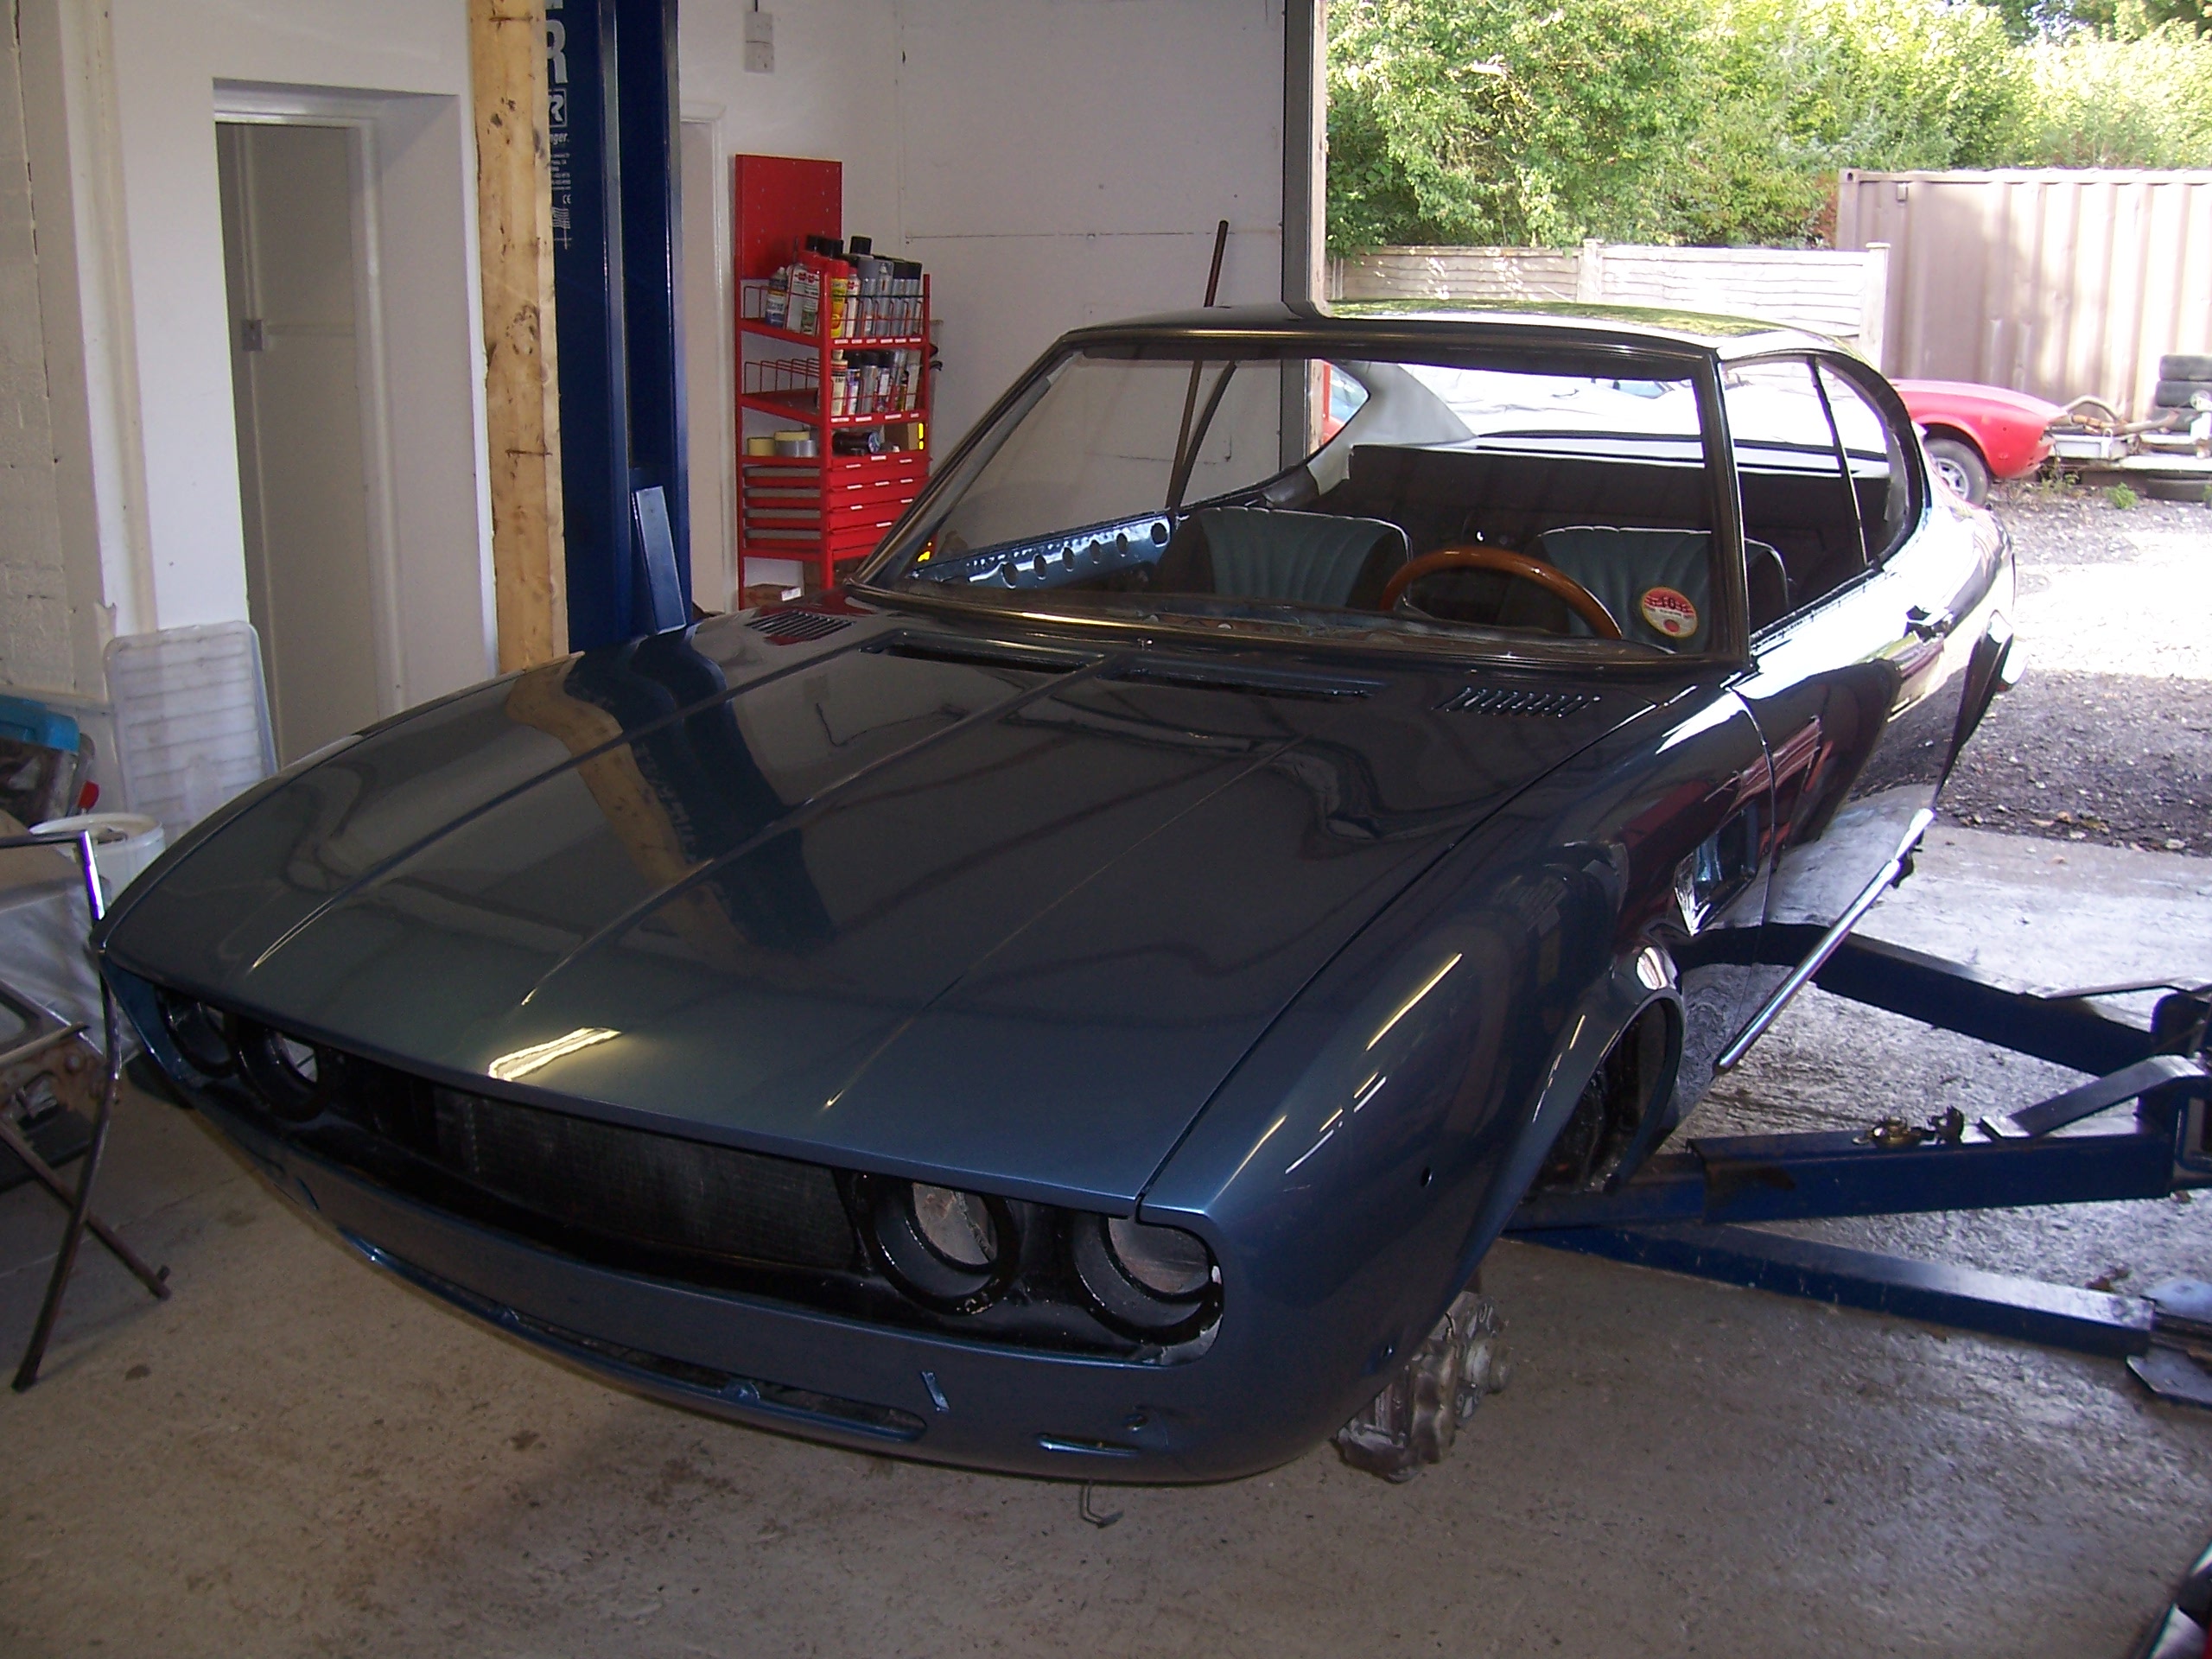
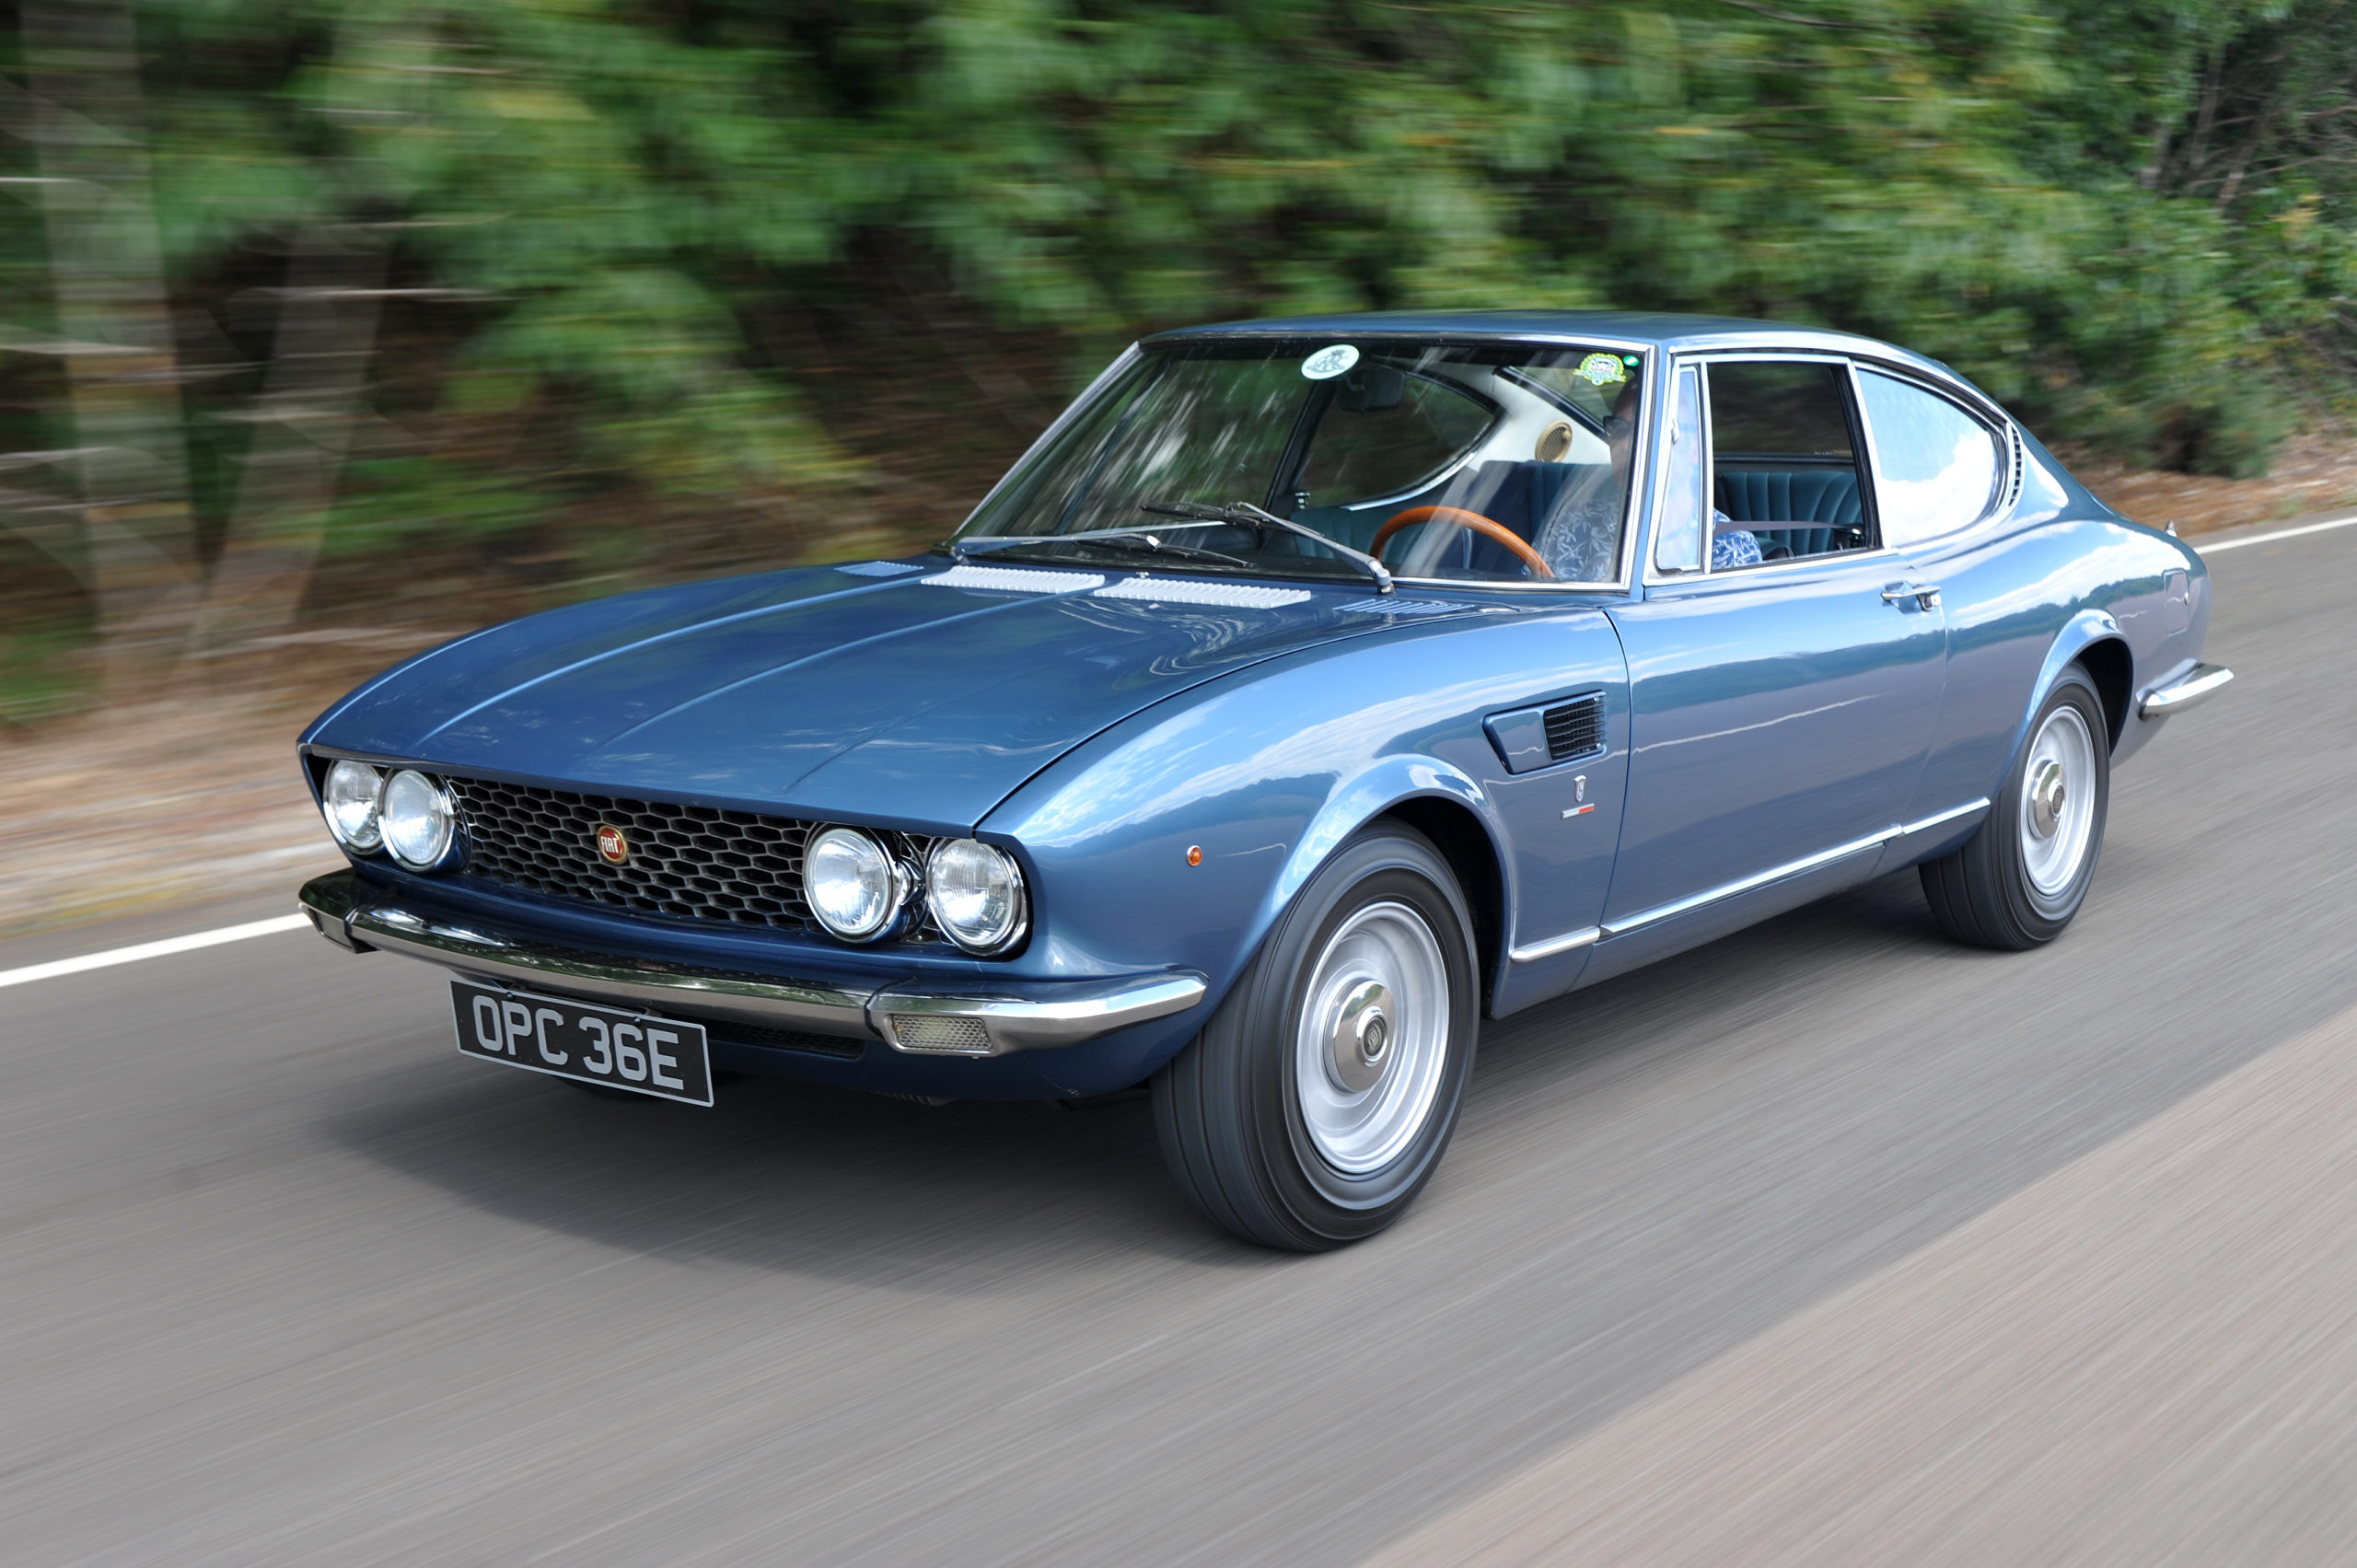
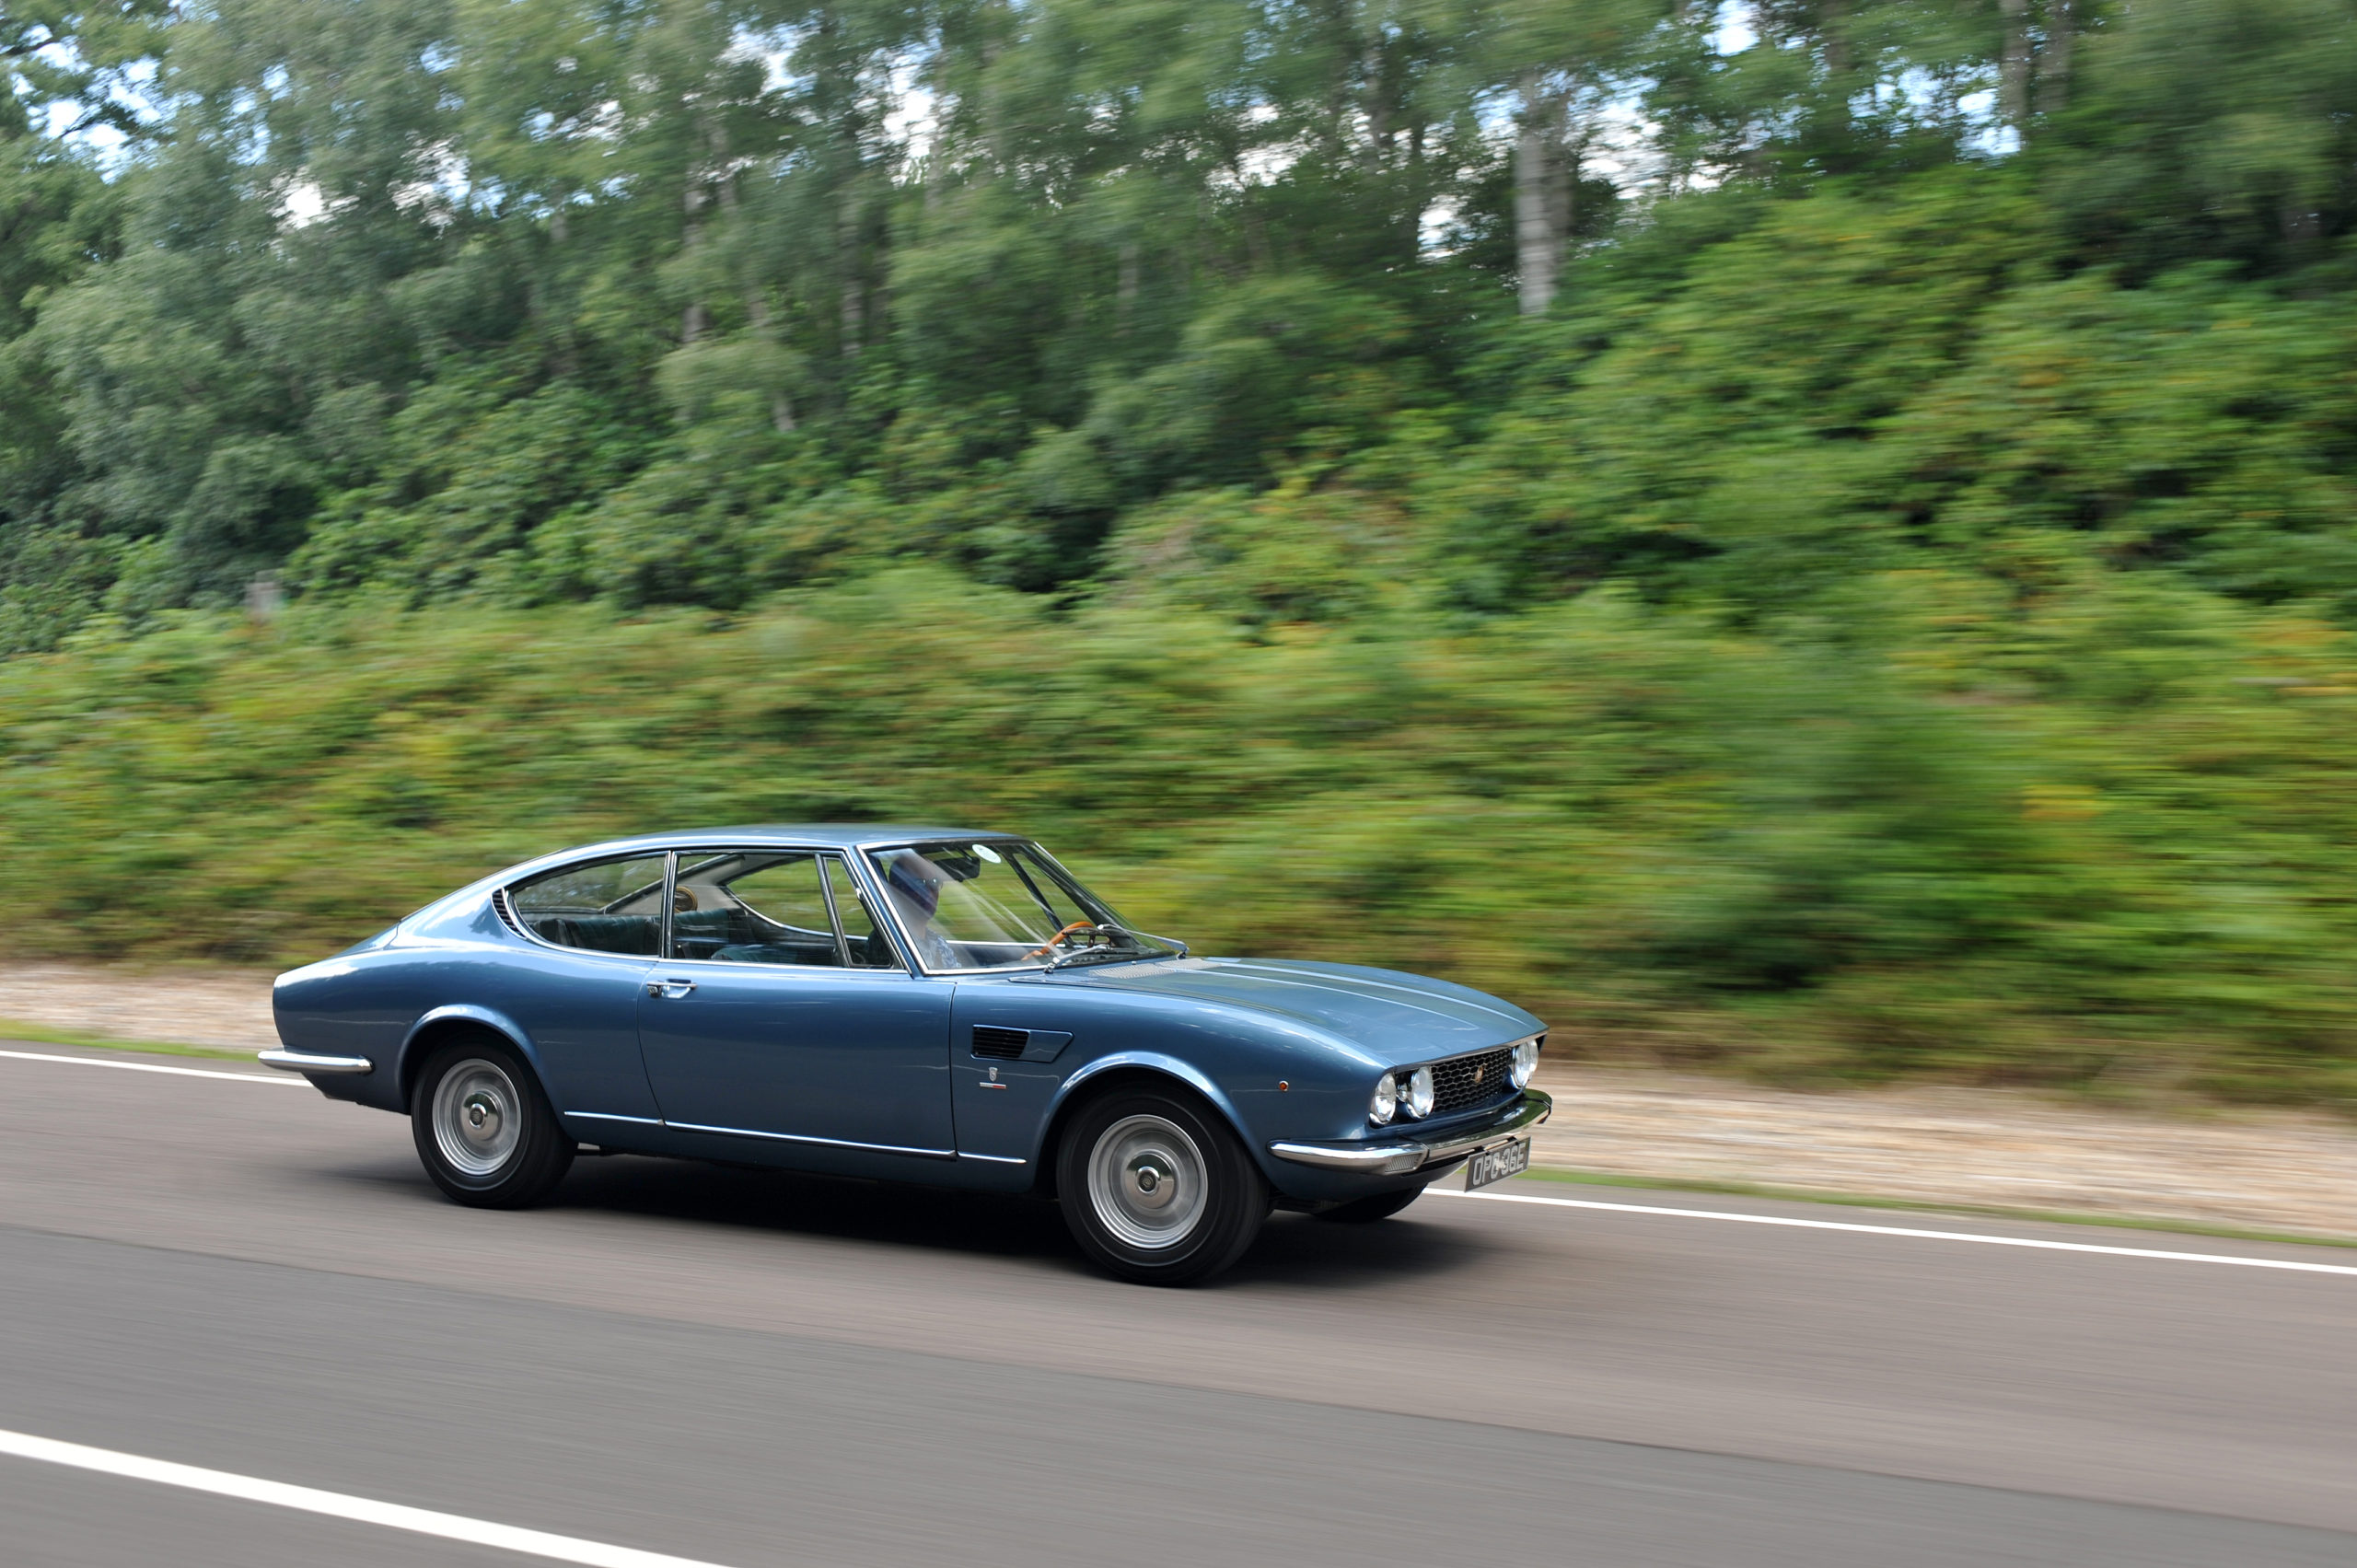
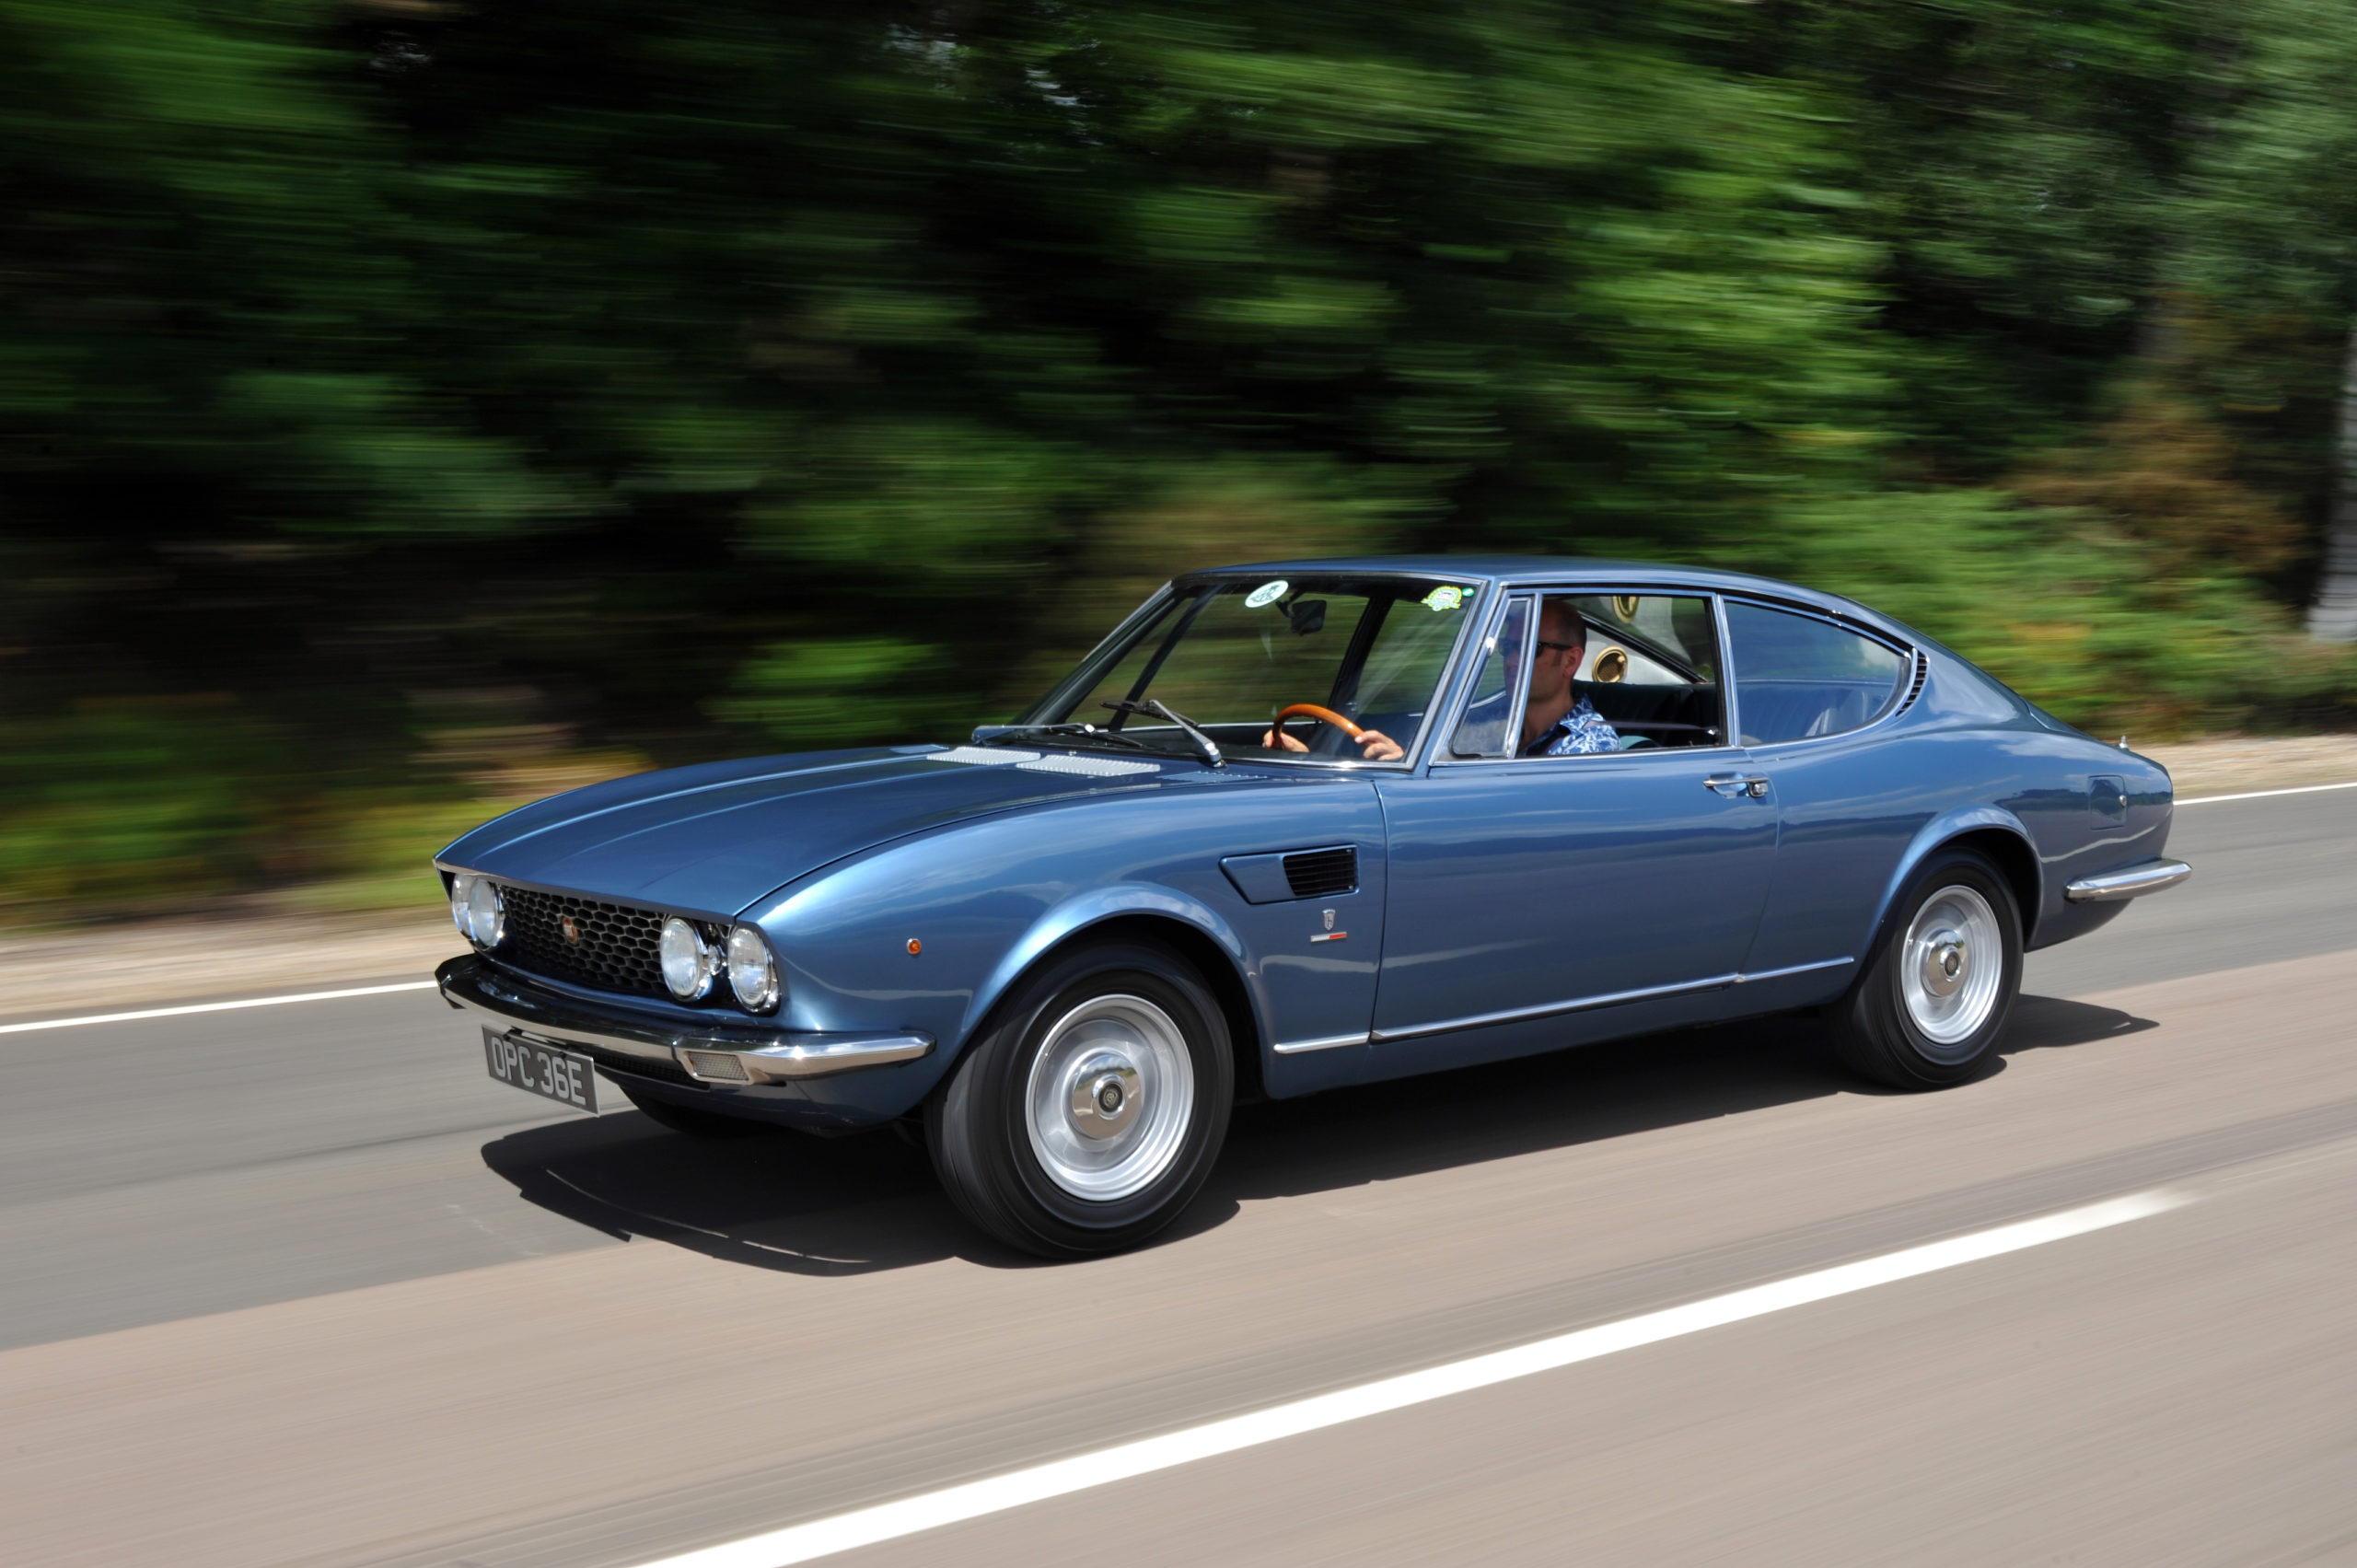
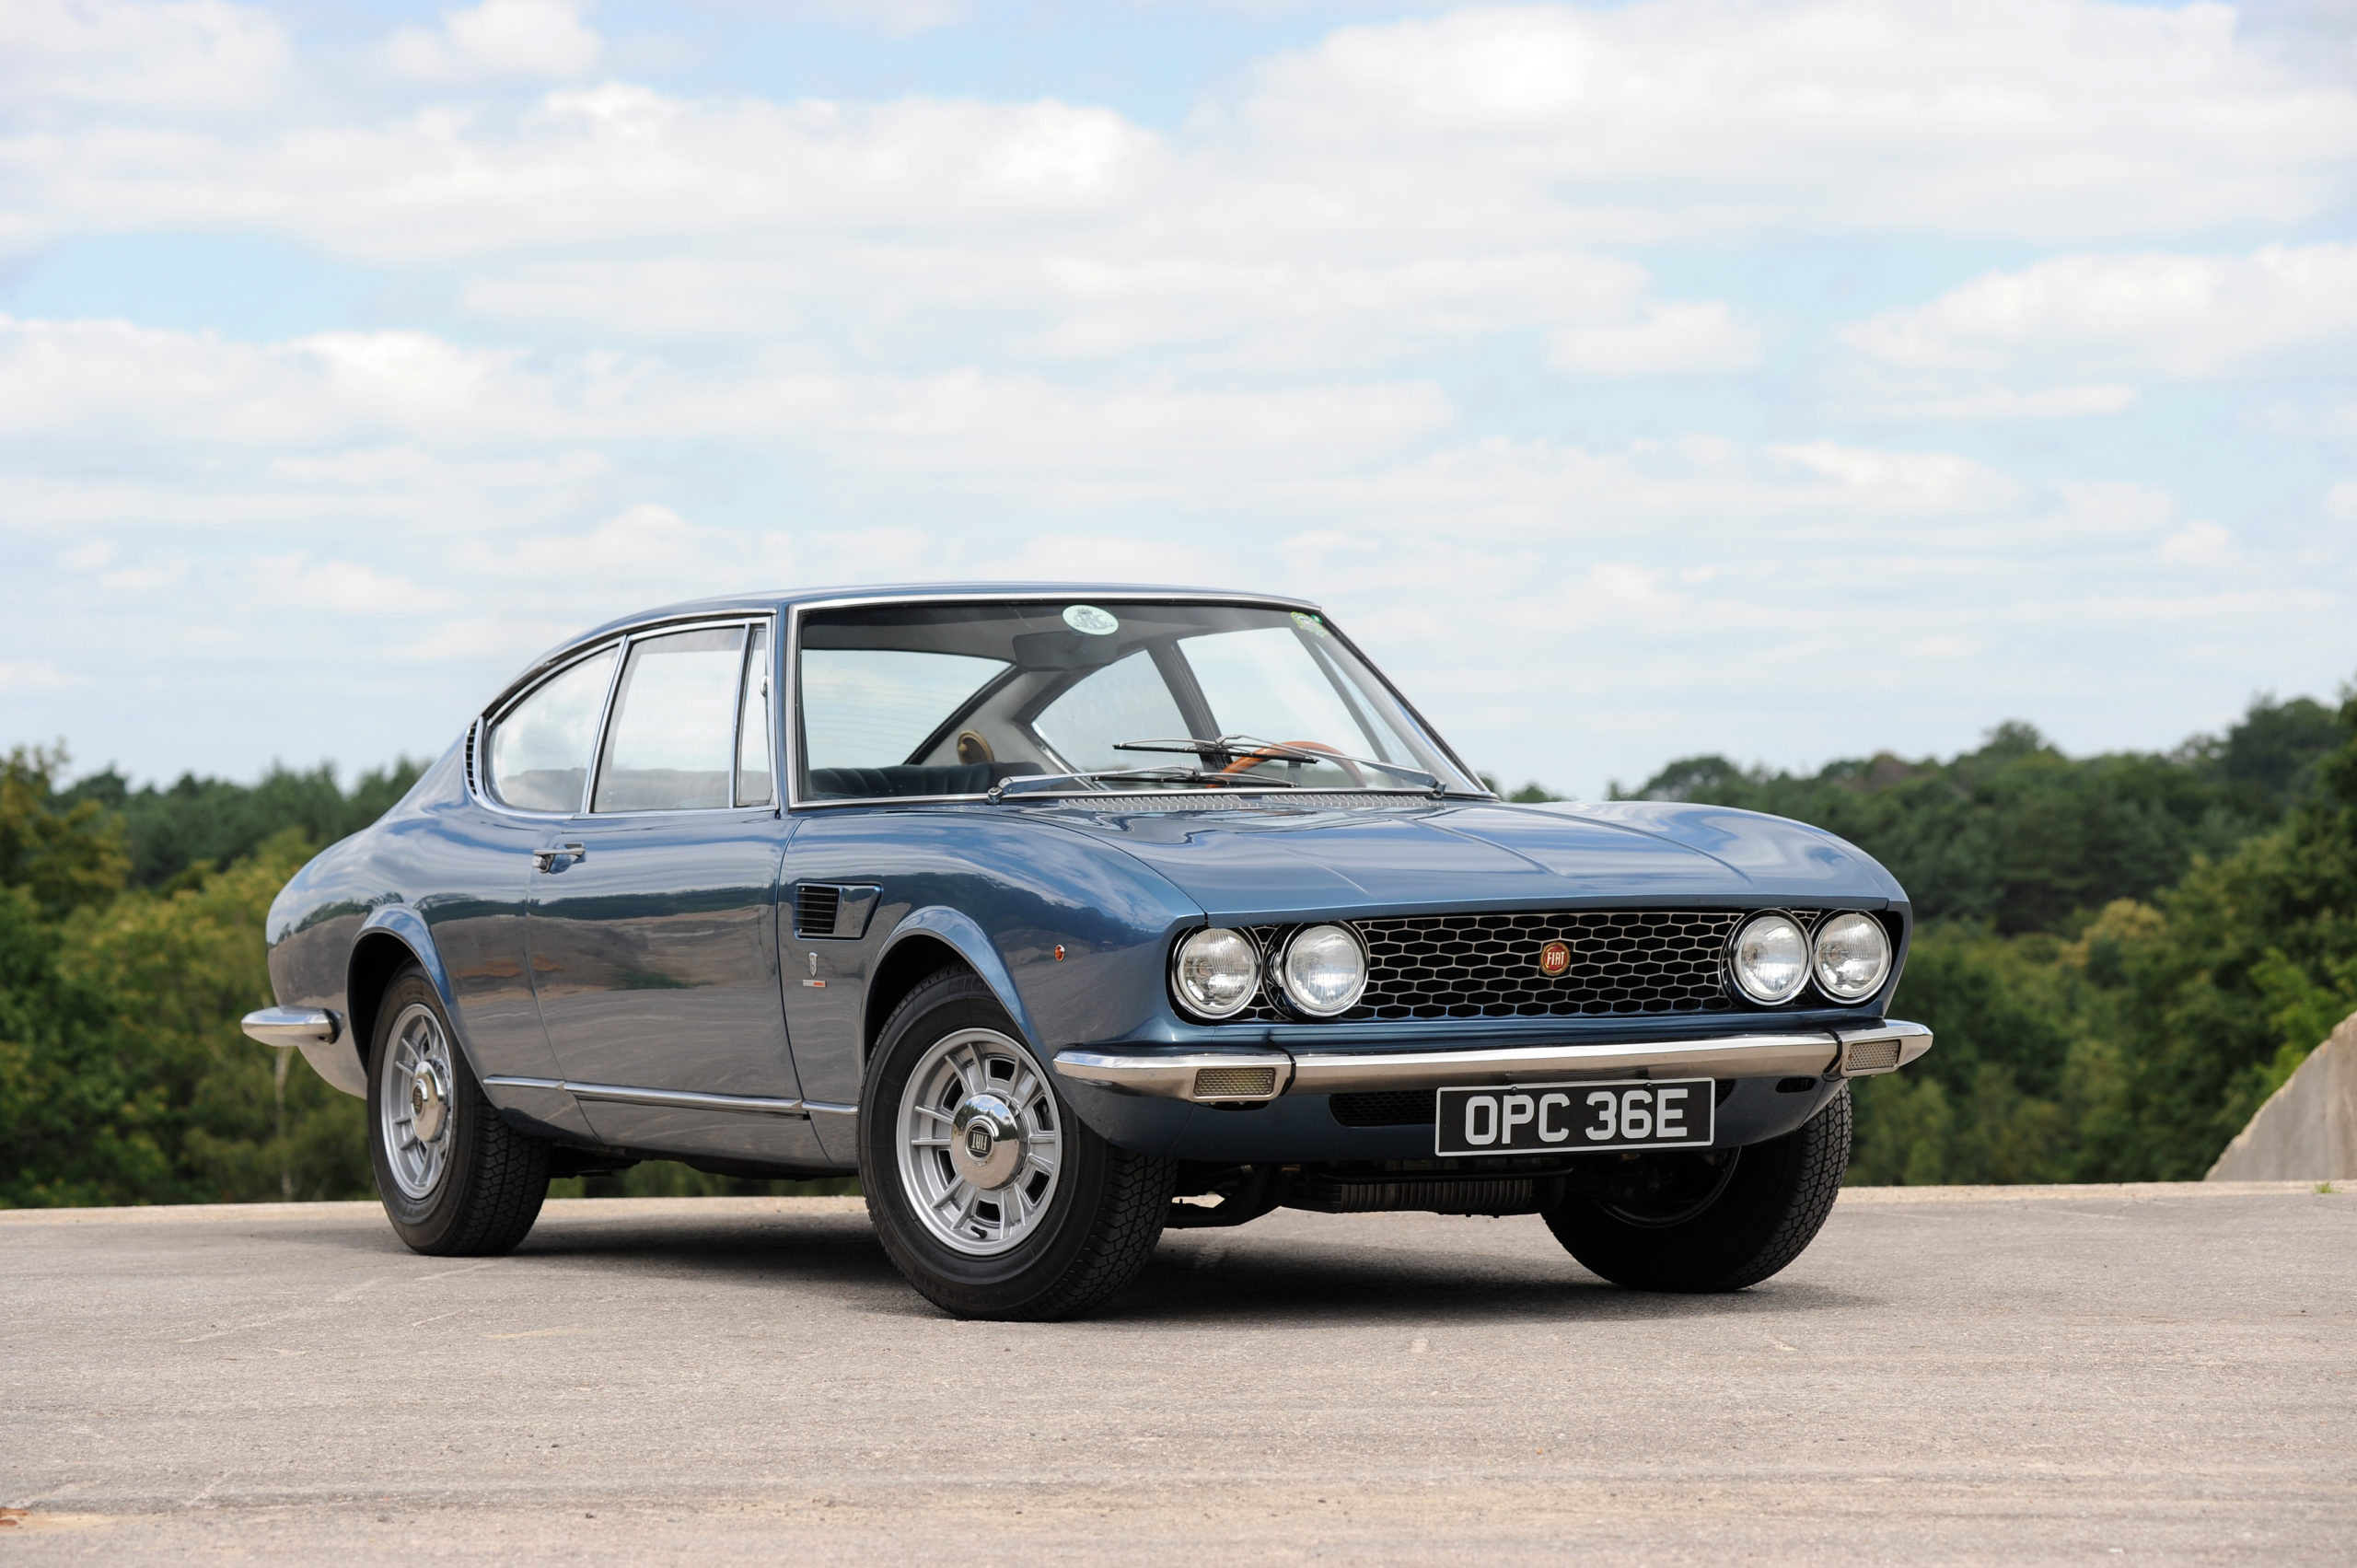
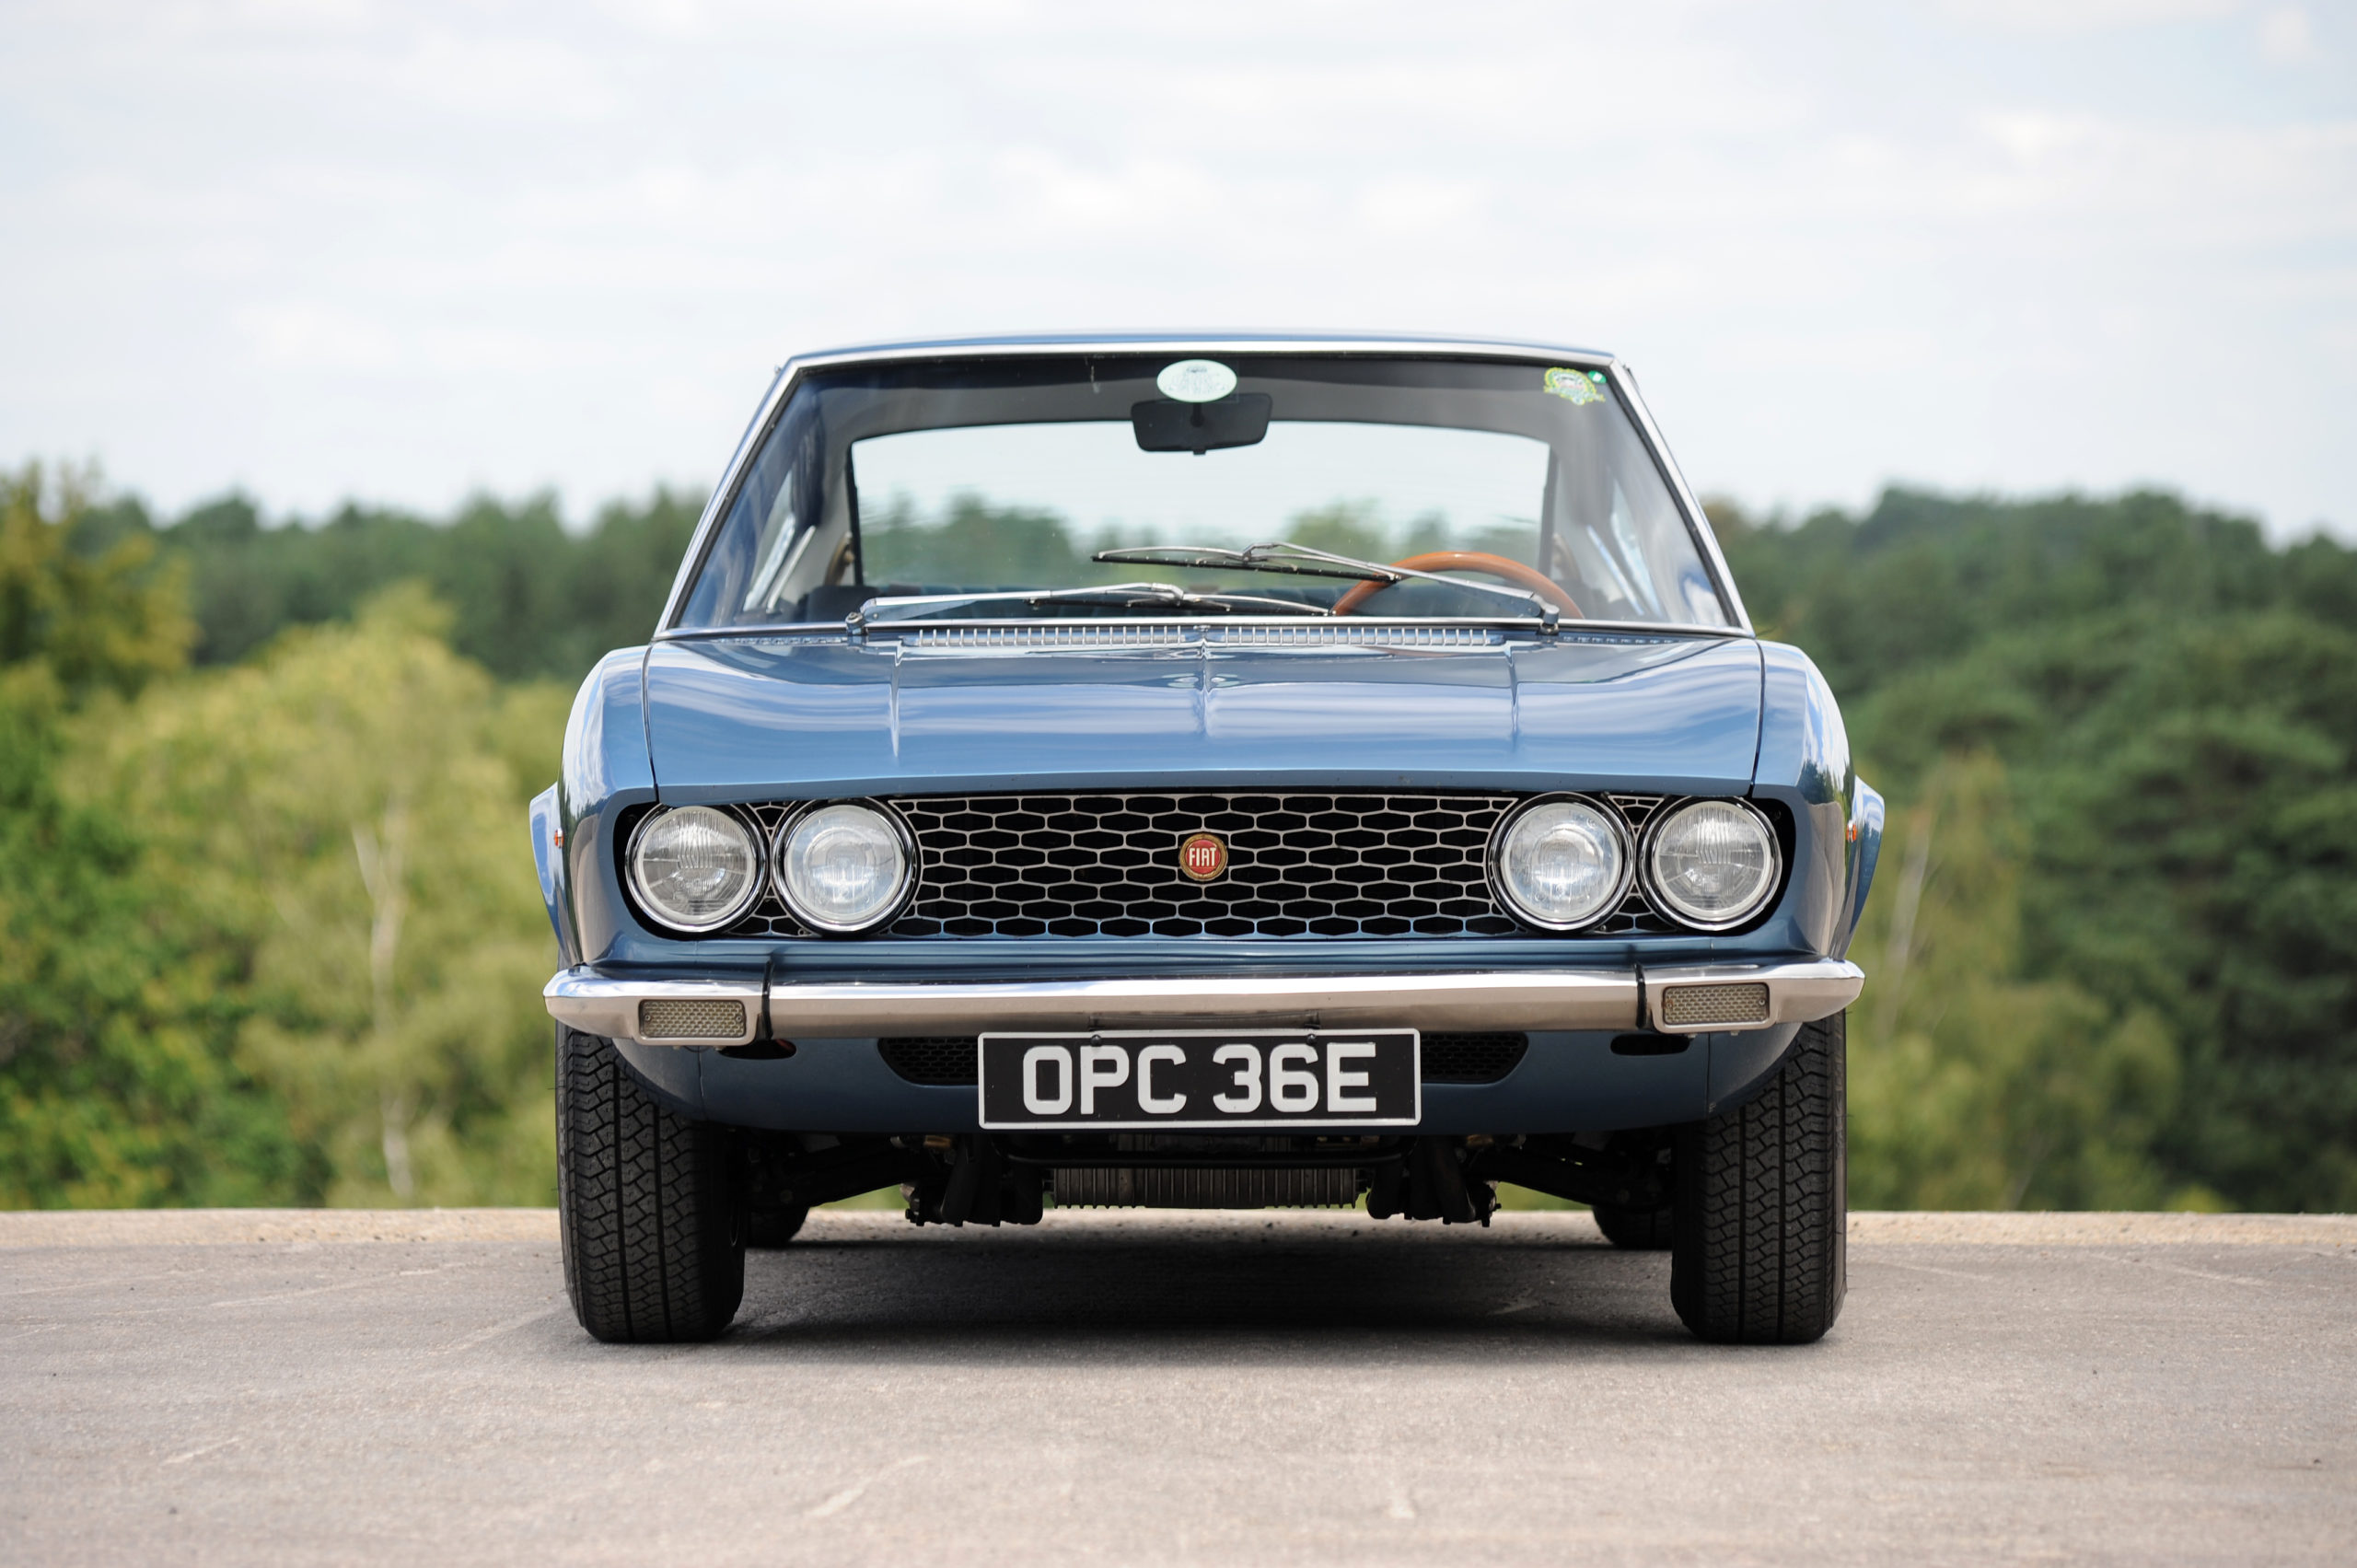
This 1967 Fiat Dino coupe had been left pretty much unused for 12 years. All this time was spent garaged fortunately, which meant that she hadn’t deteriorated too badly. The aim was originally to strip her of all exterior trim, lights etc and carry out a full repaint followed by a mechanical recommission to get her on the road again.
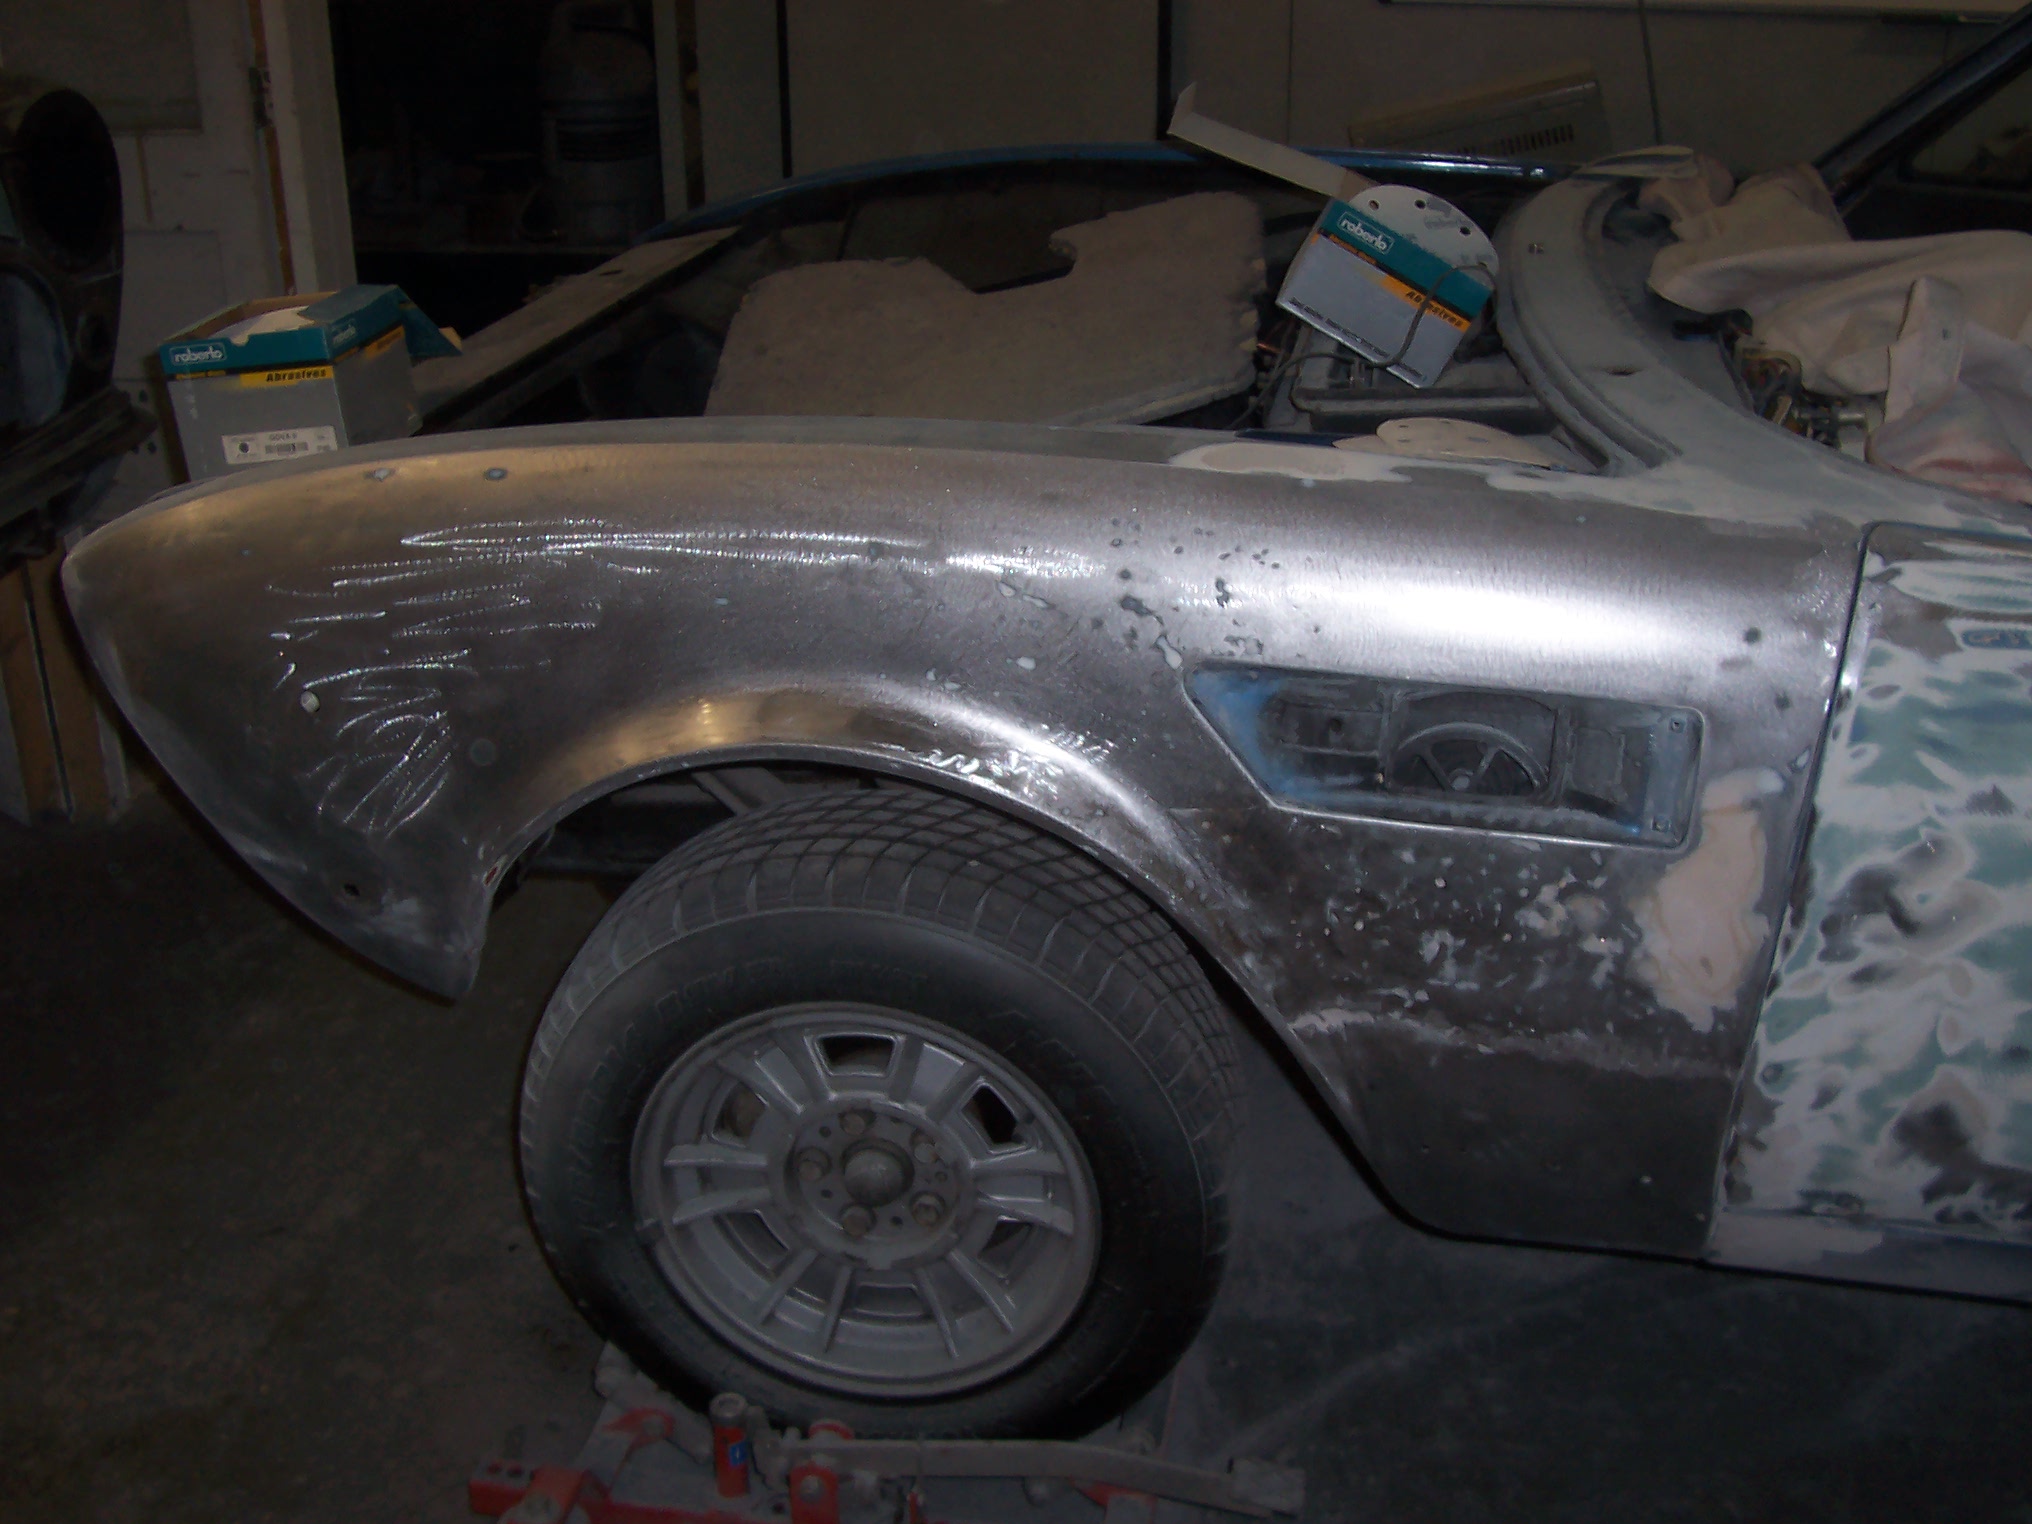
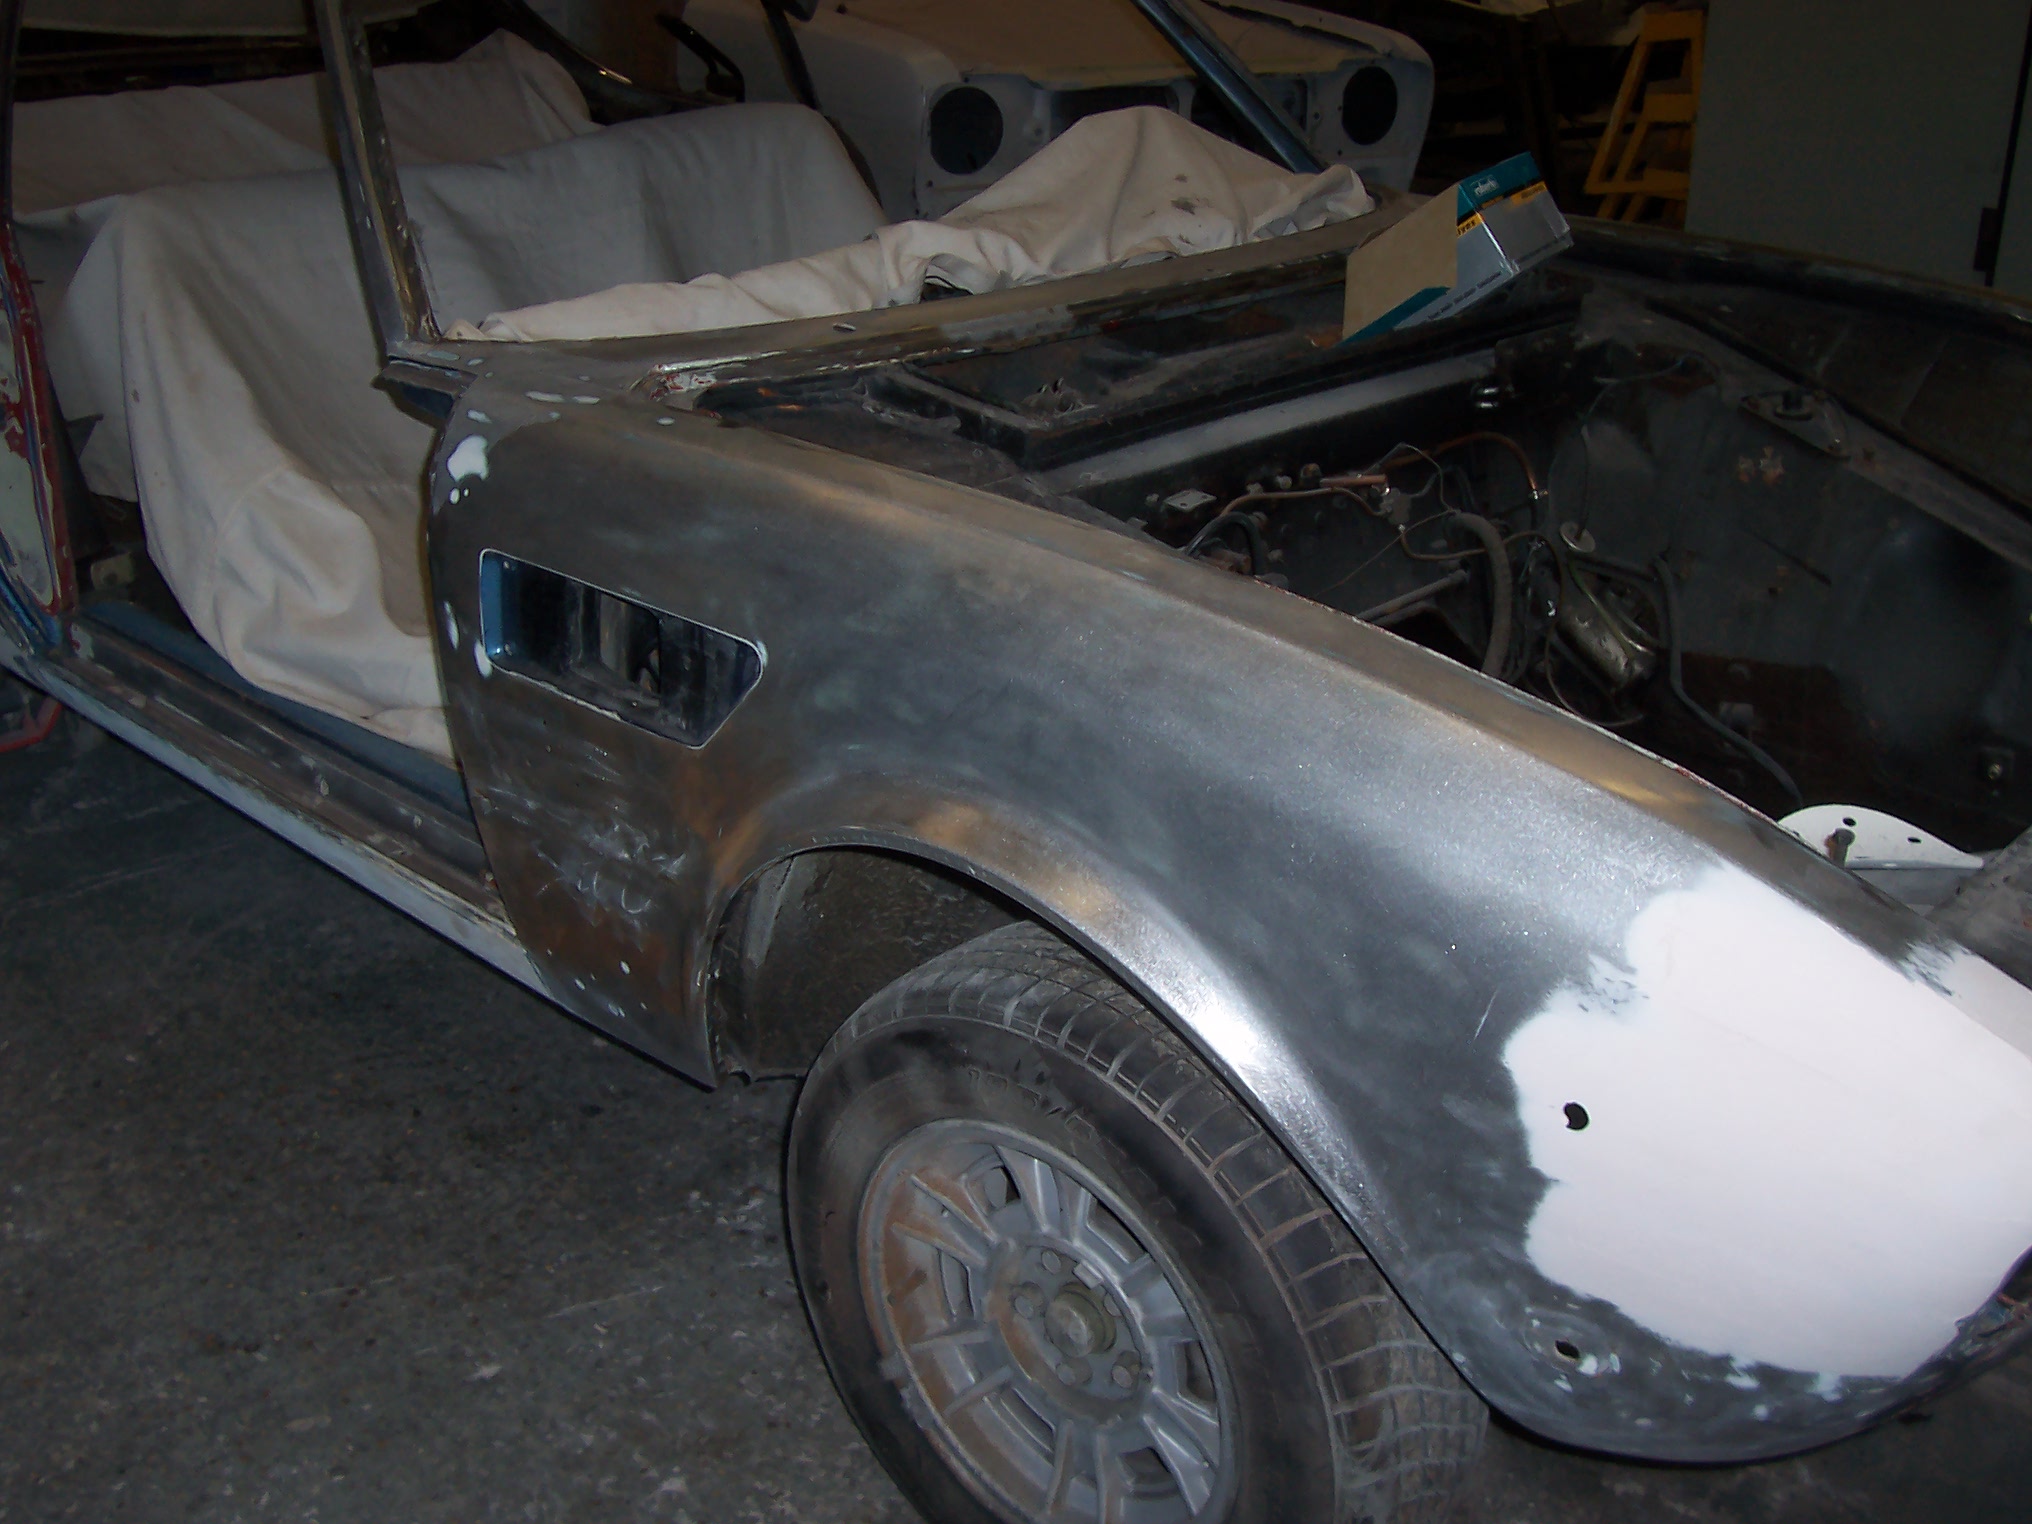
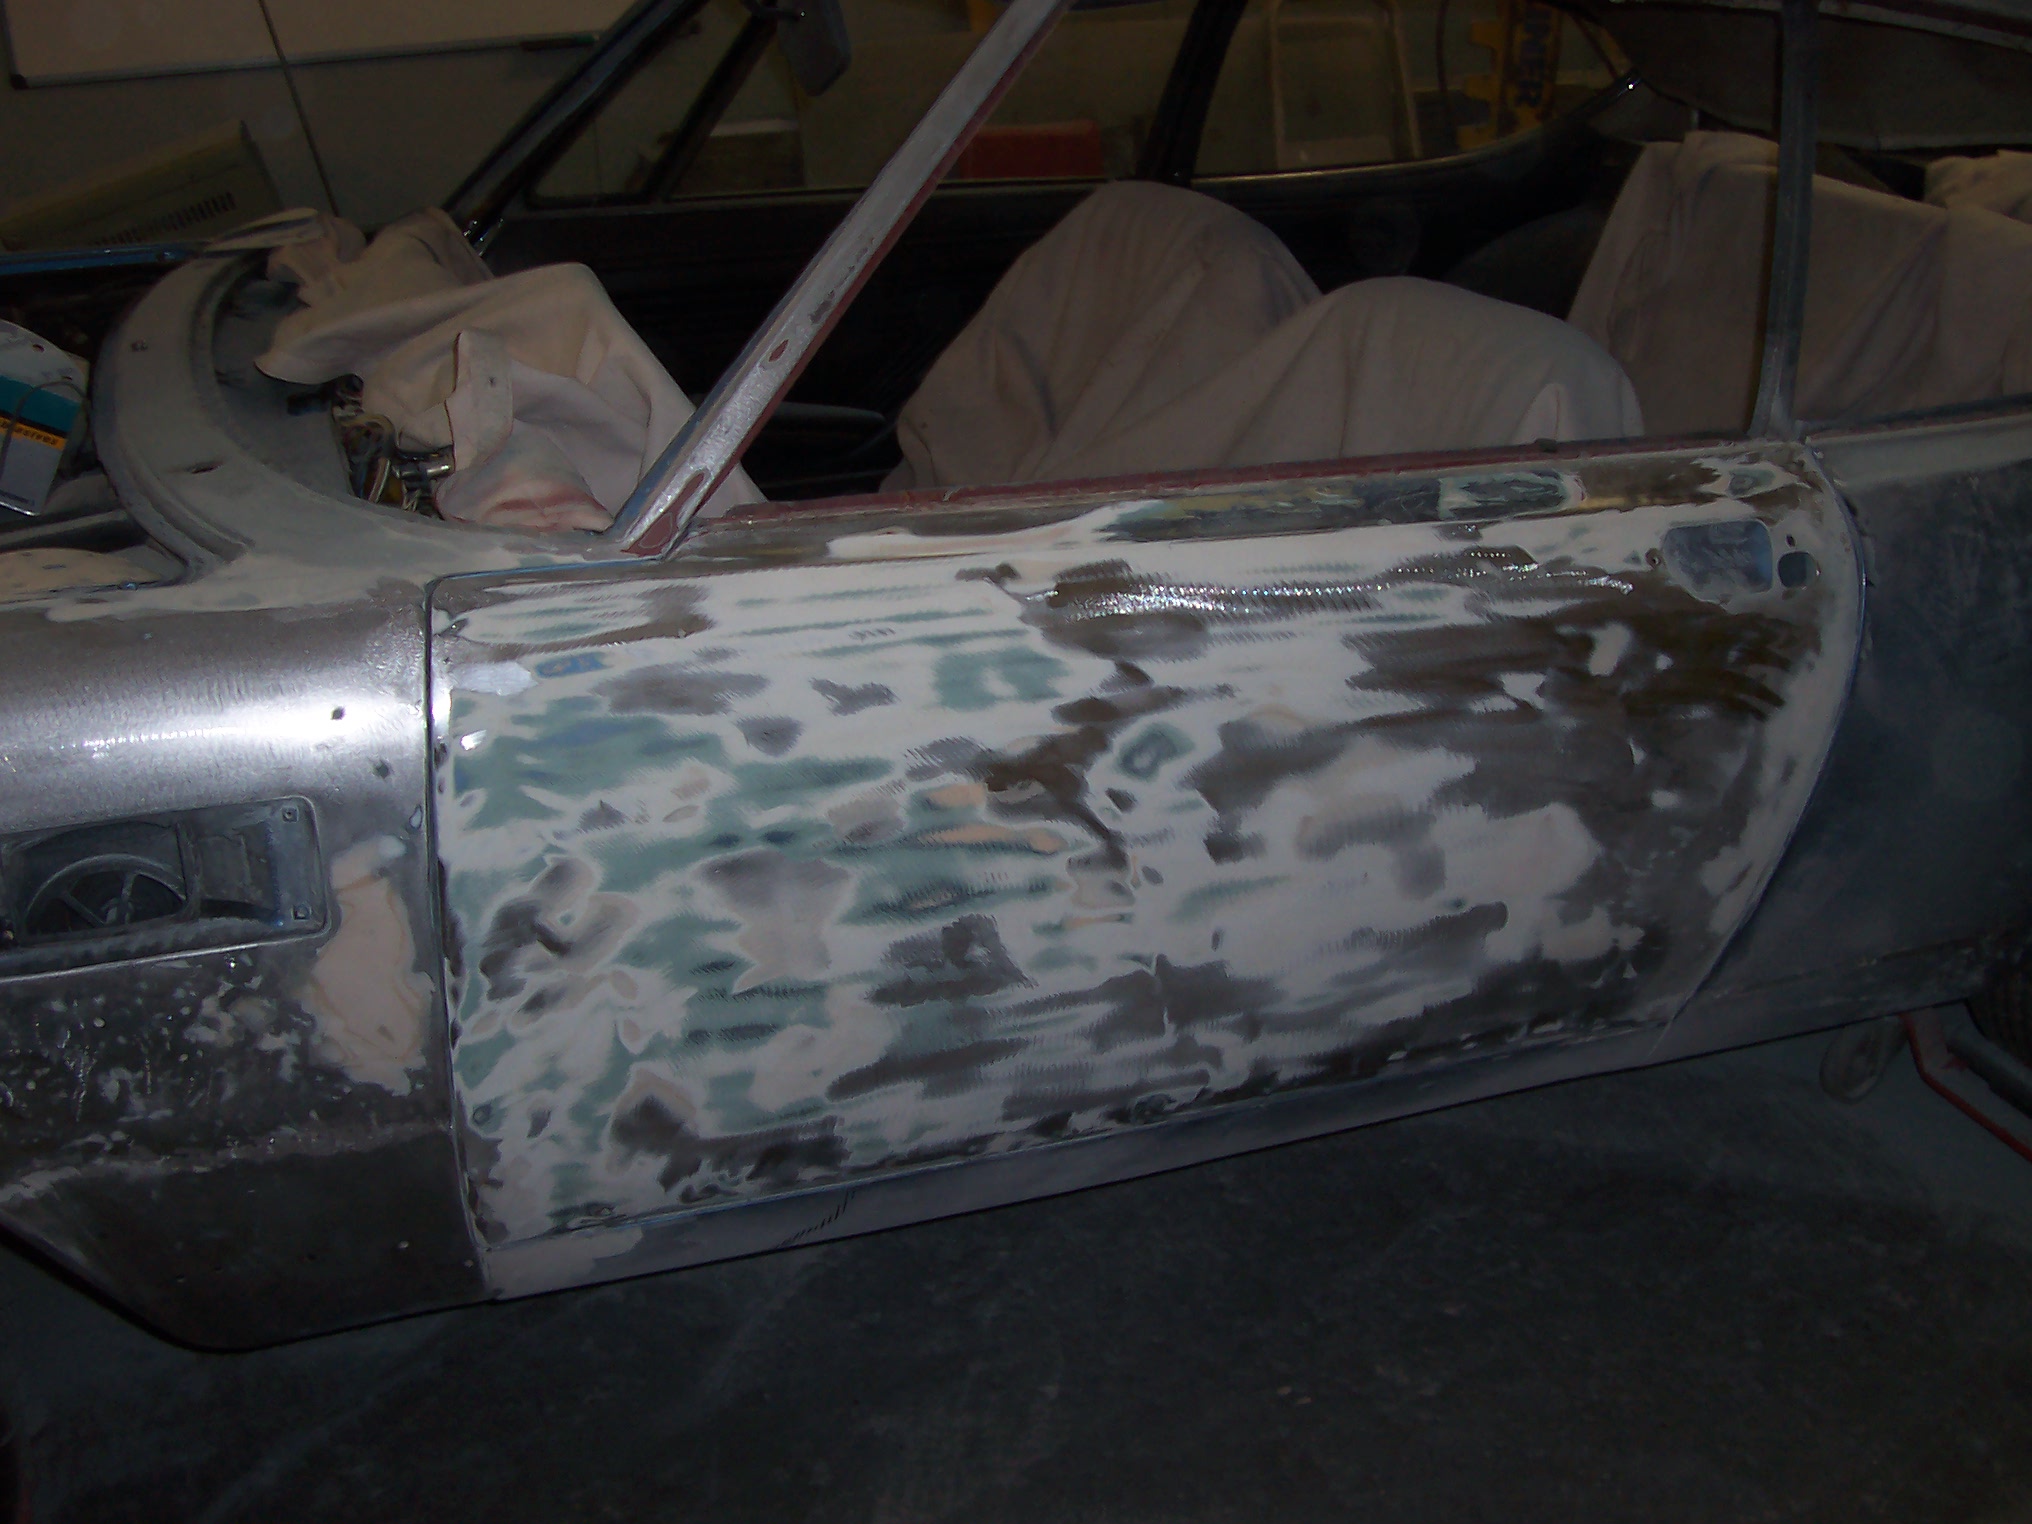
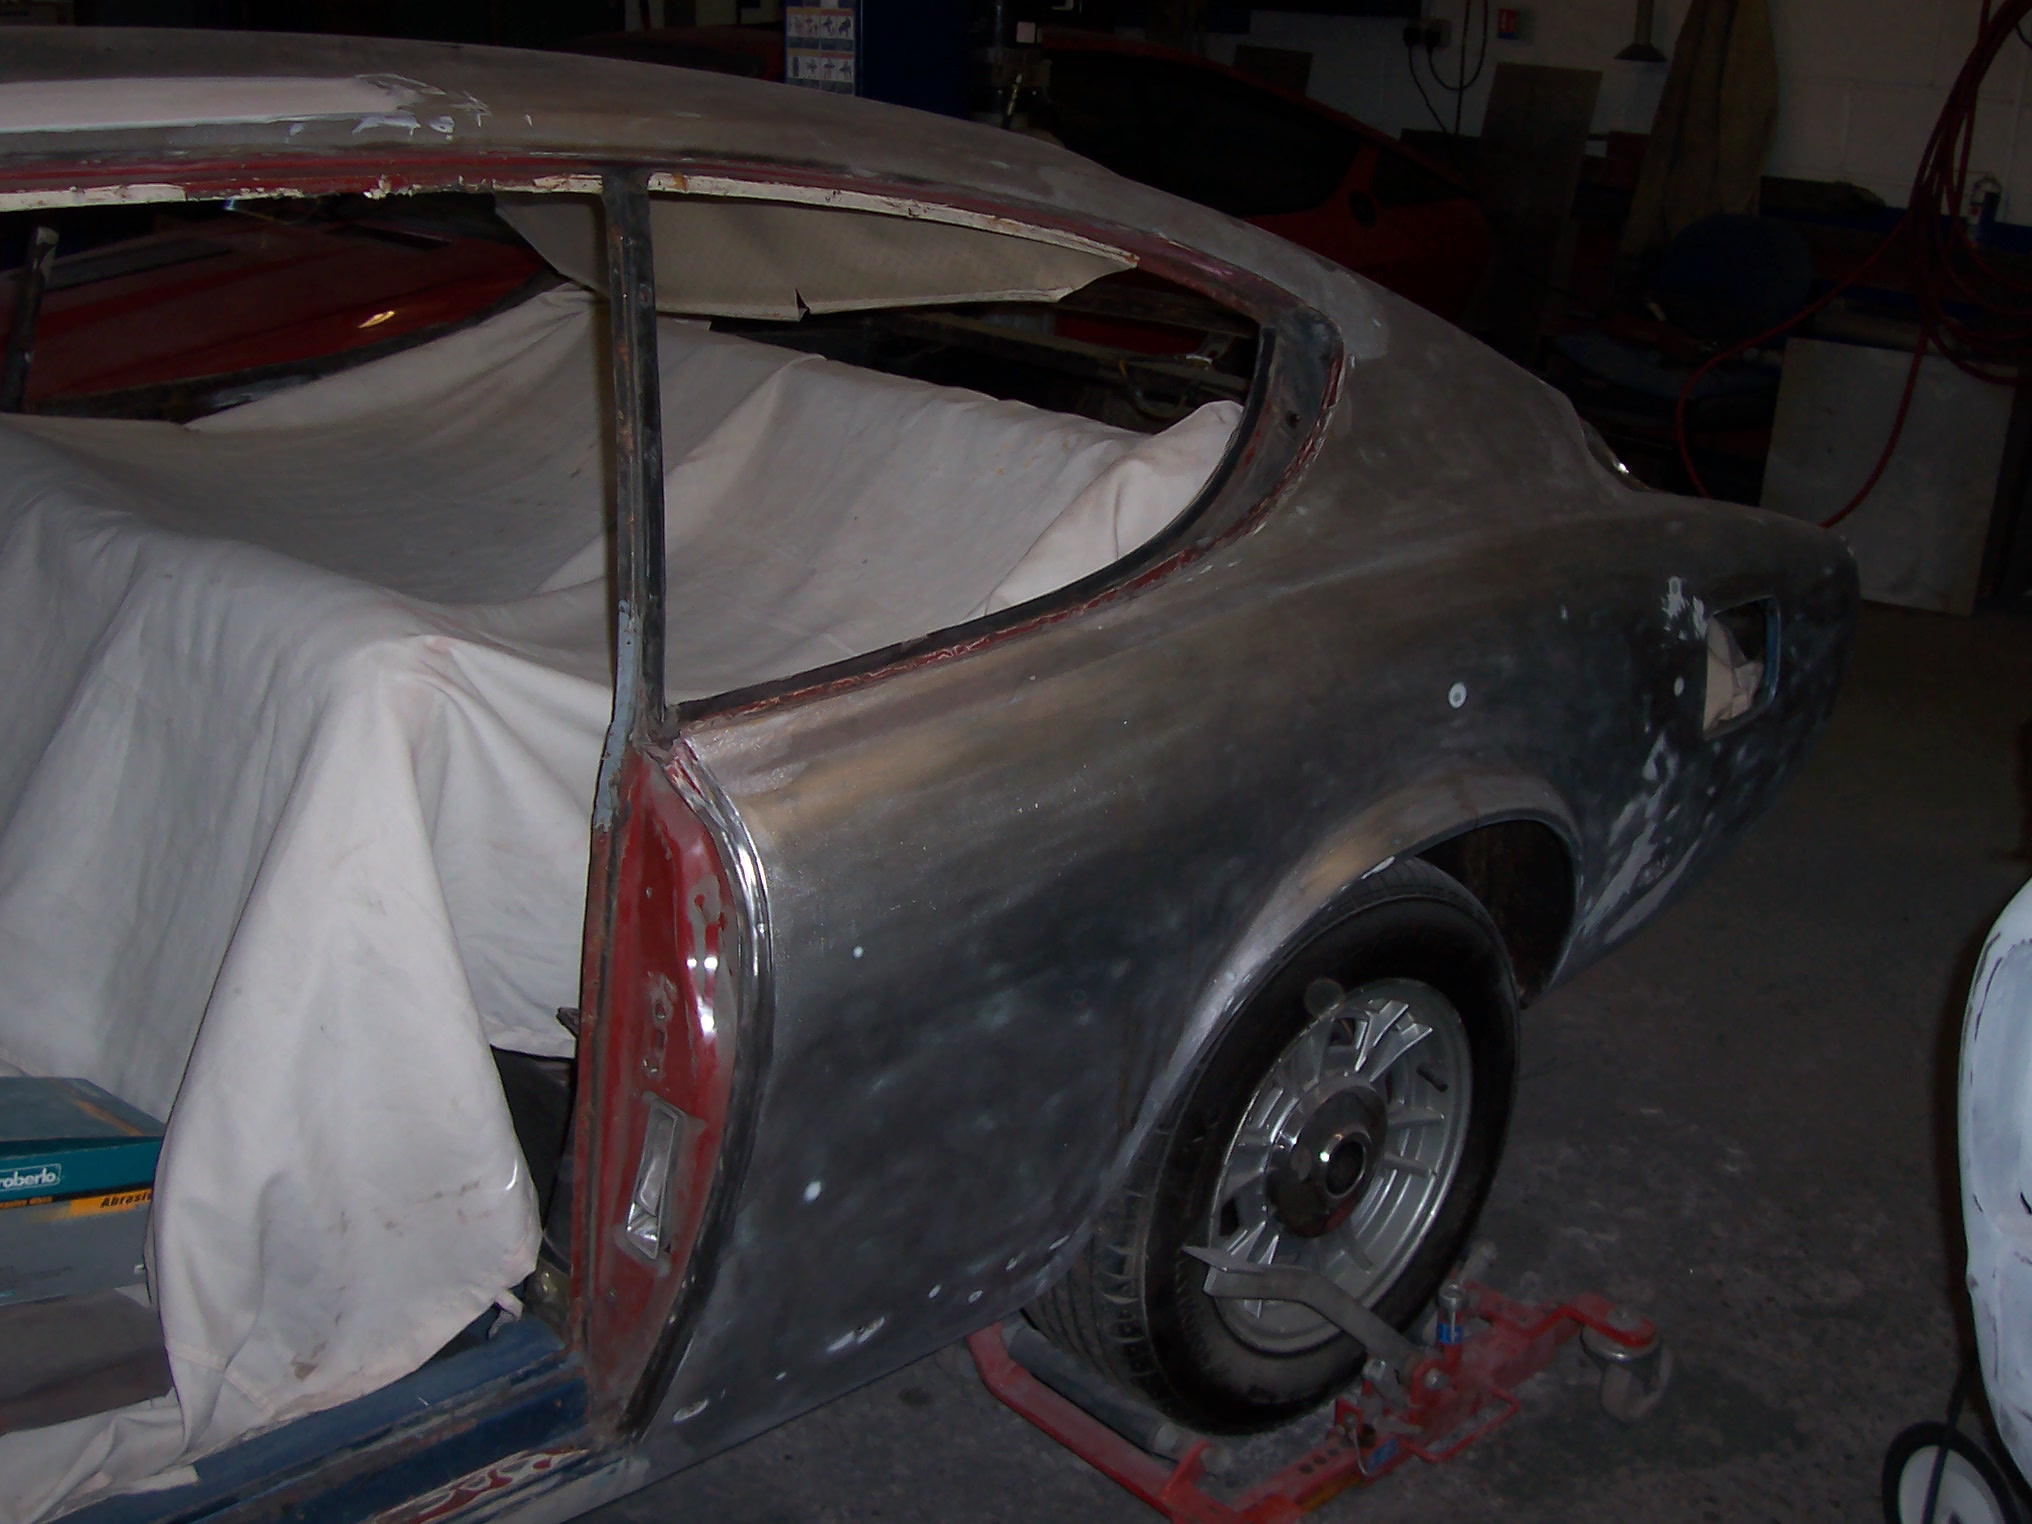
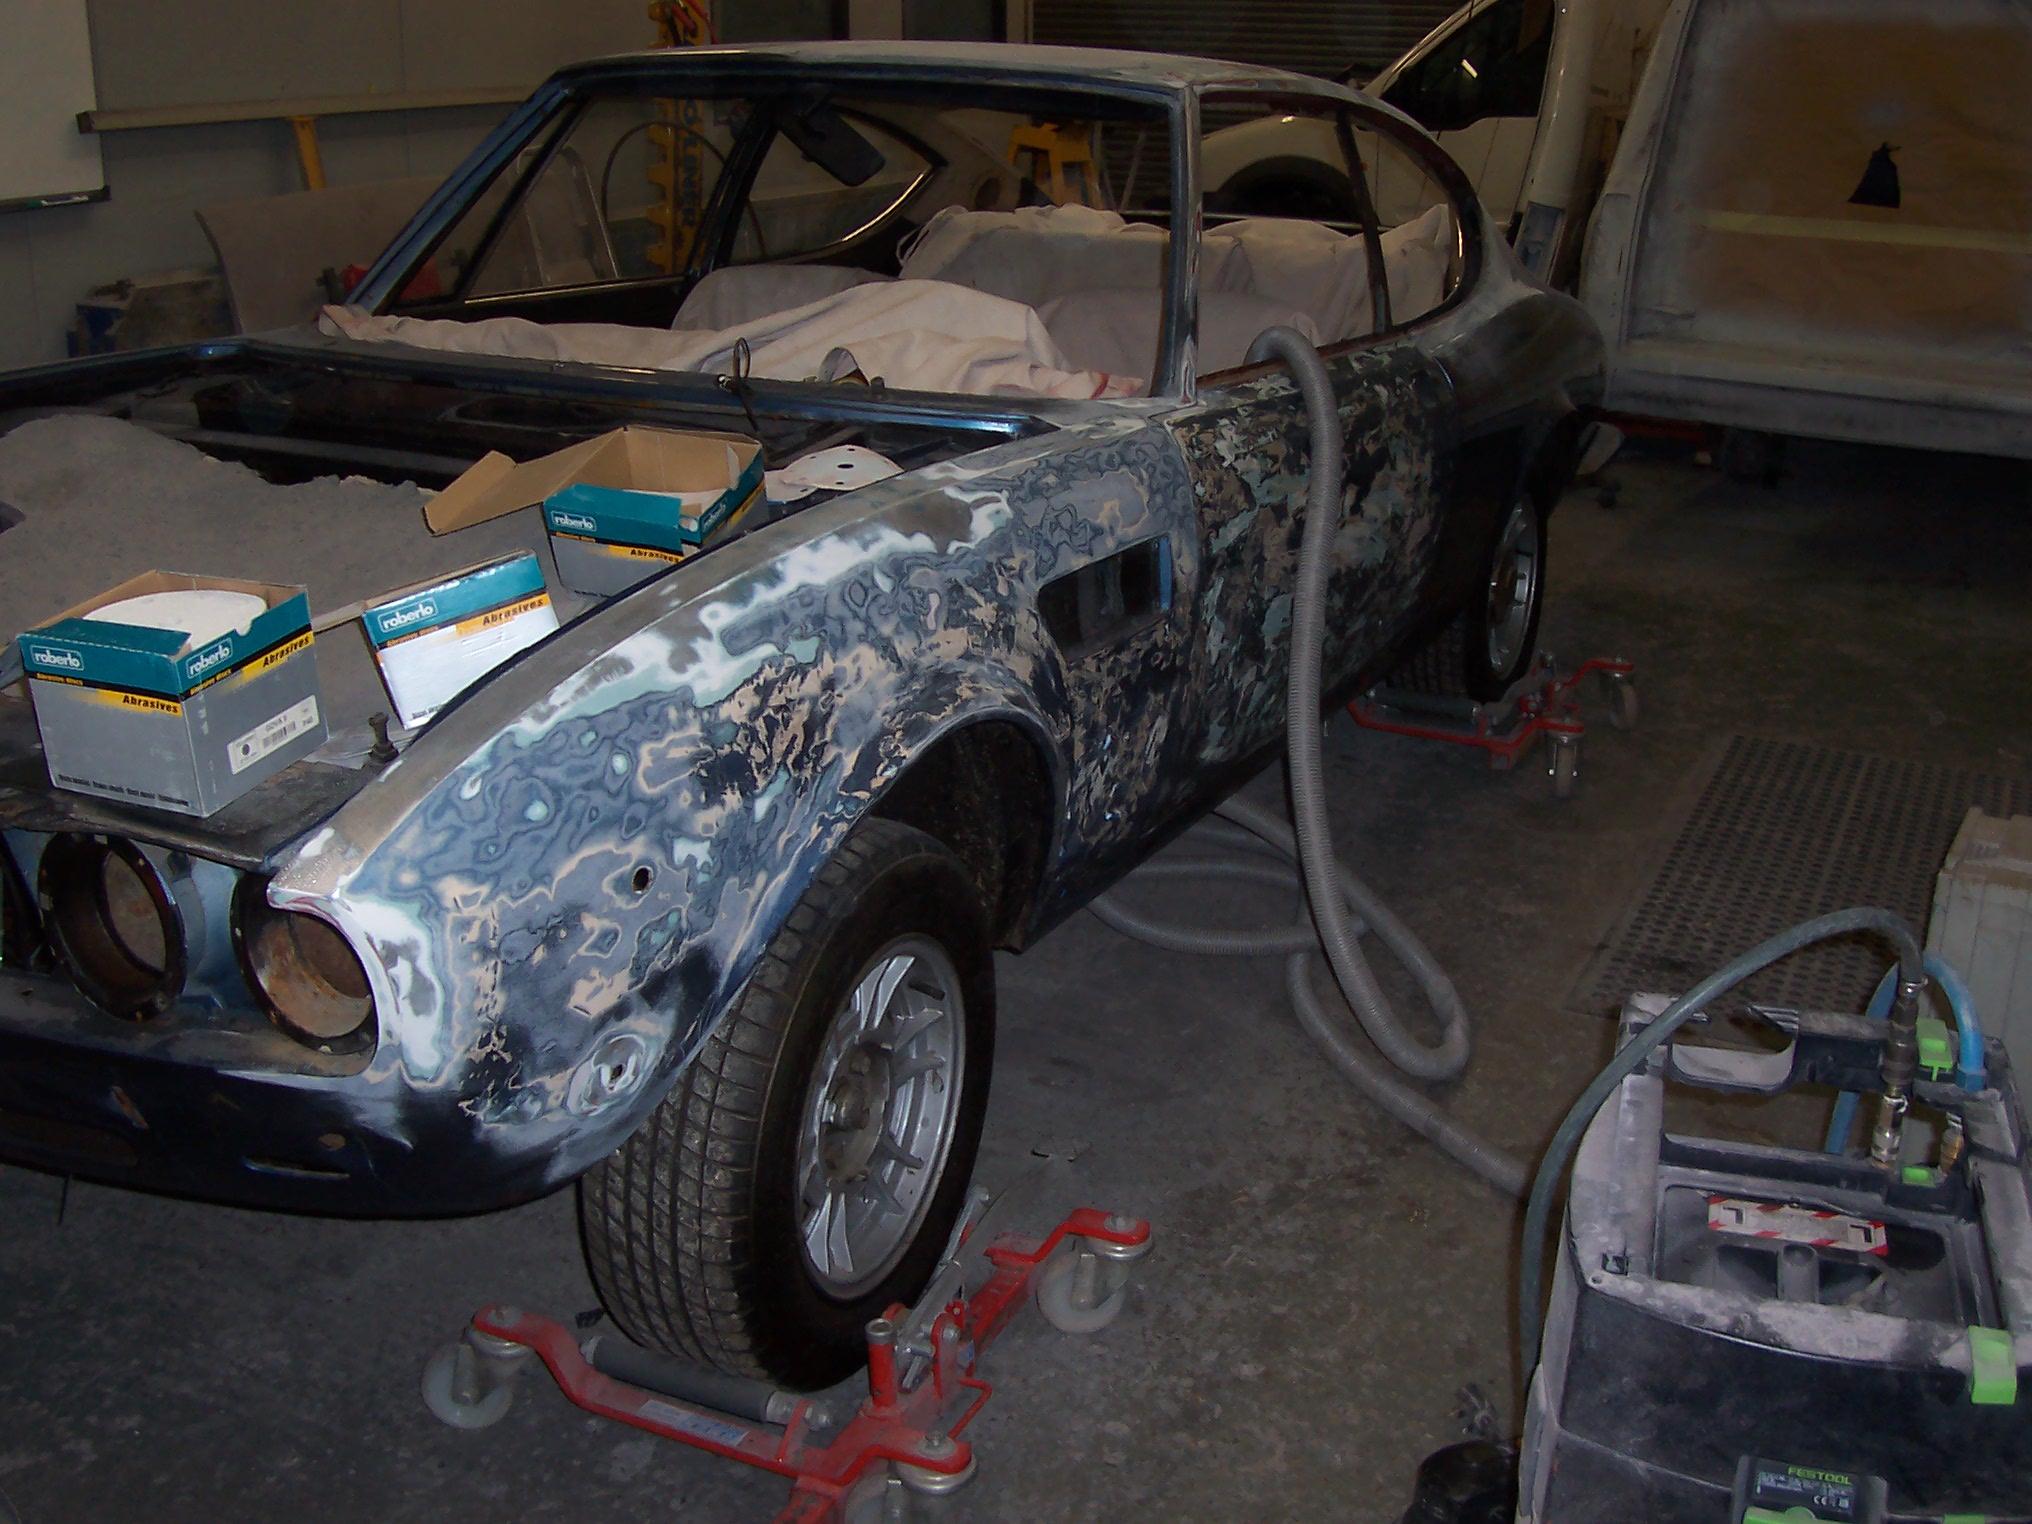
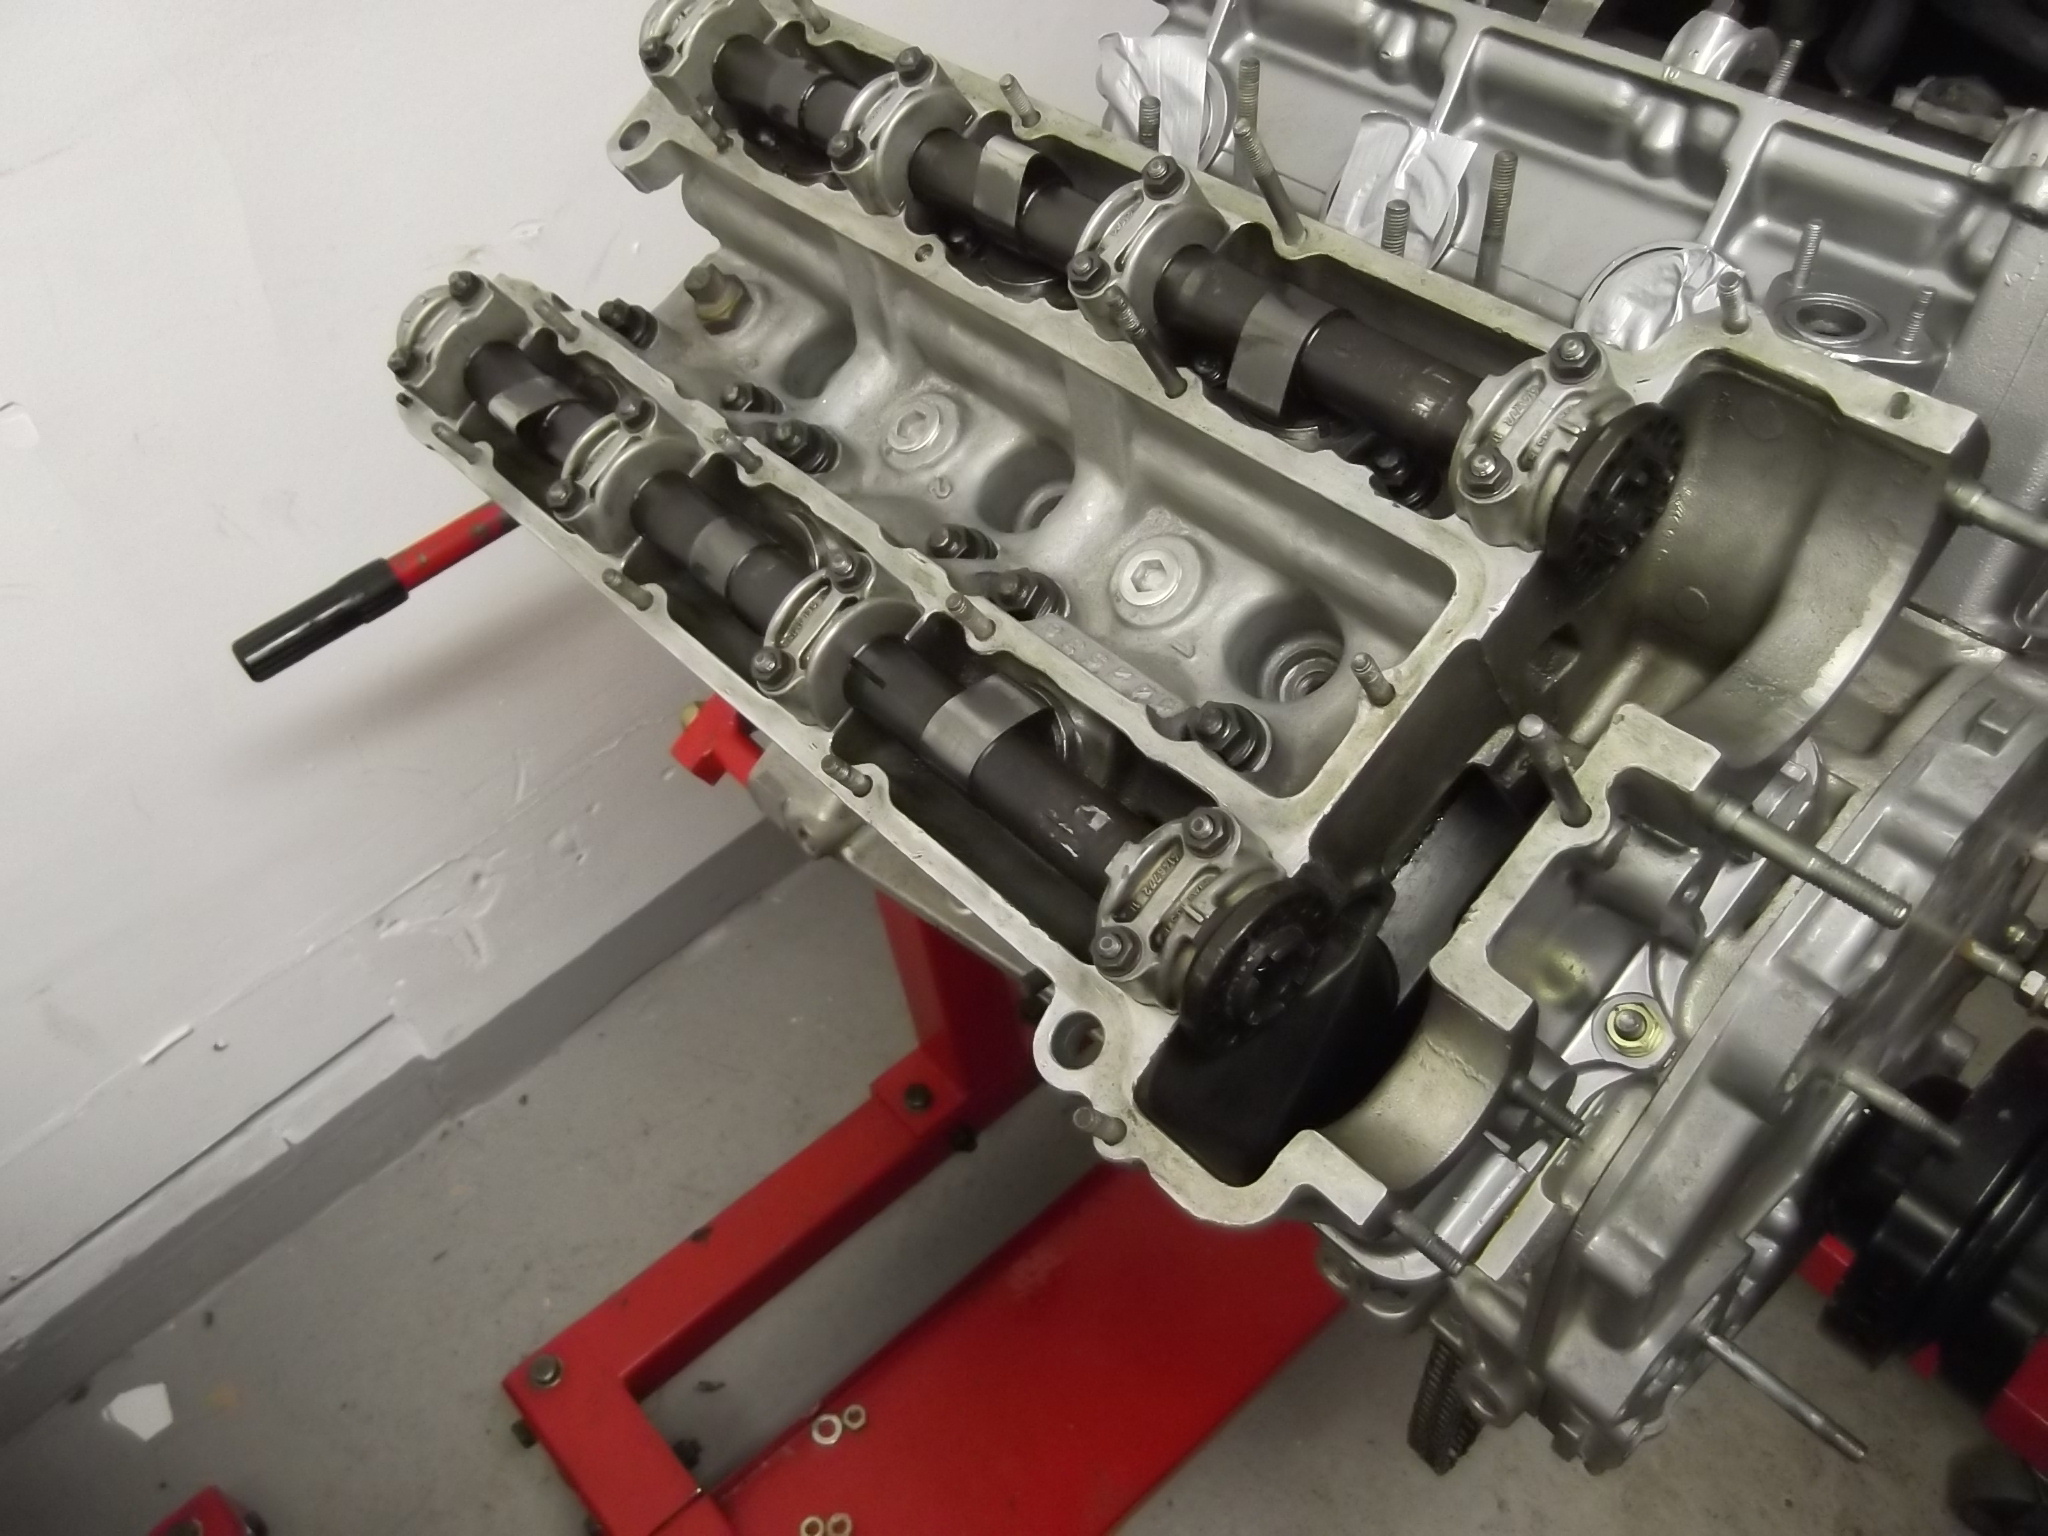
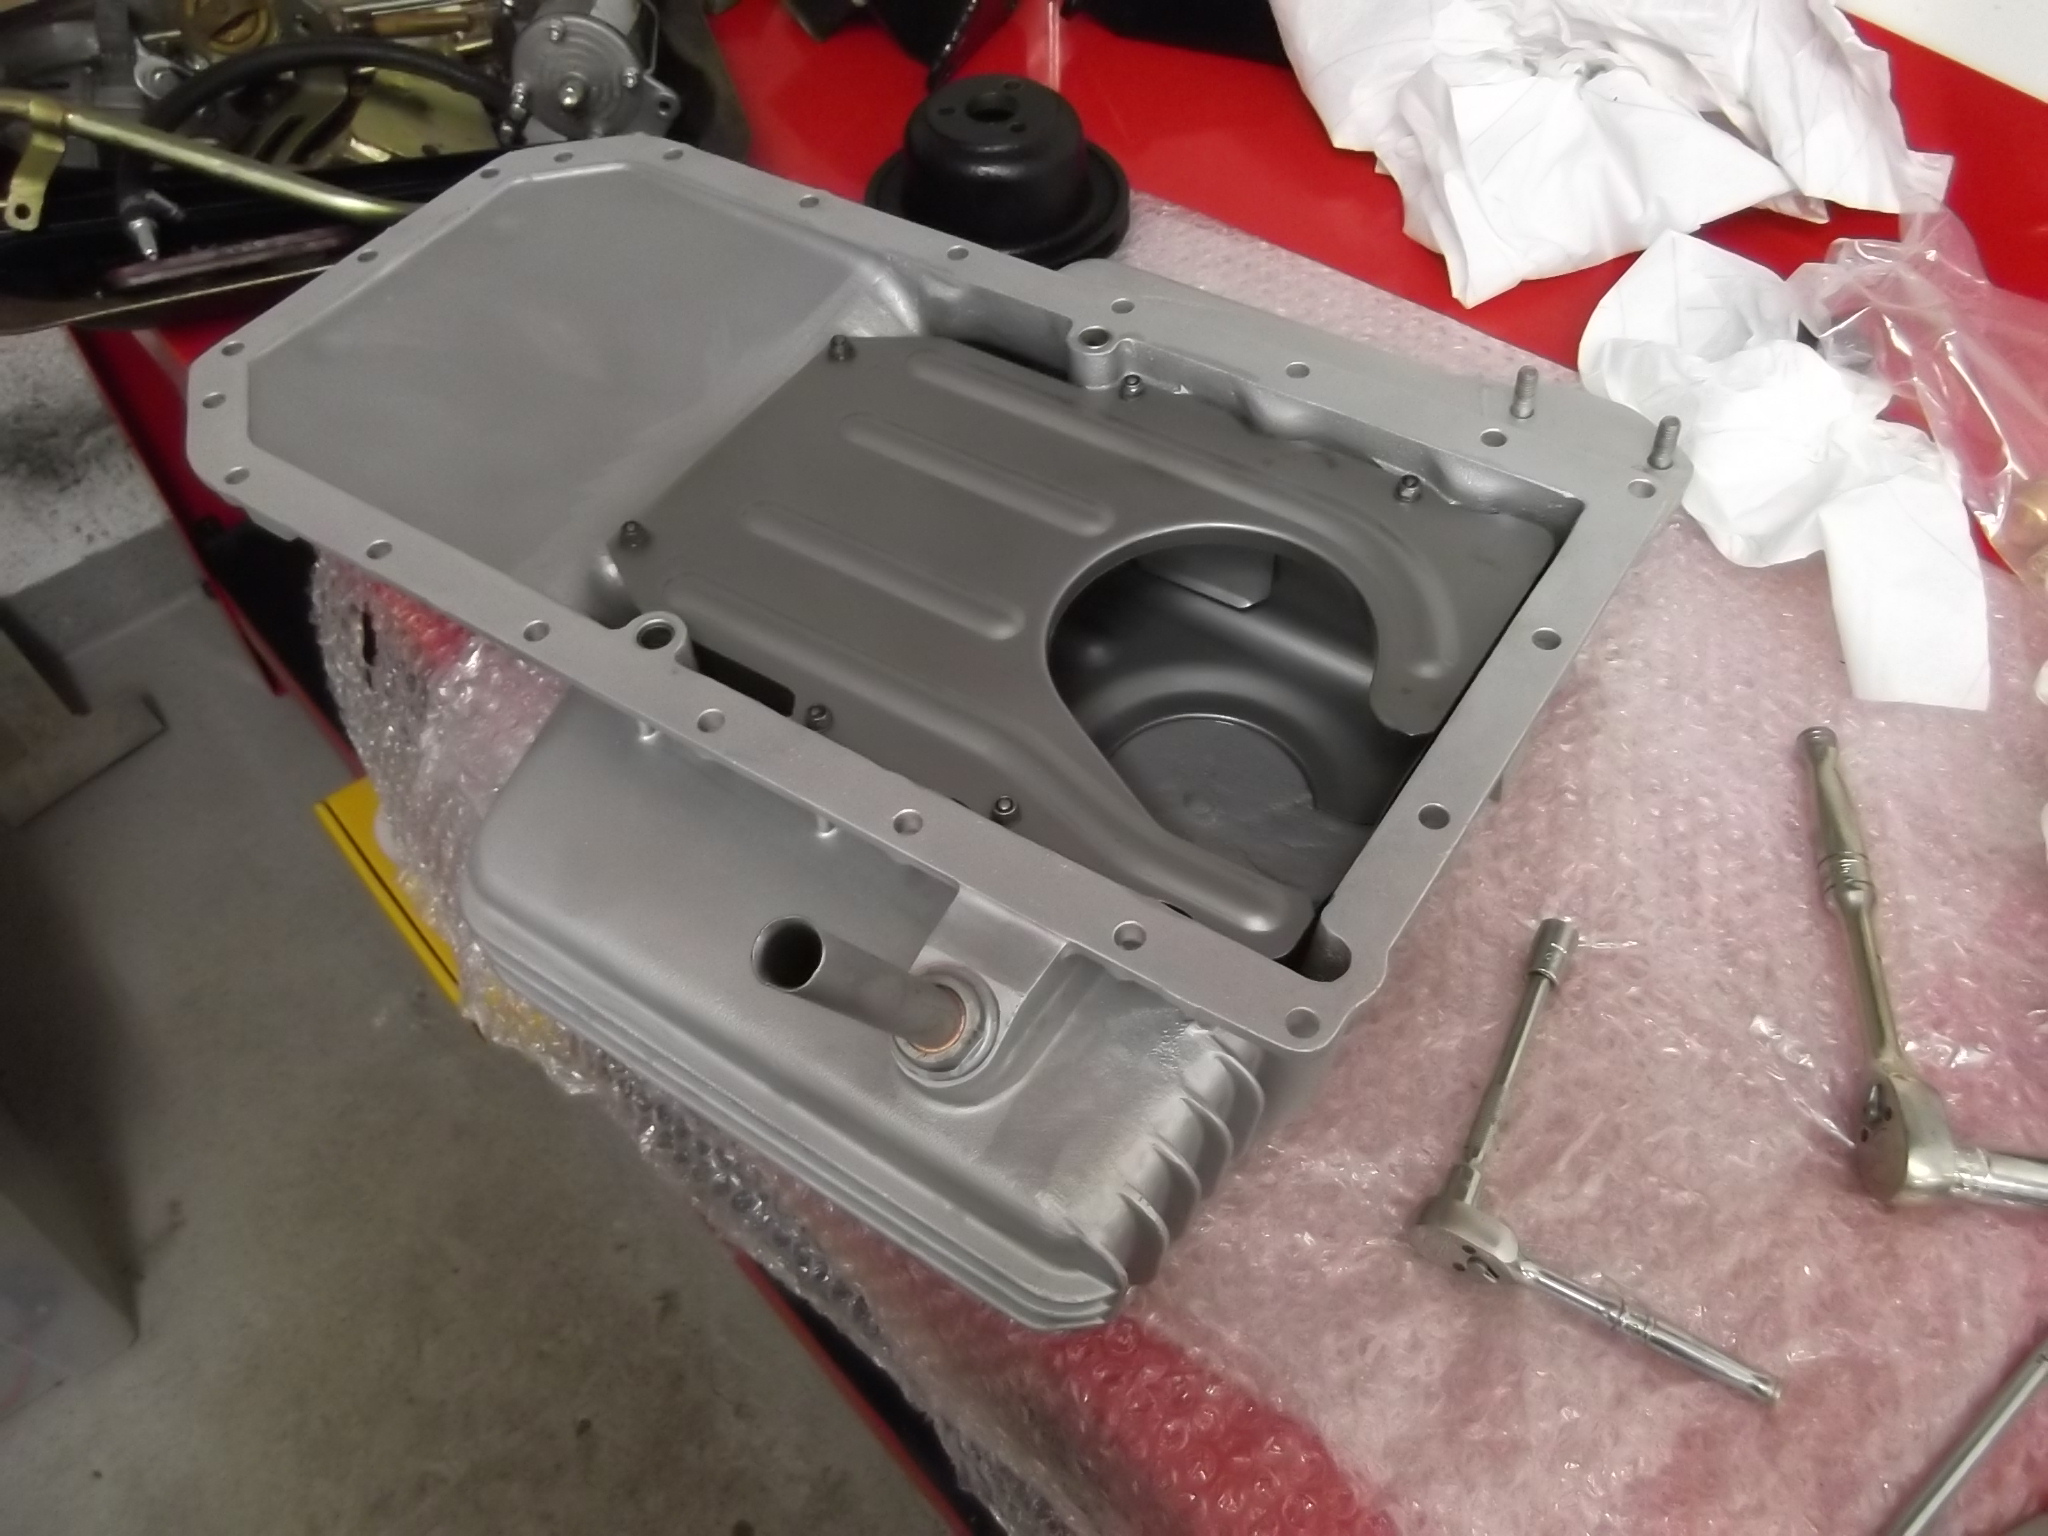
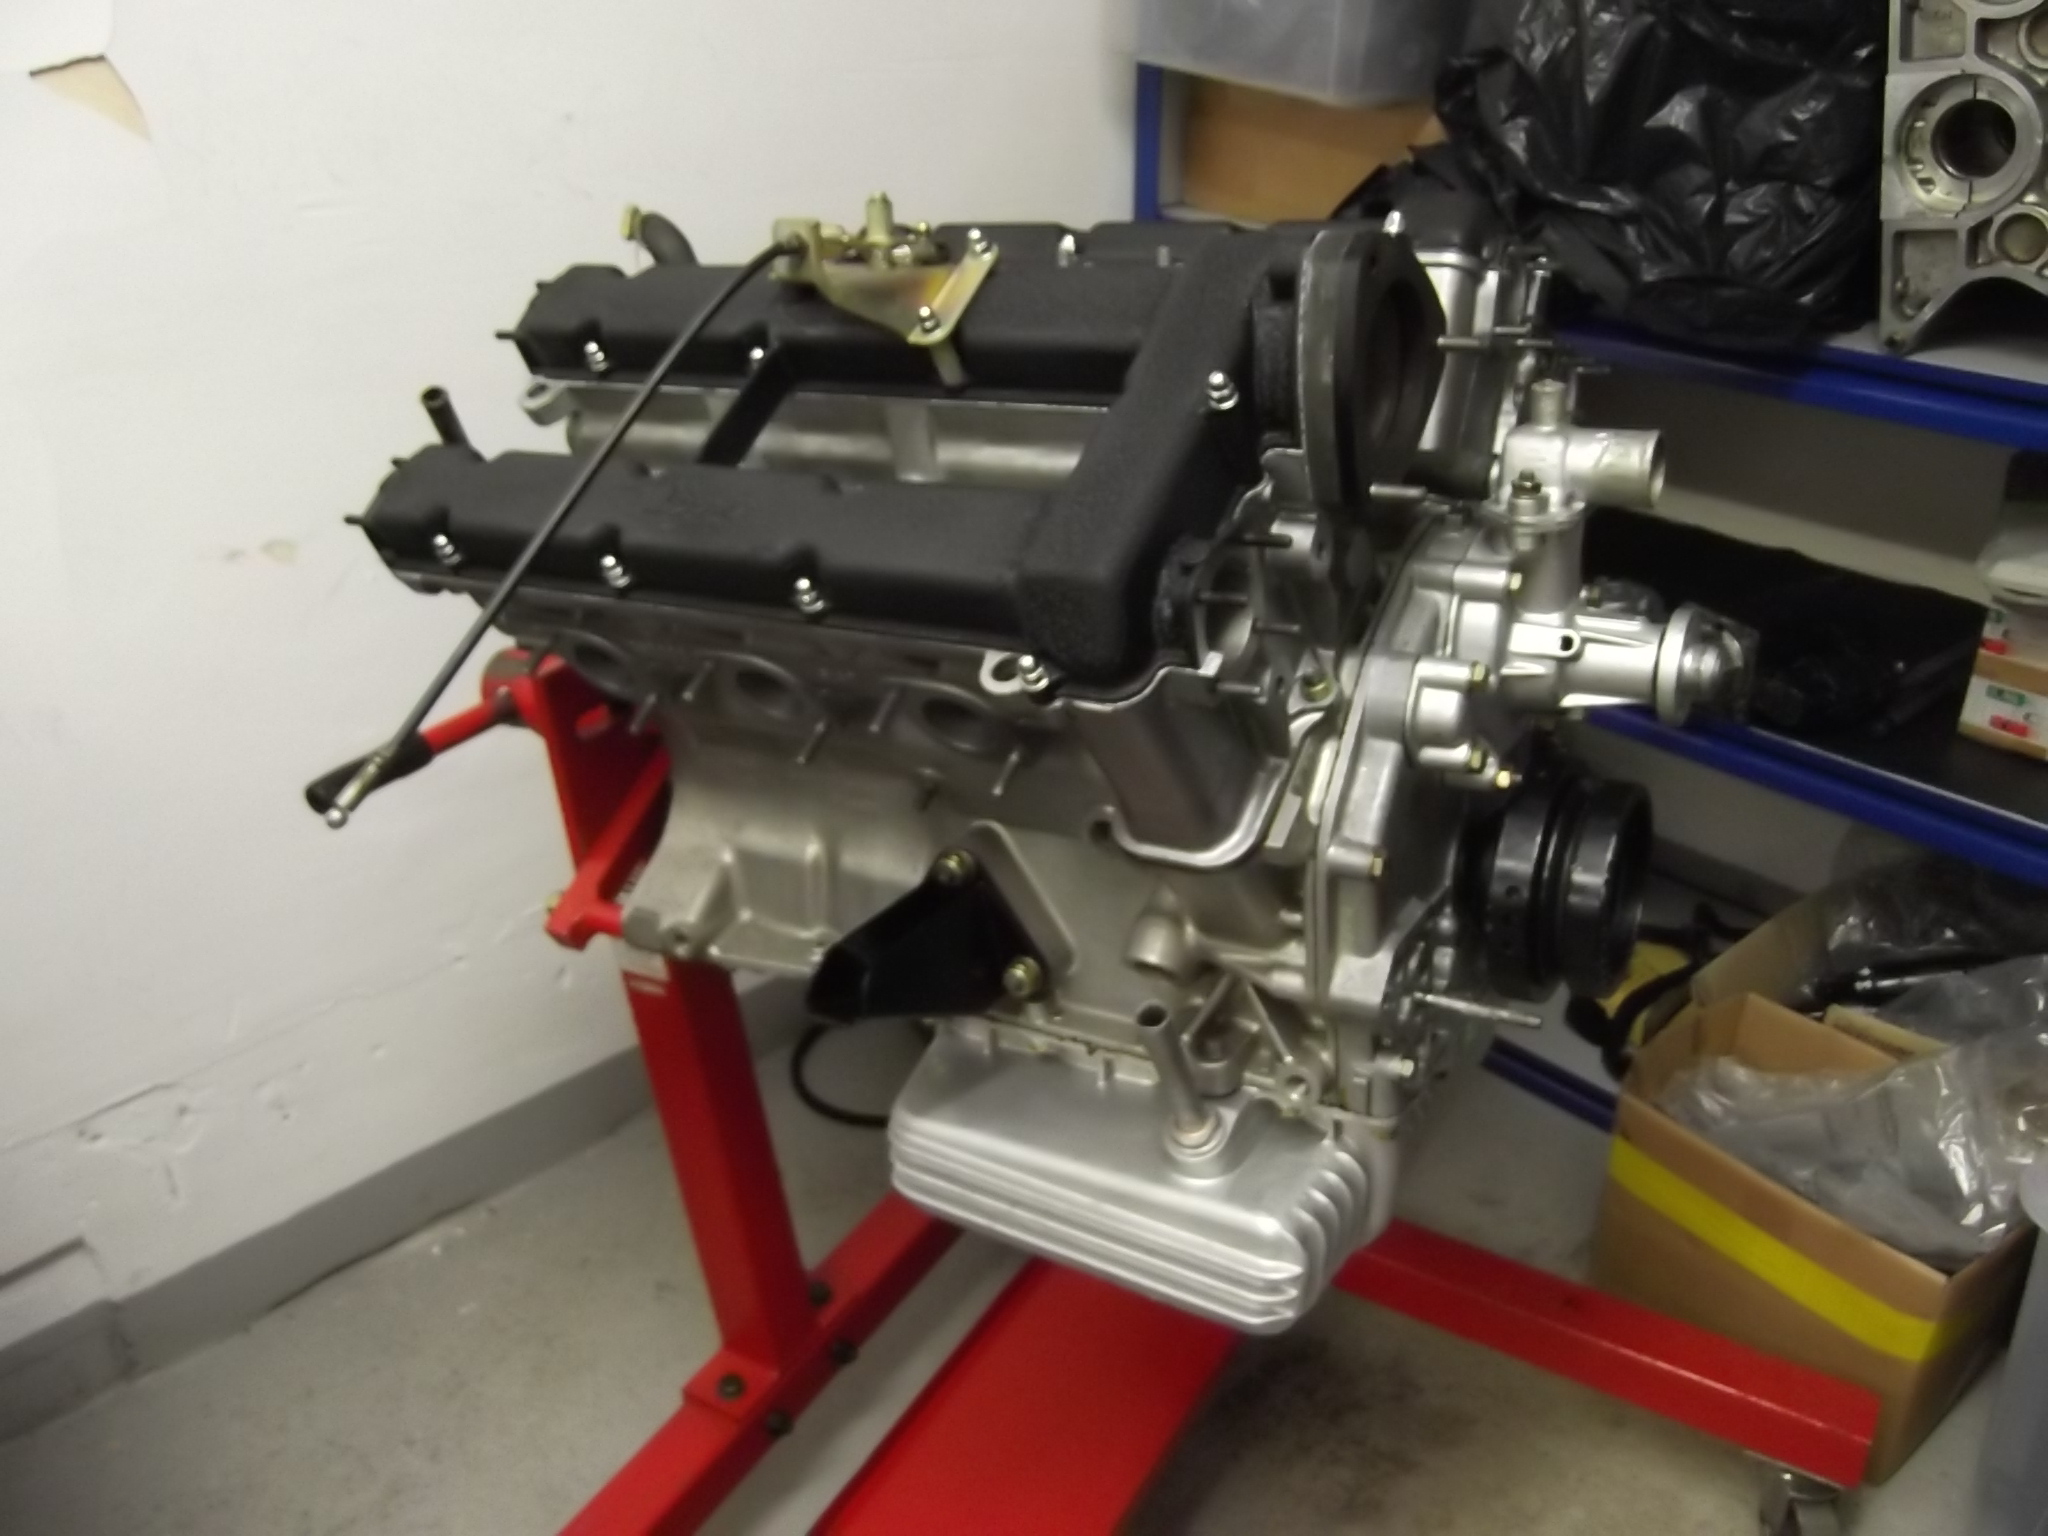
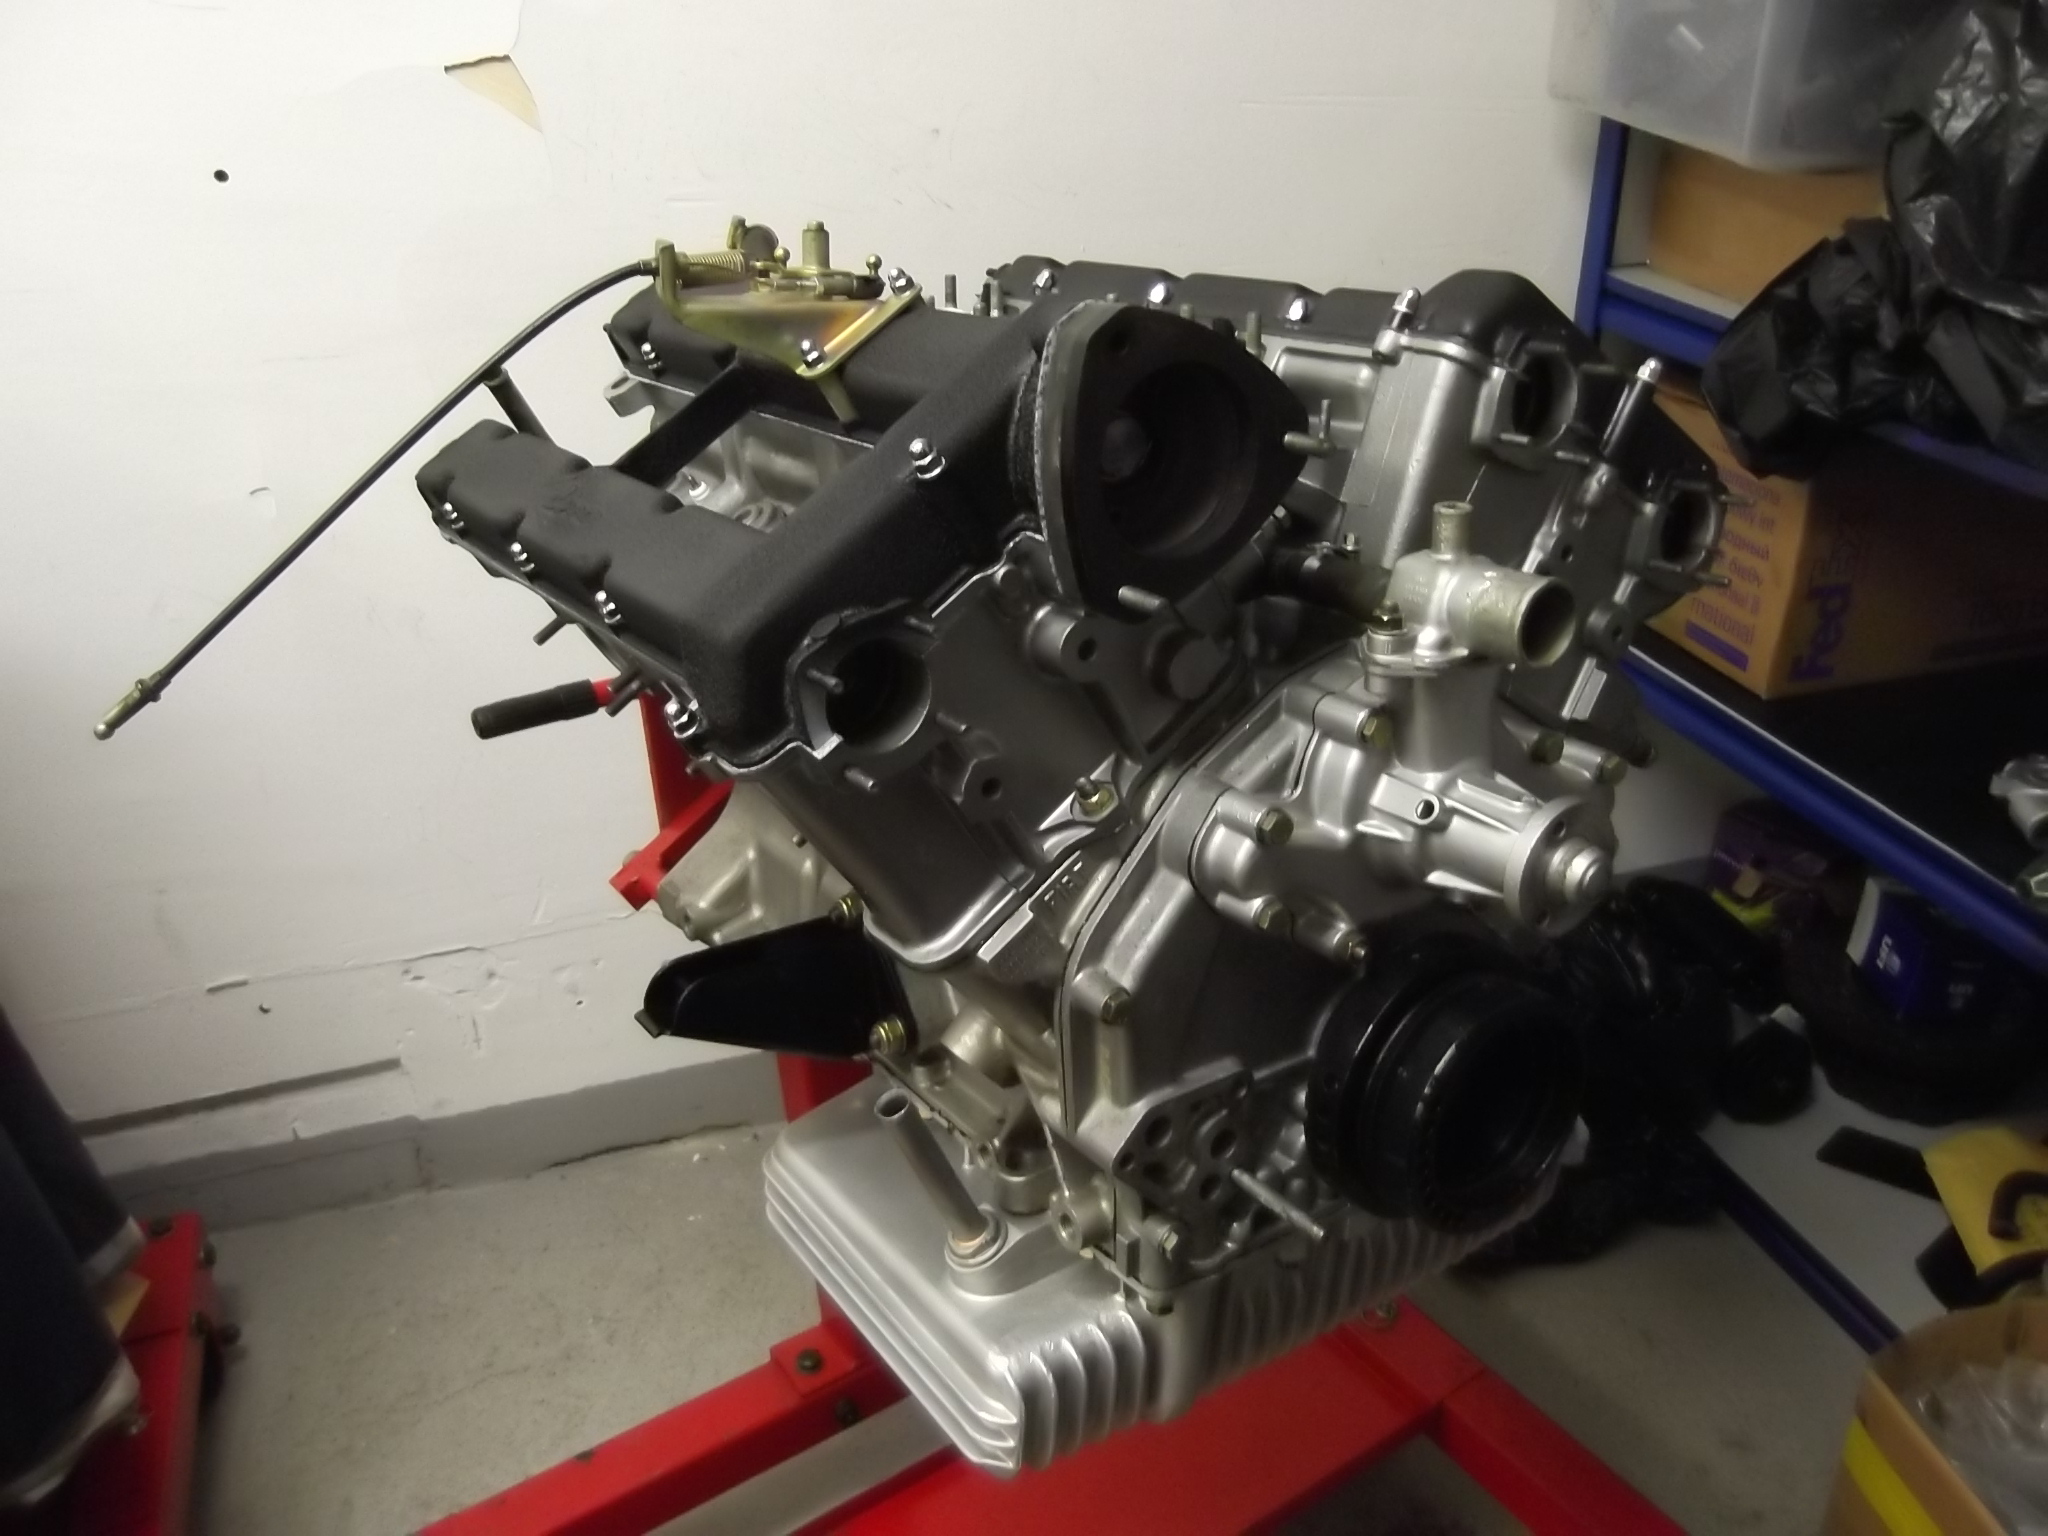
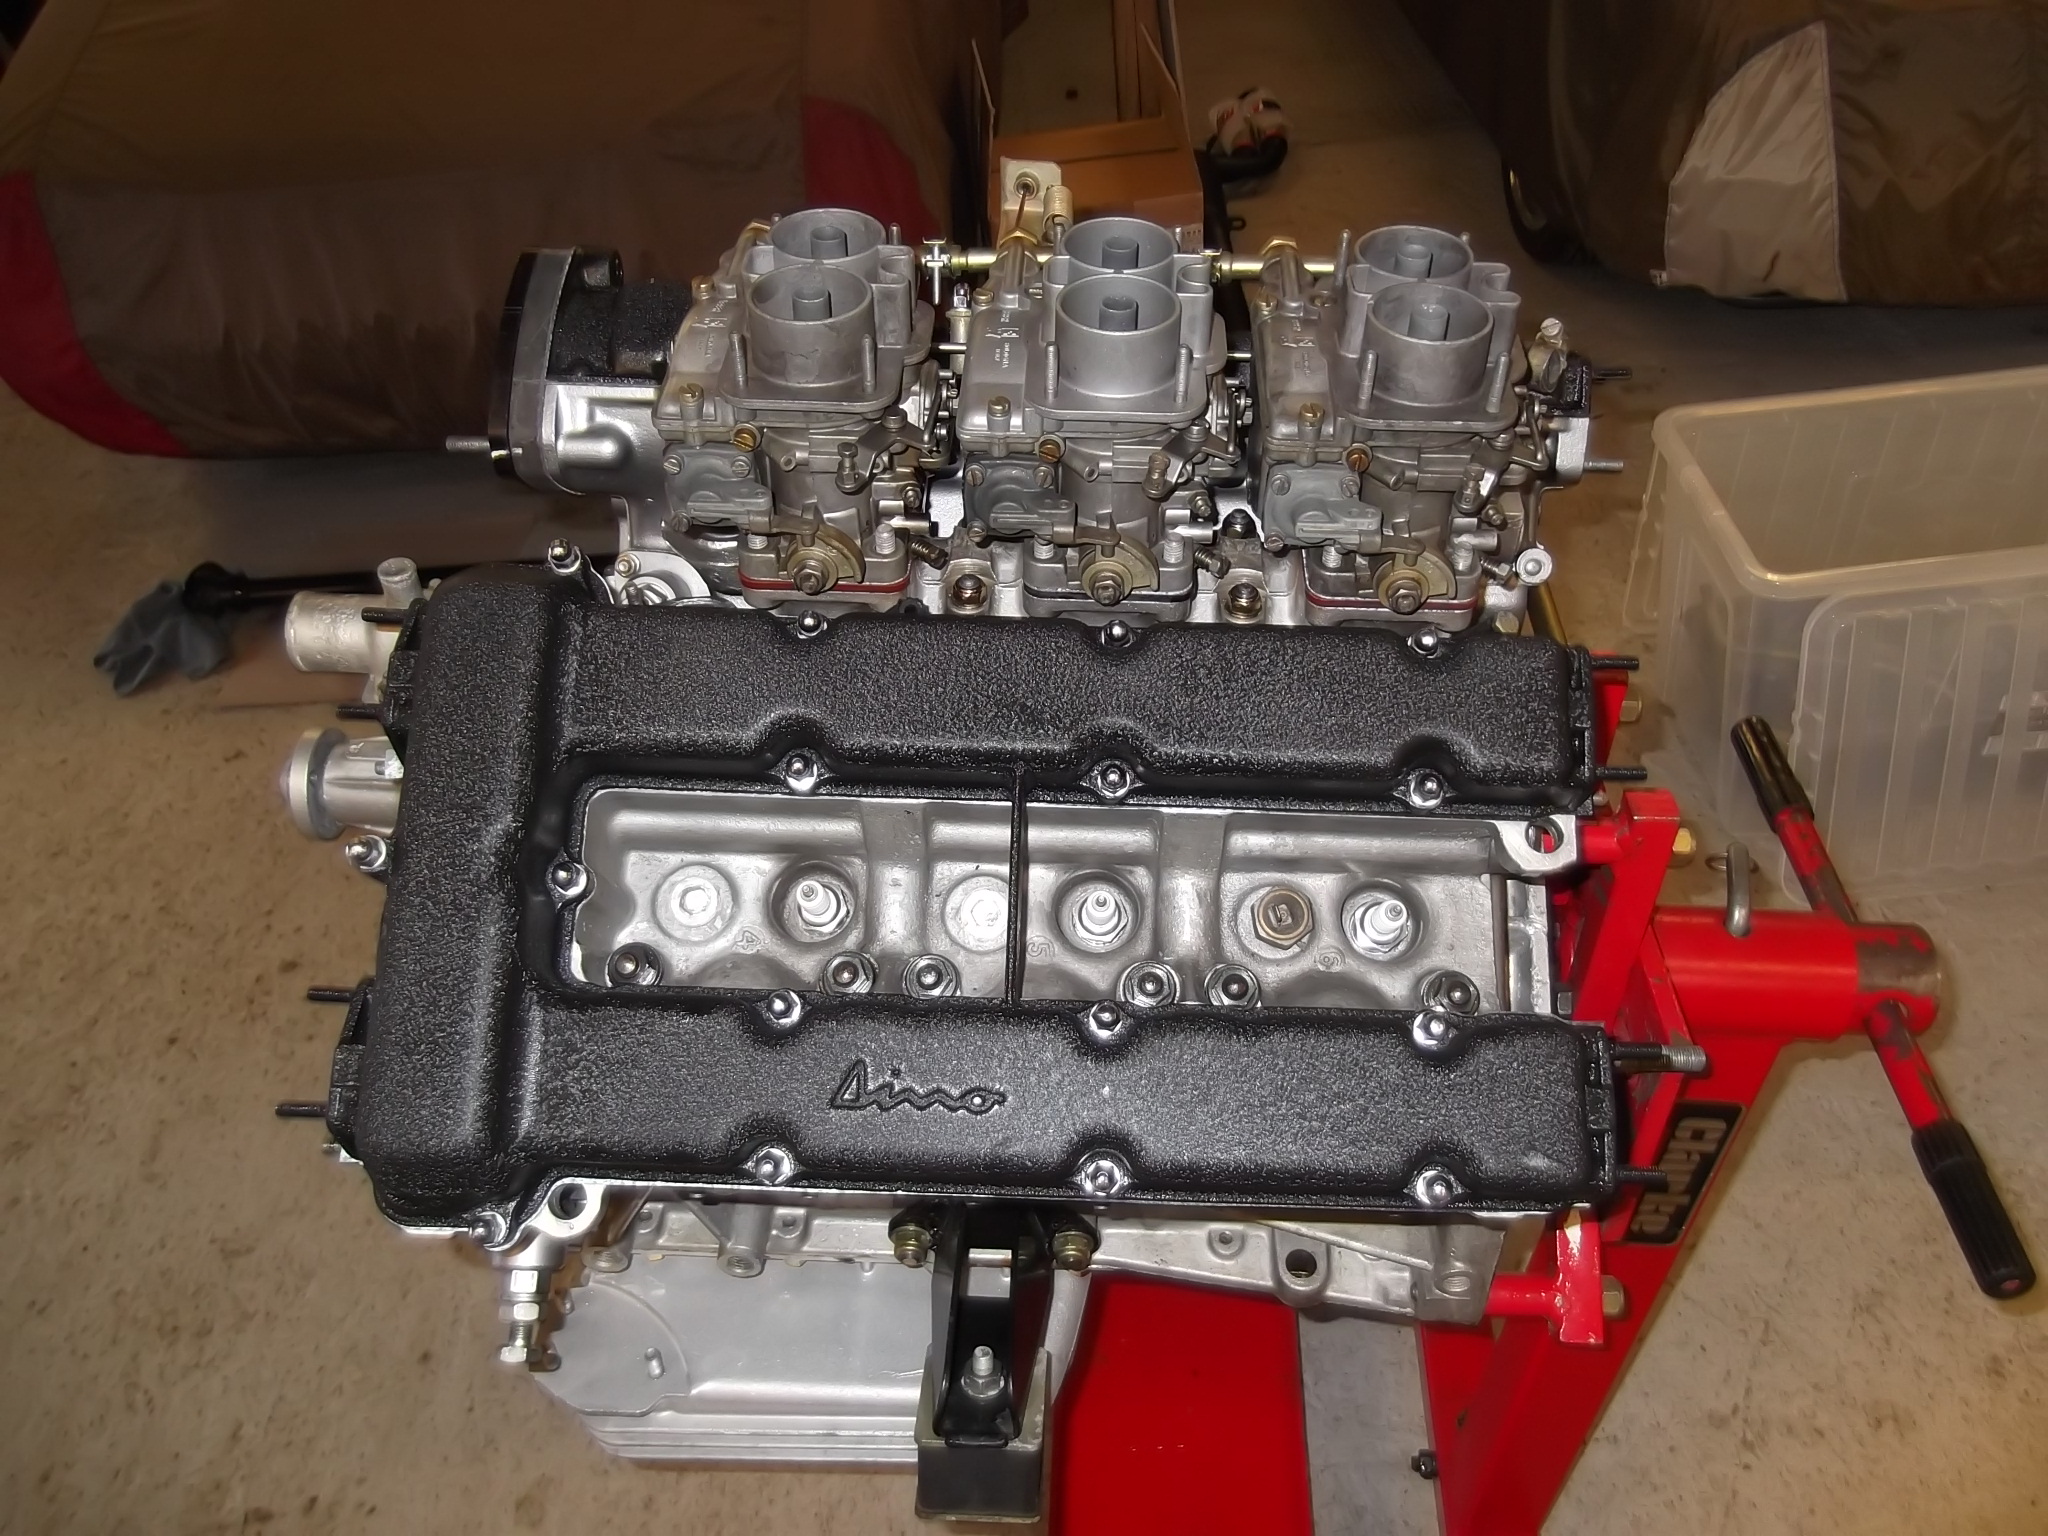
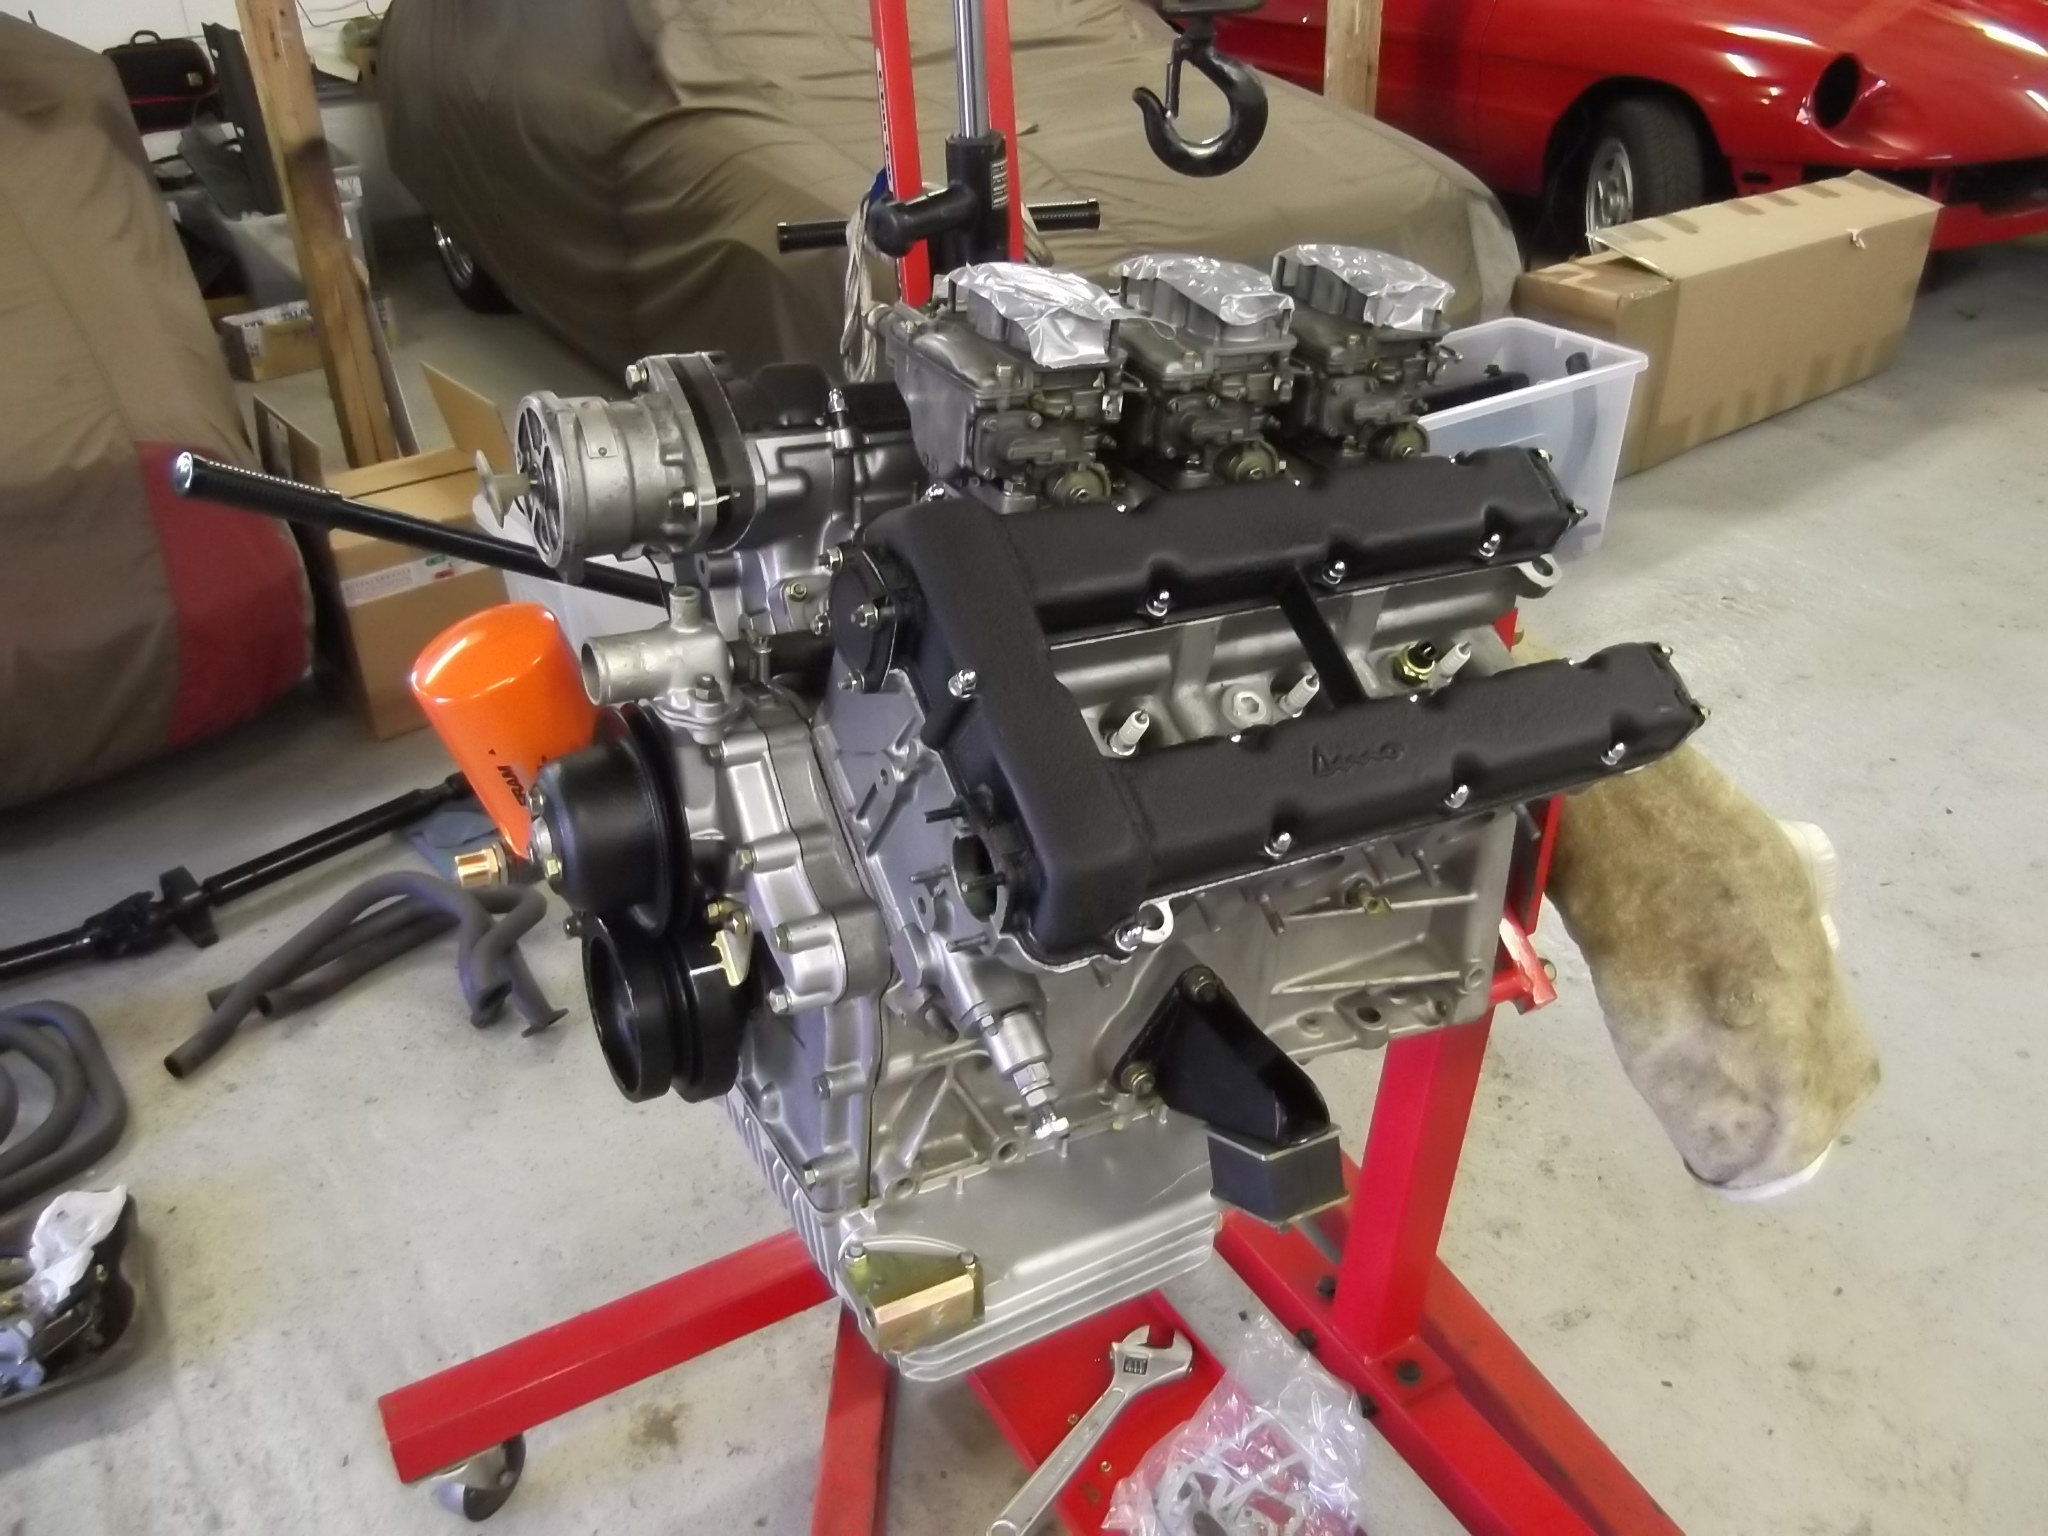
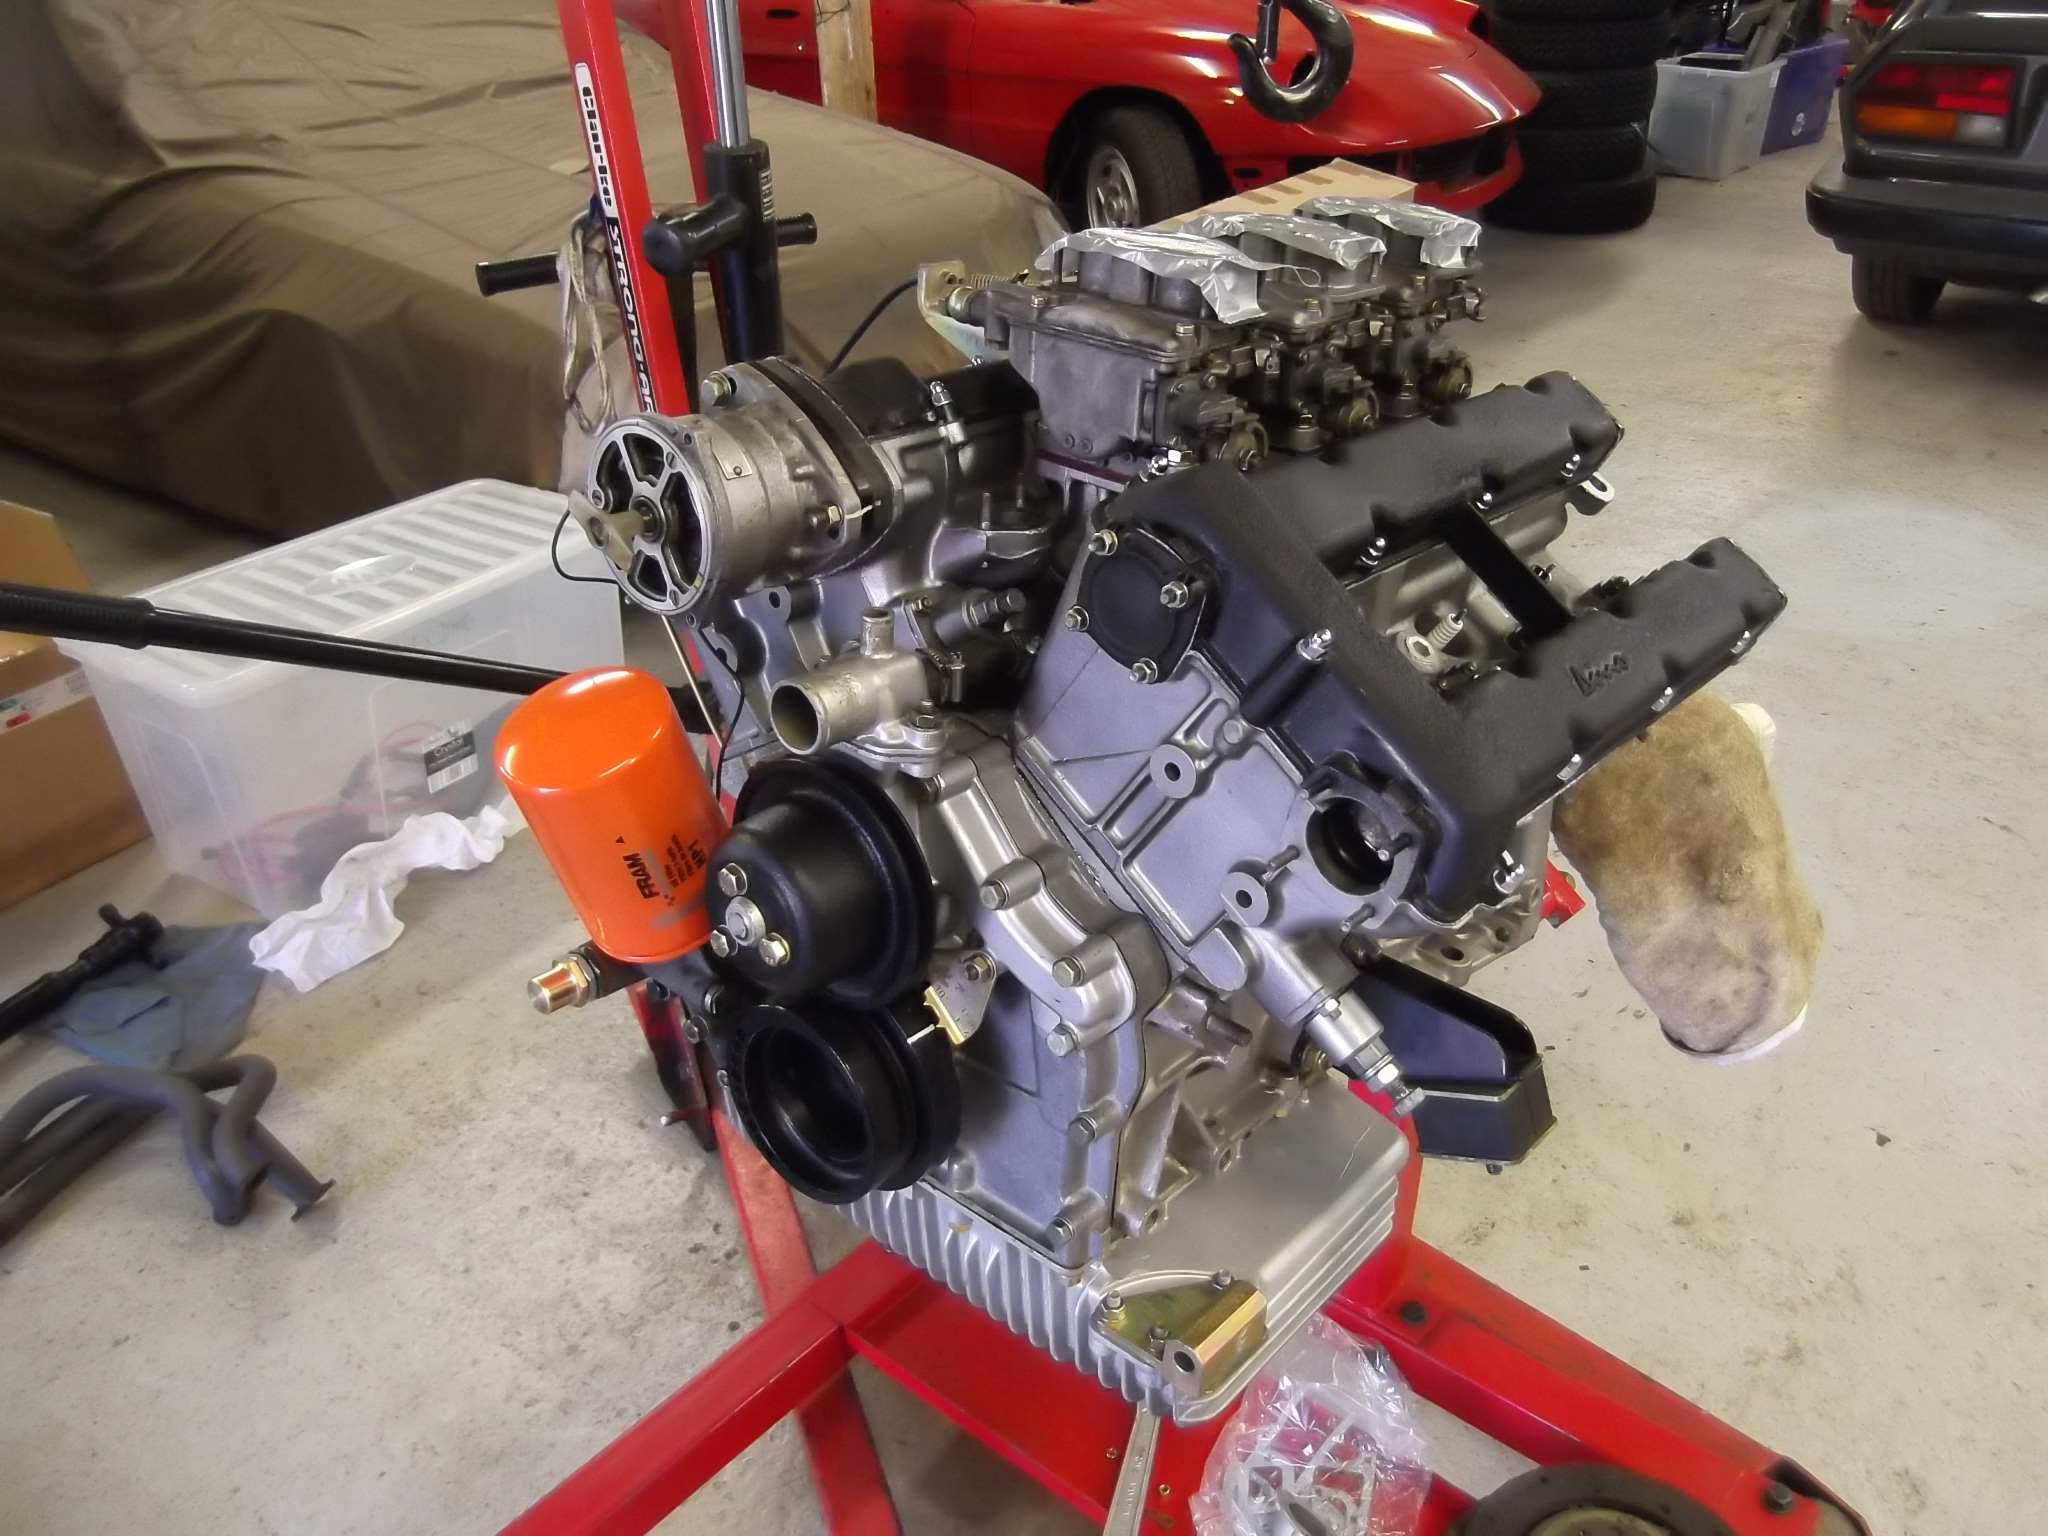
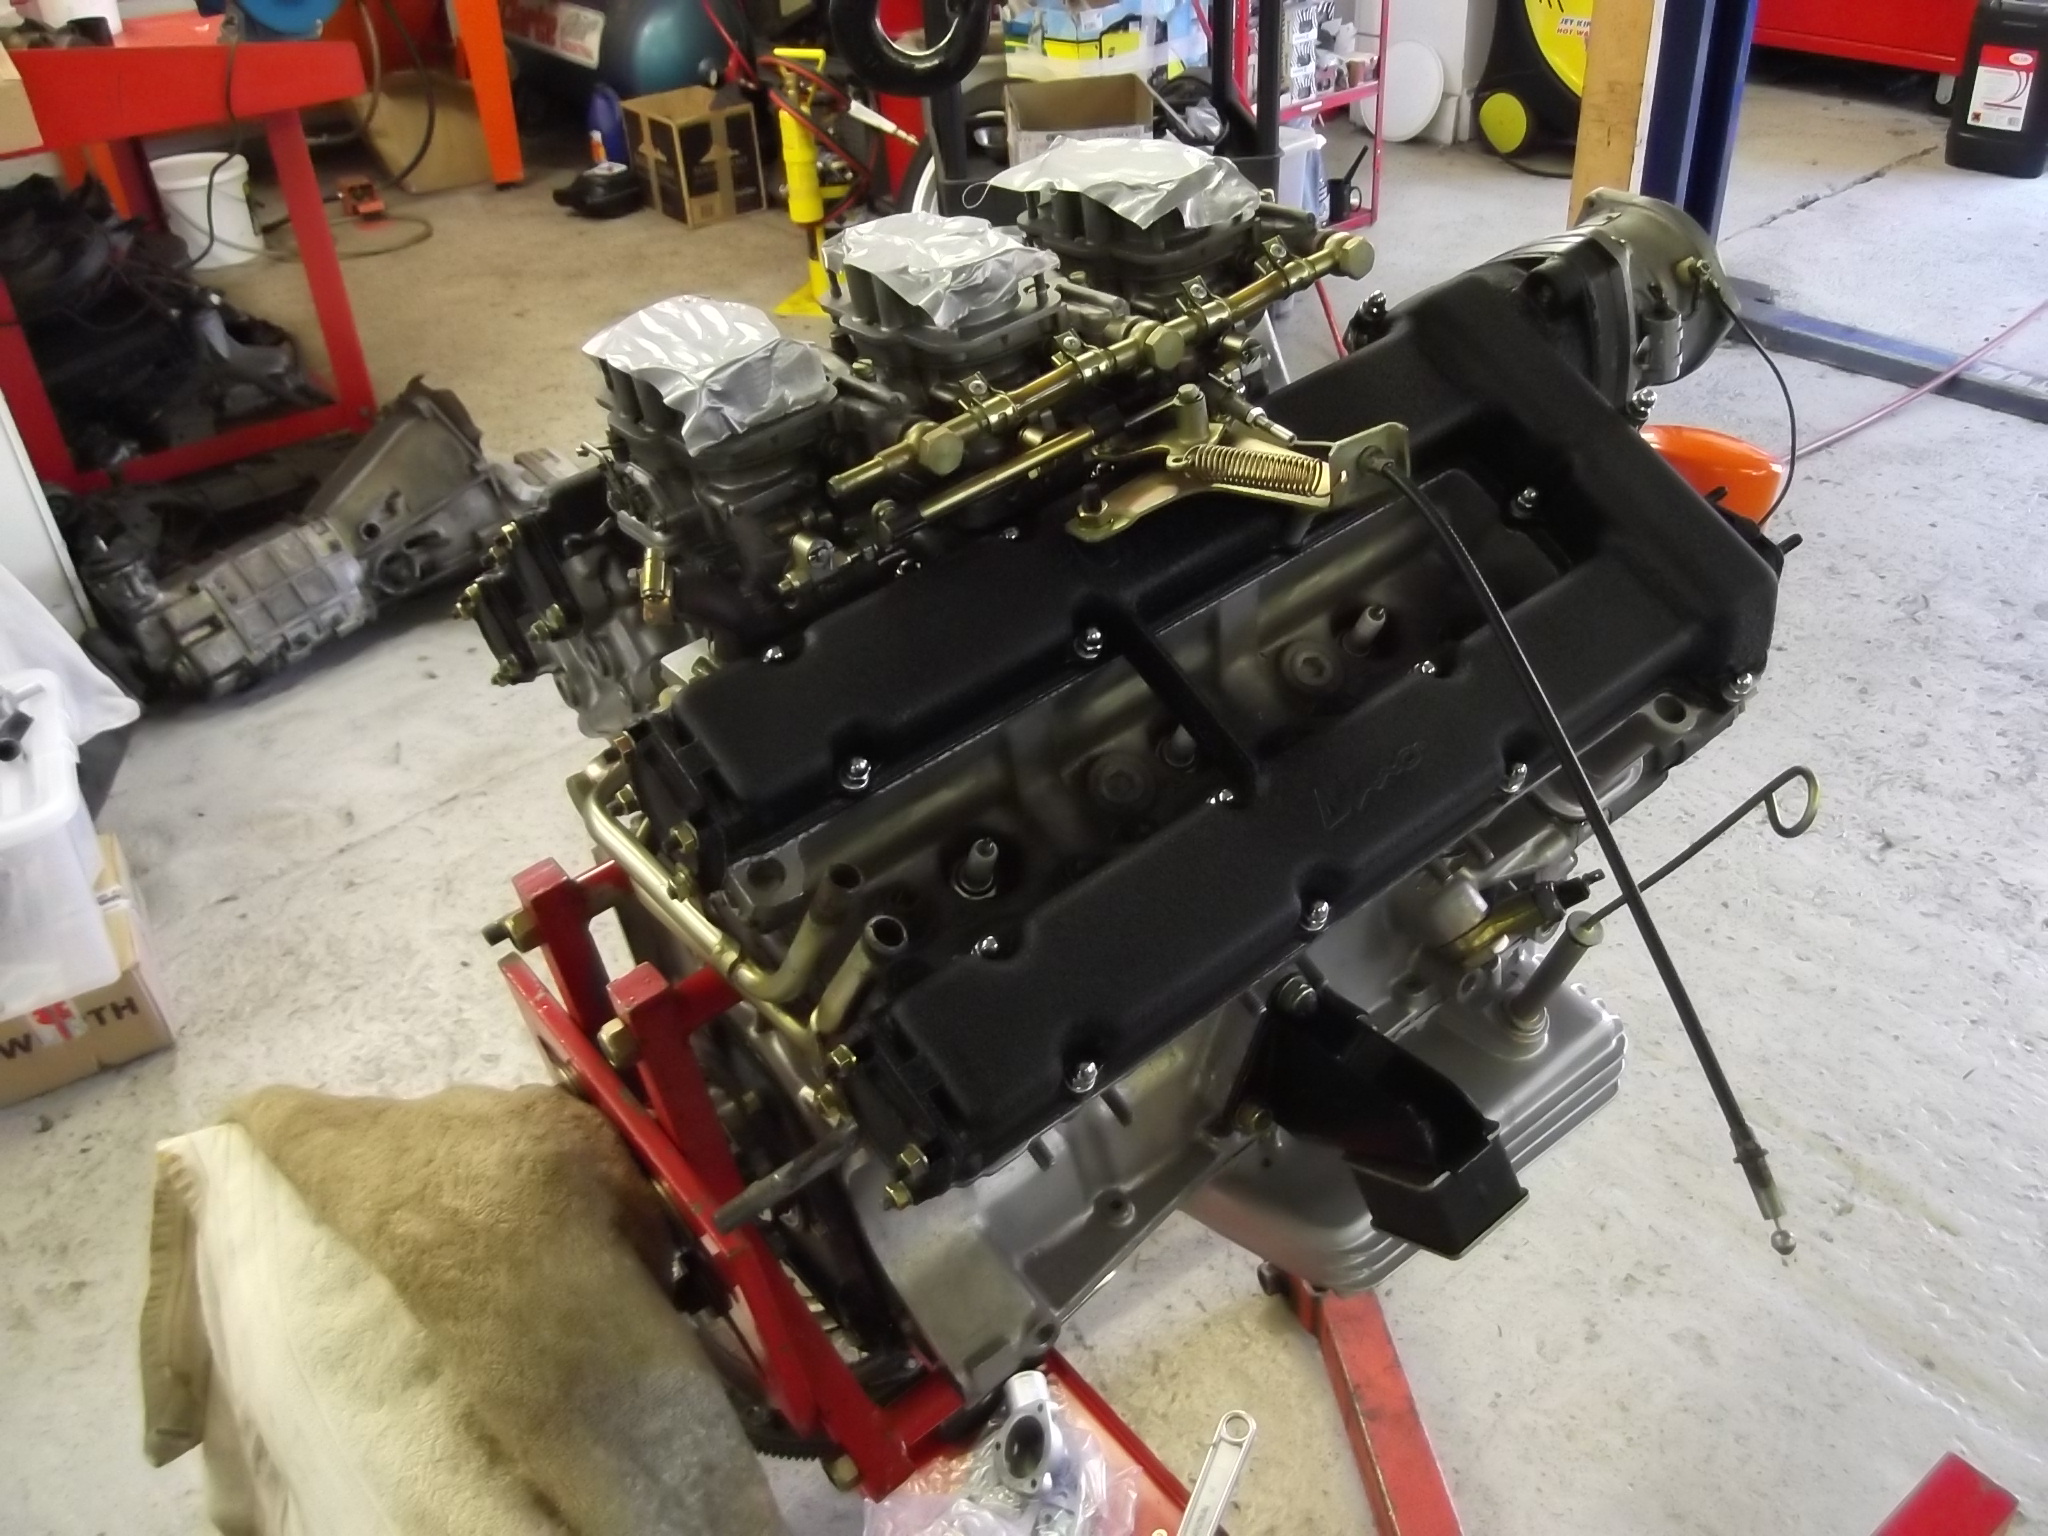
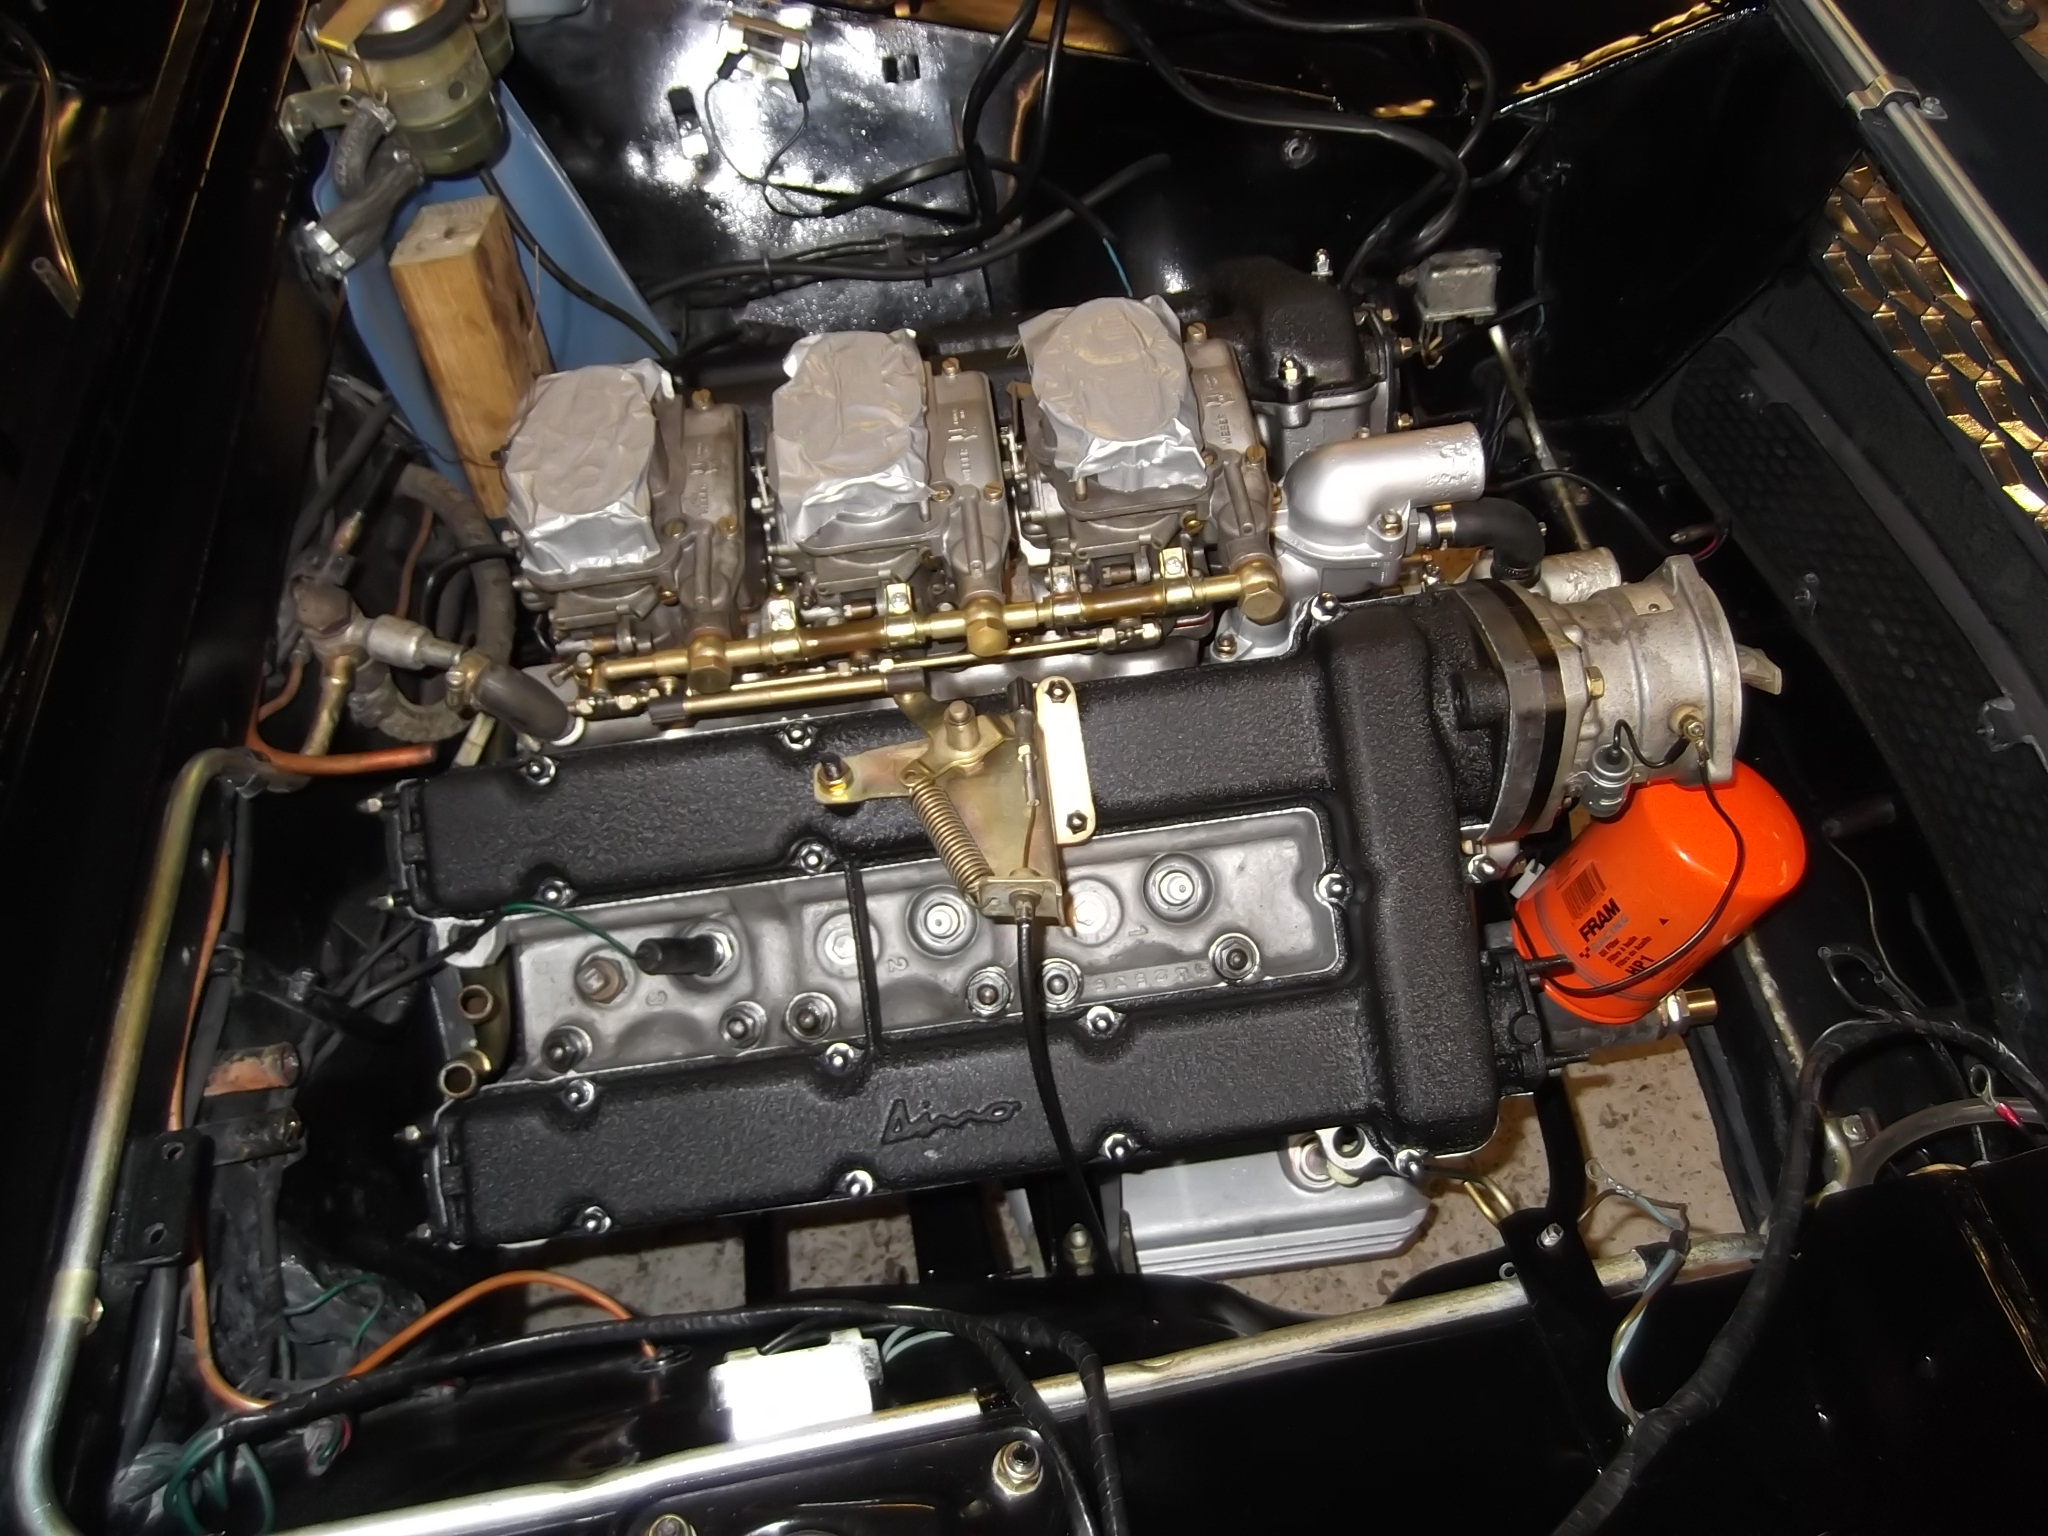
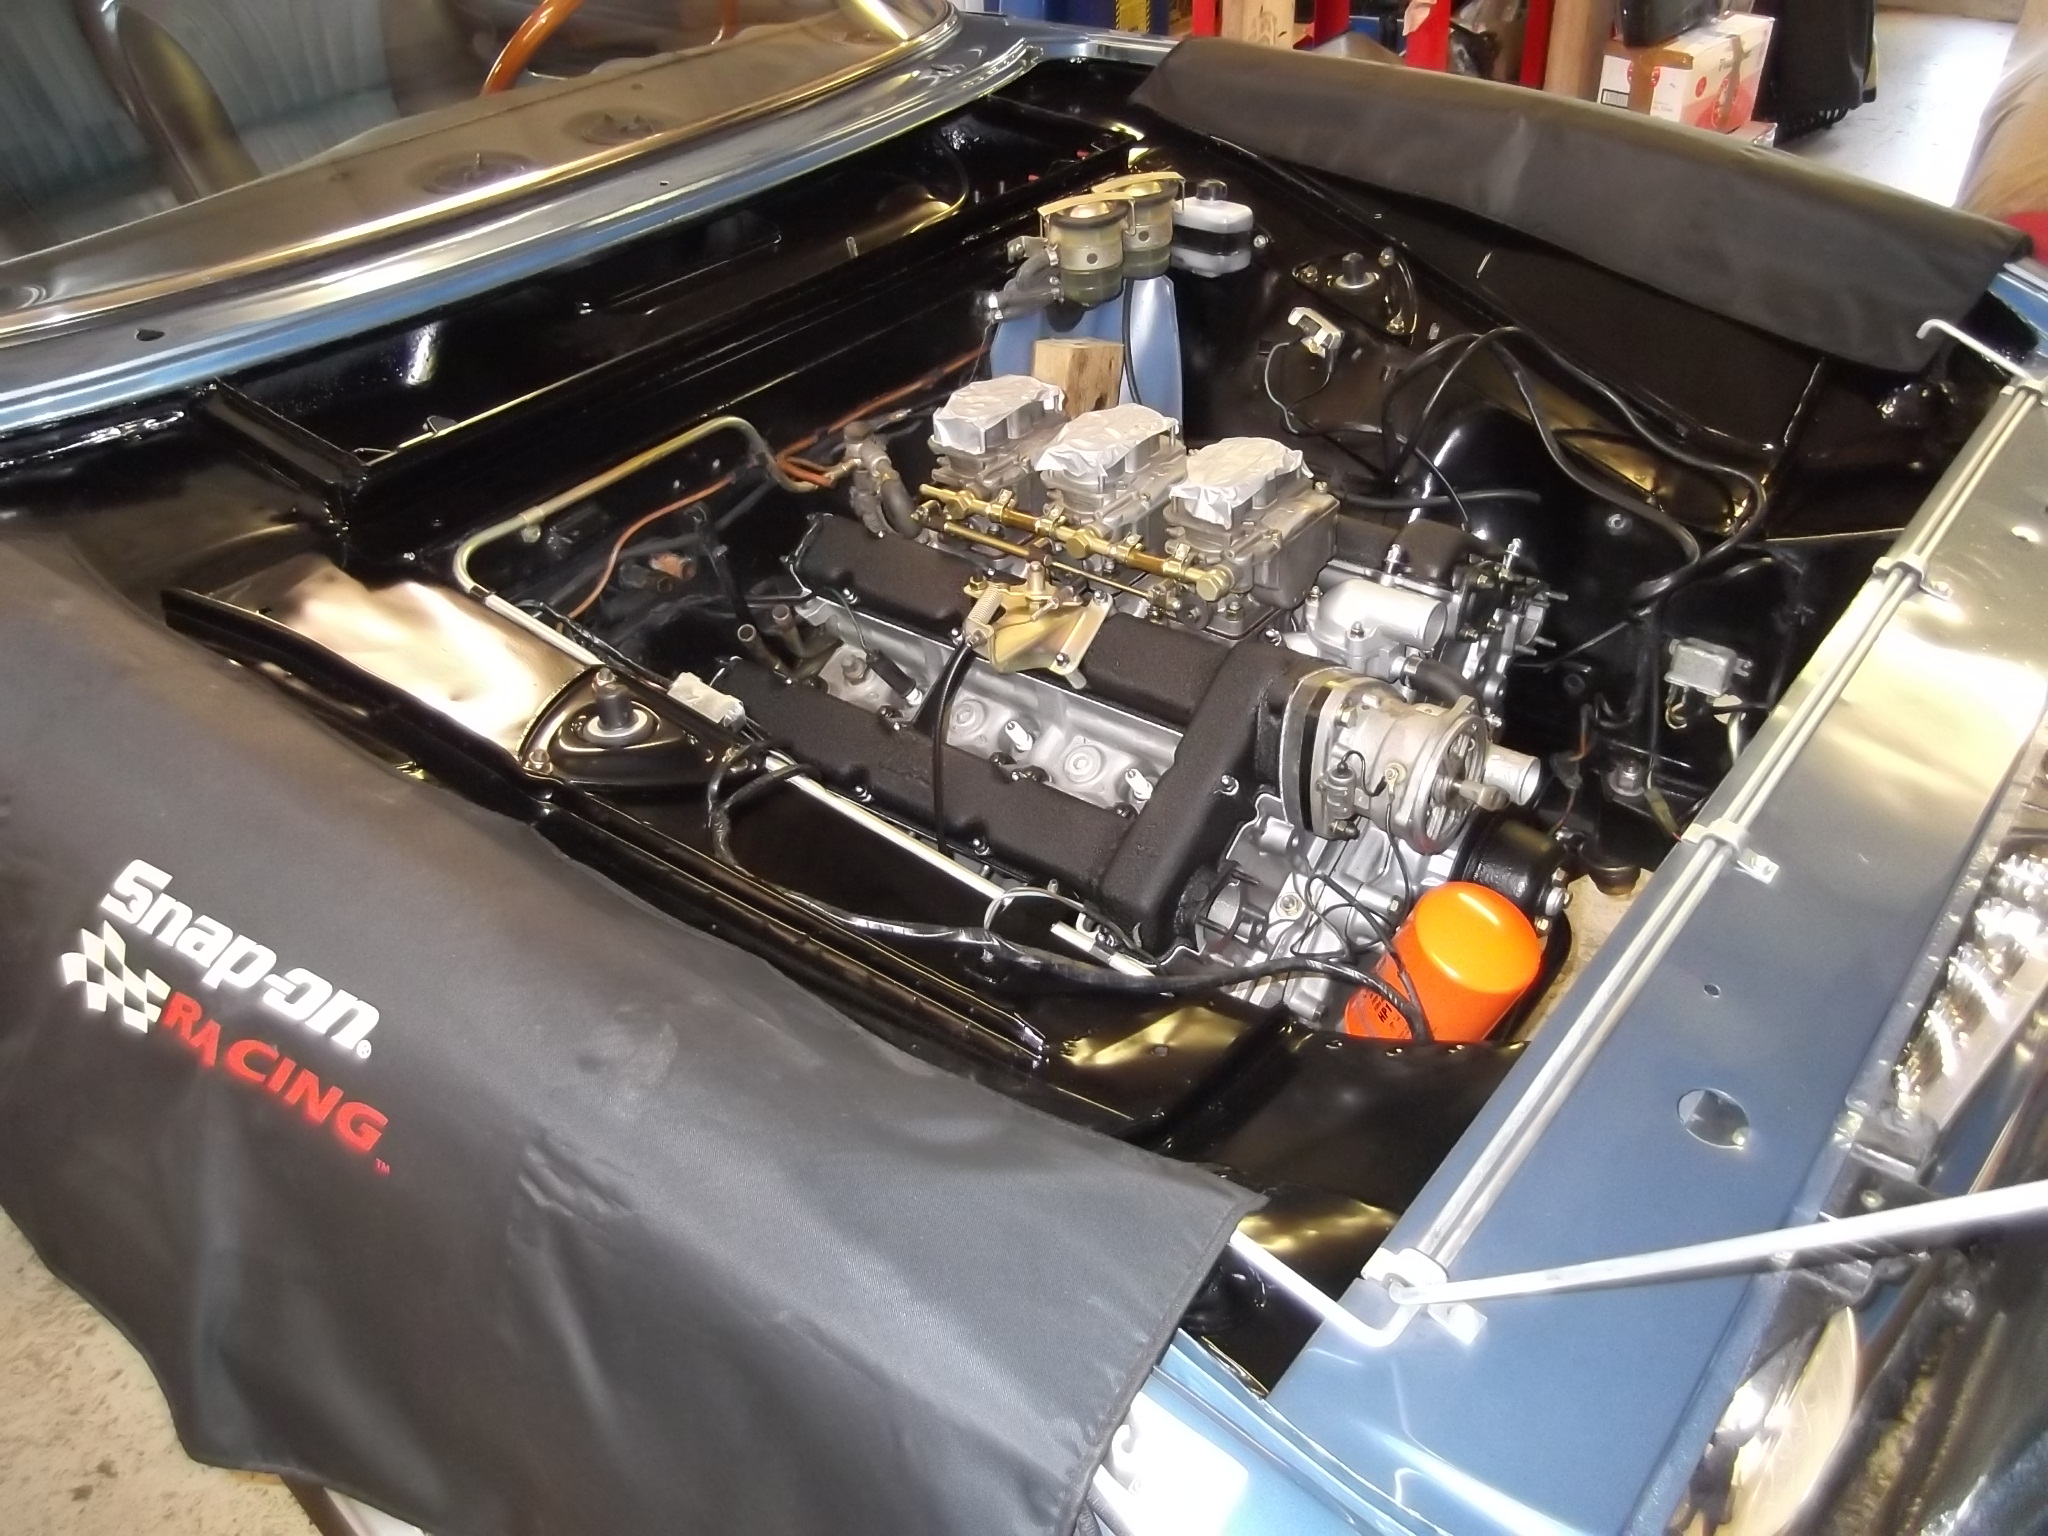
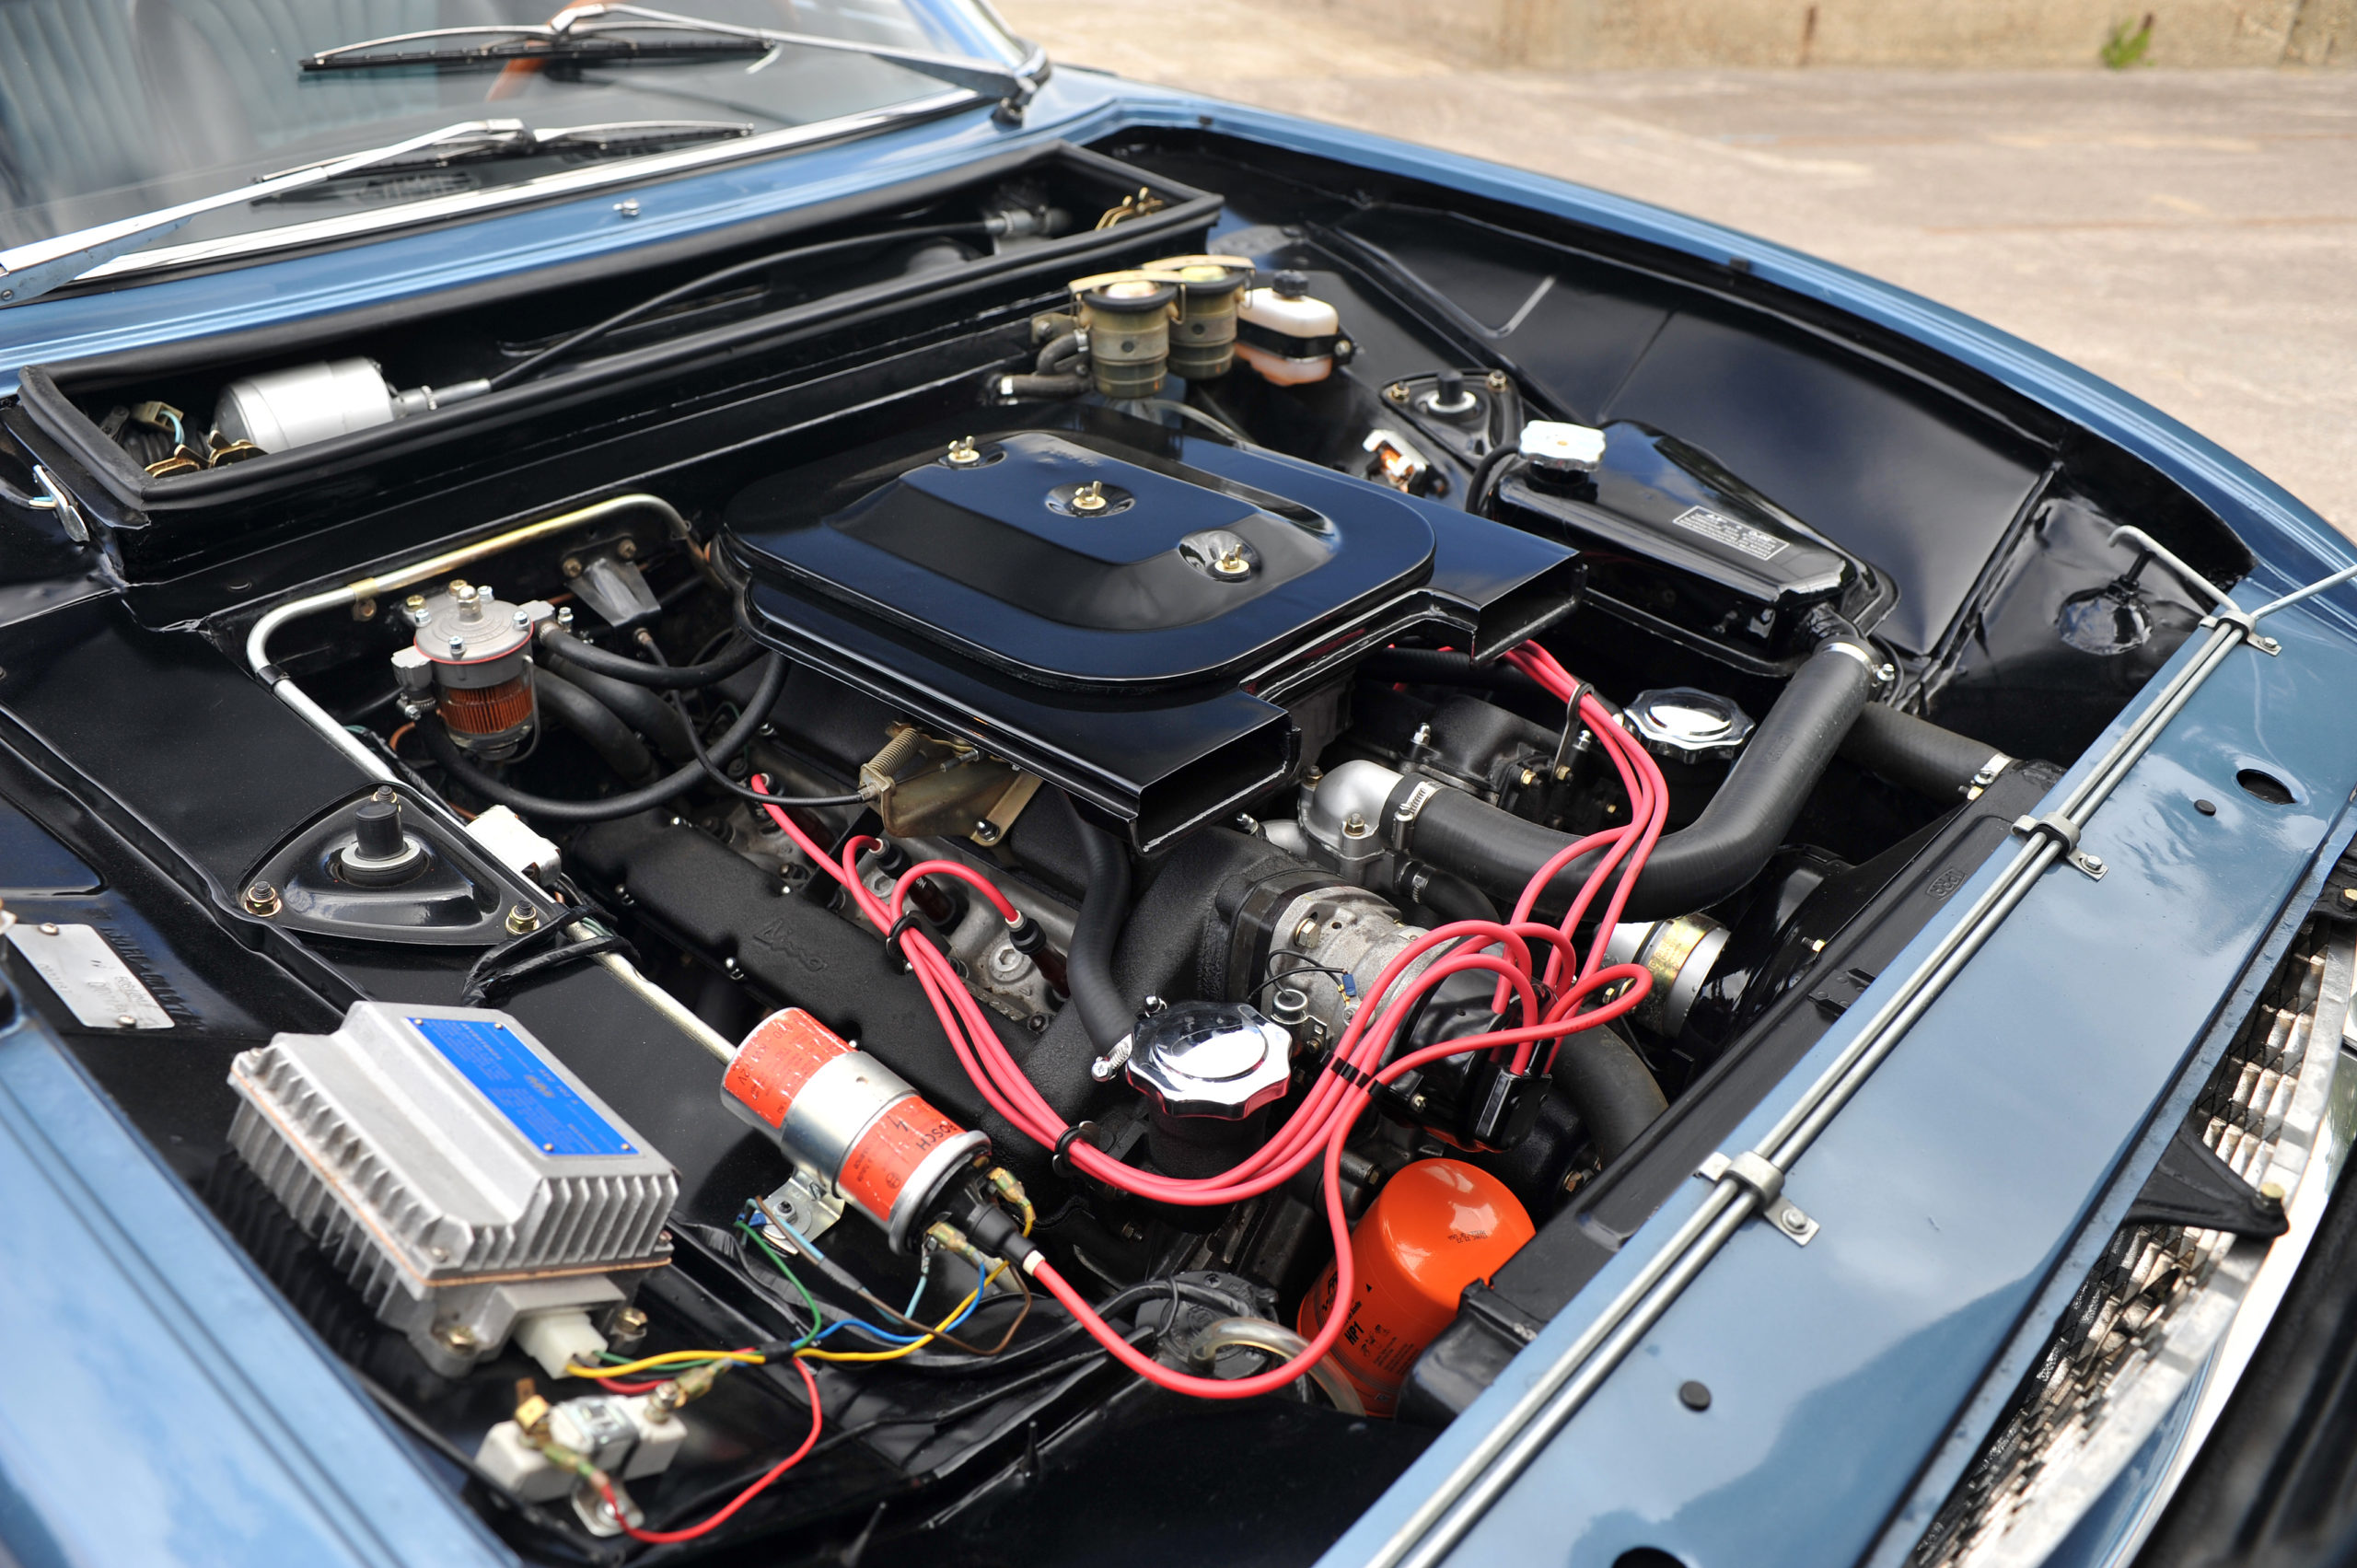
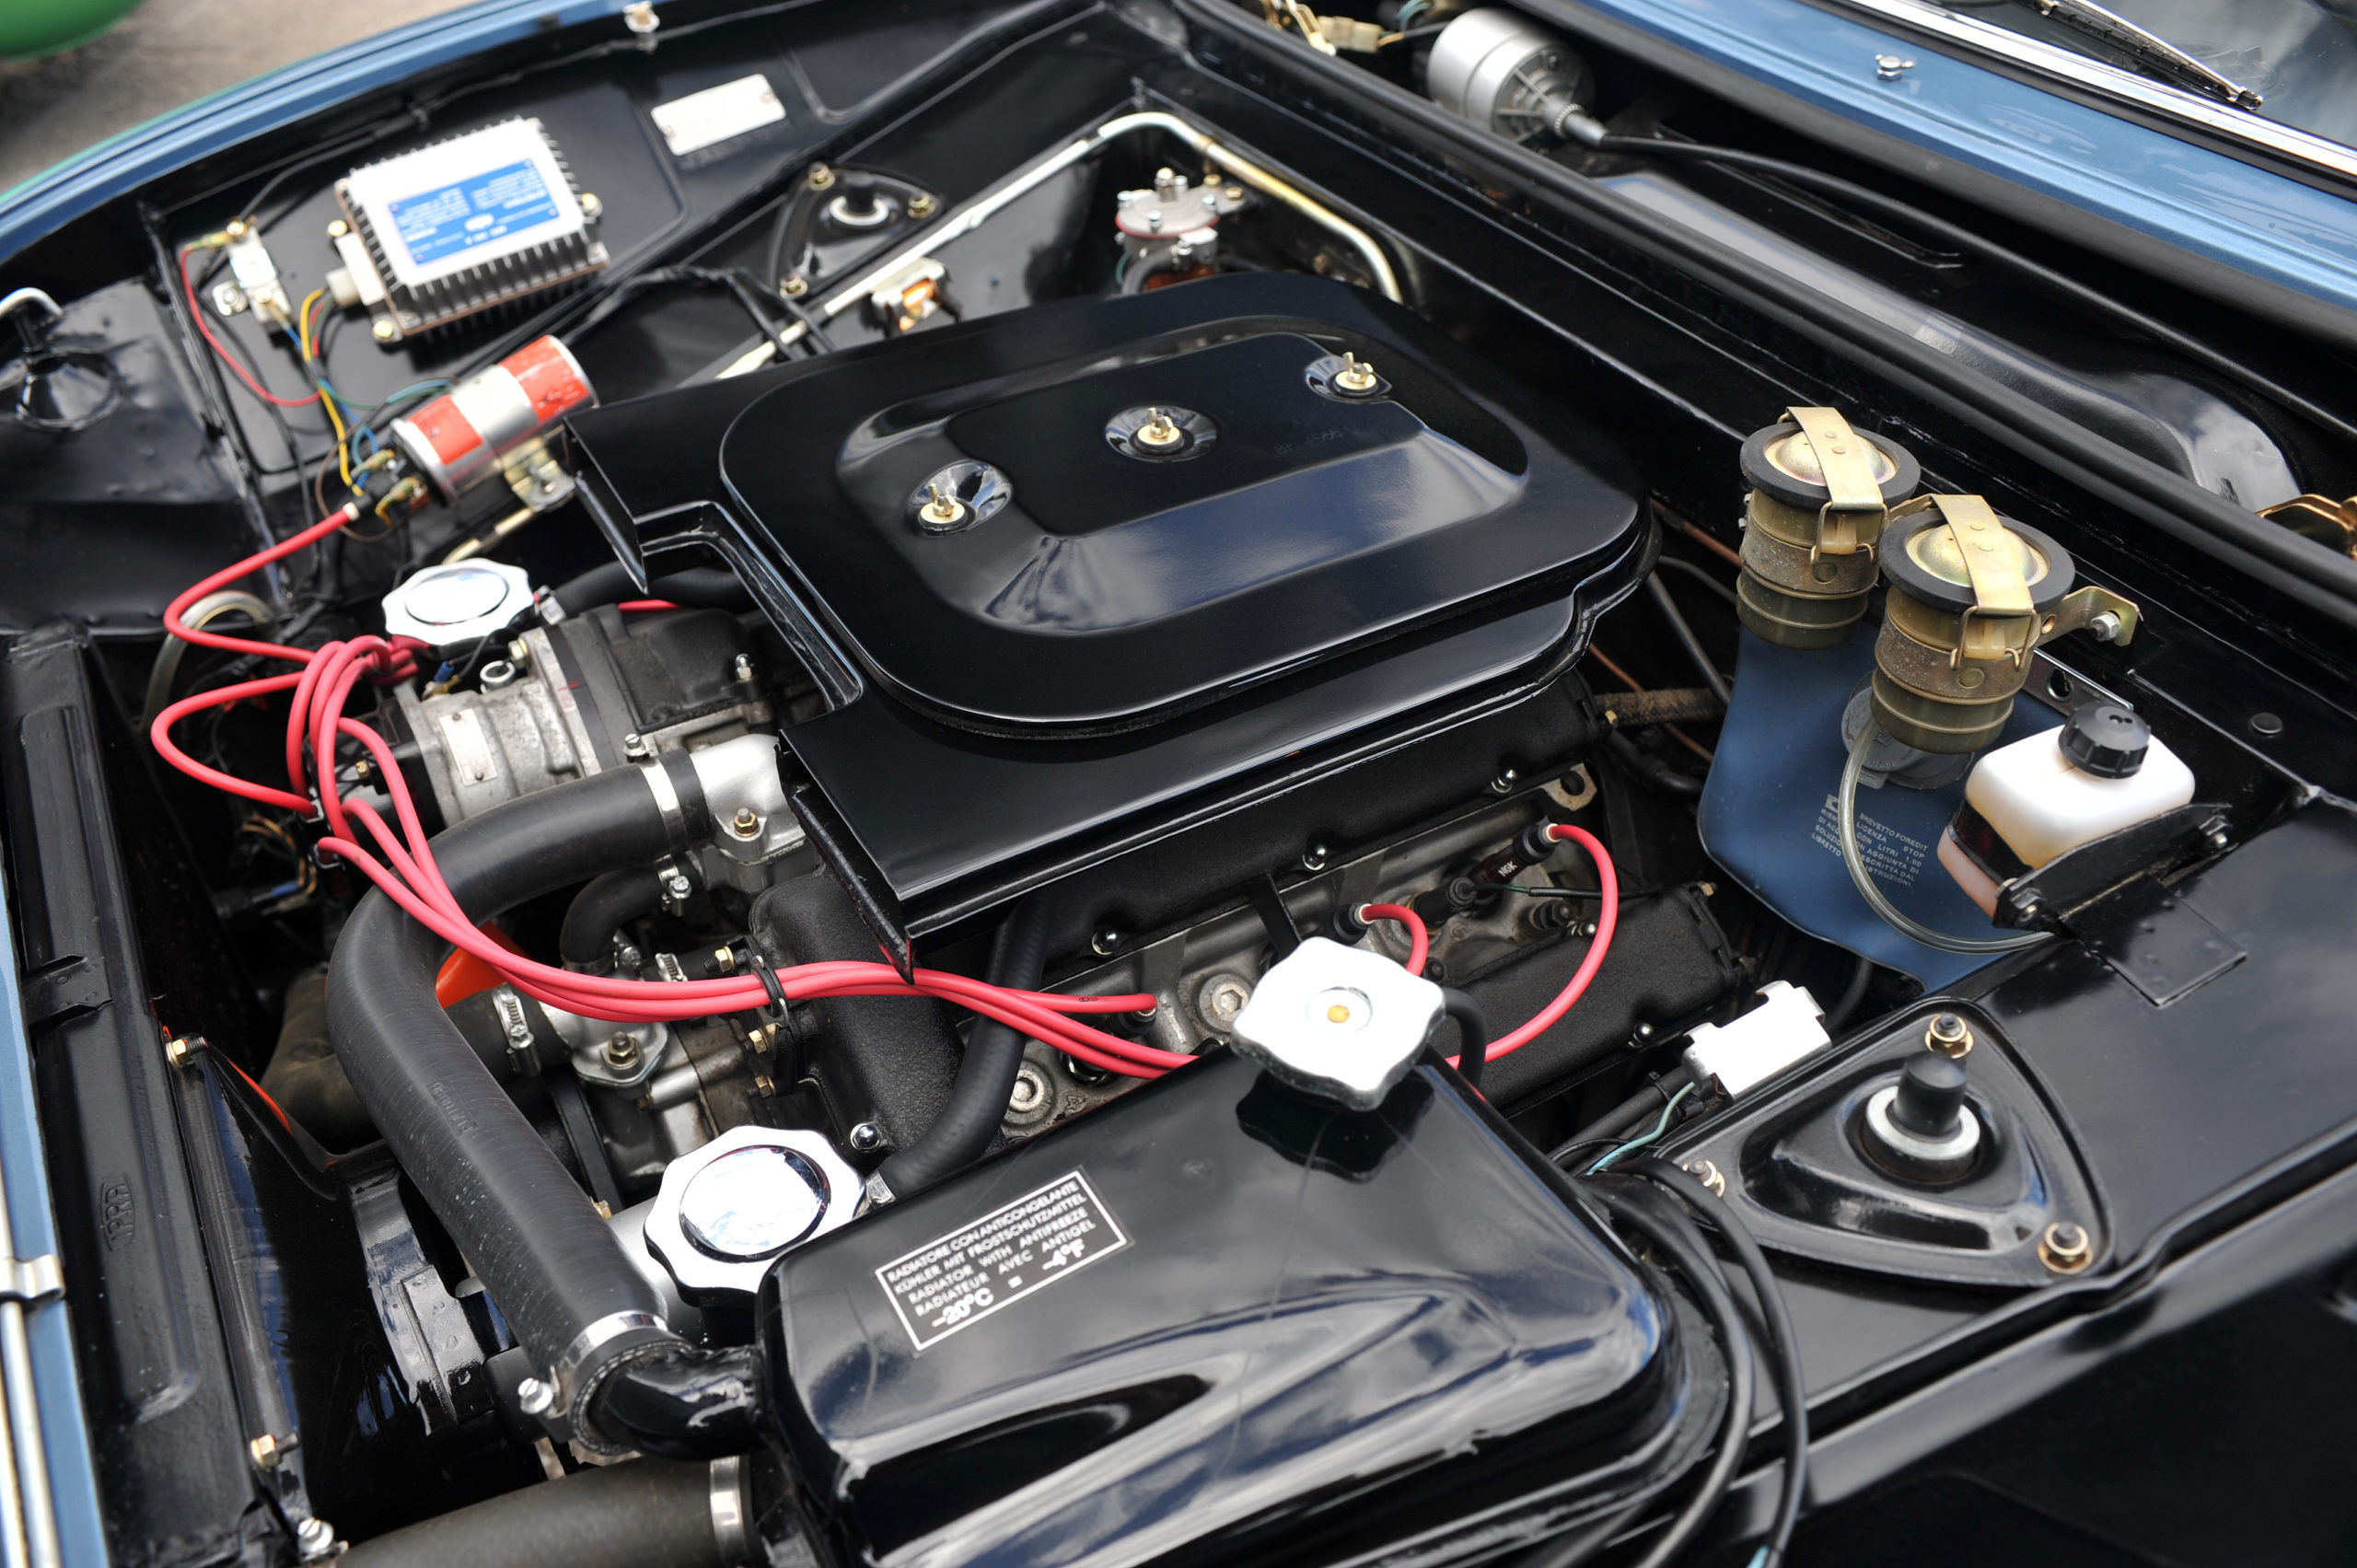
However, as the project progressed it was decided to take her back to bare metal to do a proper job of the body, then it made sense to remove the engine and repaint that to match and on it spiralled. So with goal posts now moving the further we went in one area the more it made sense to strip the whole car and do it all properly.
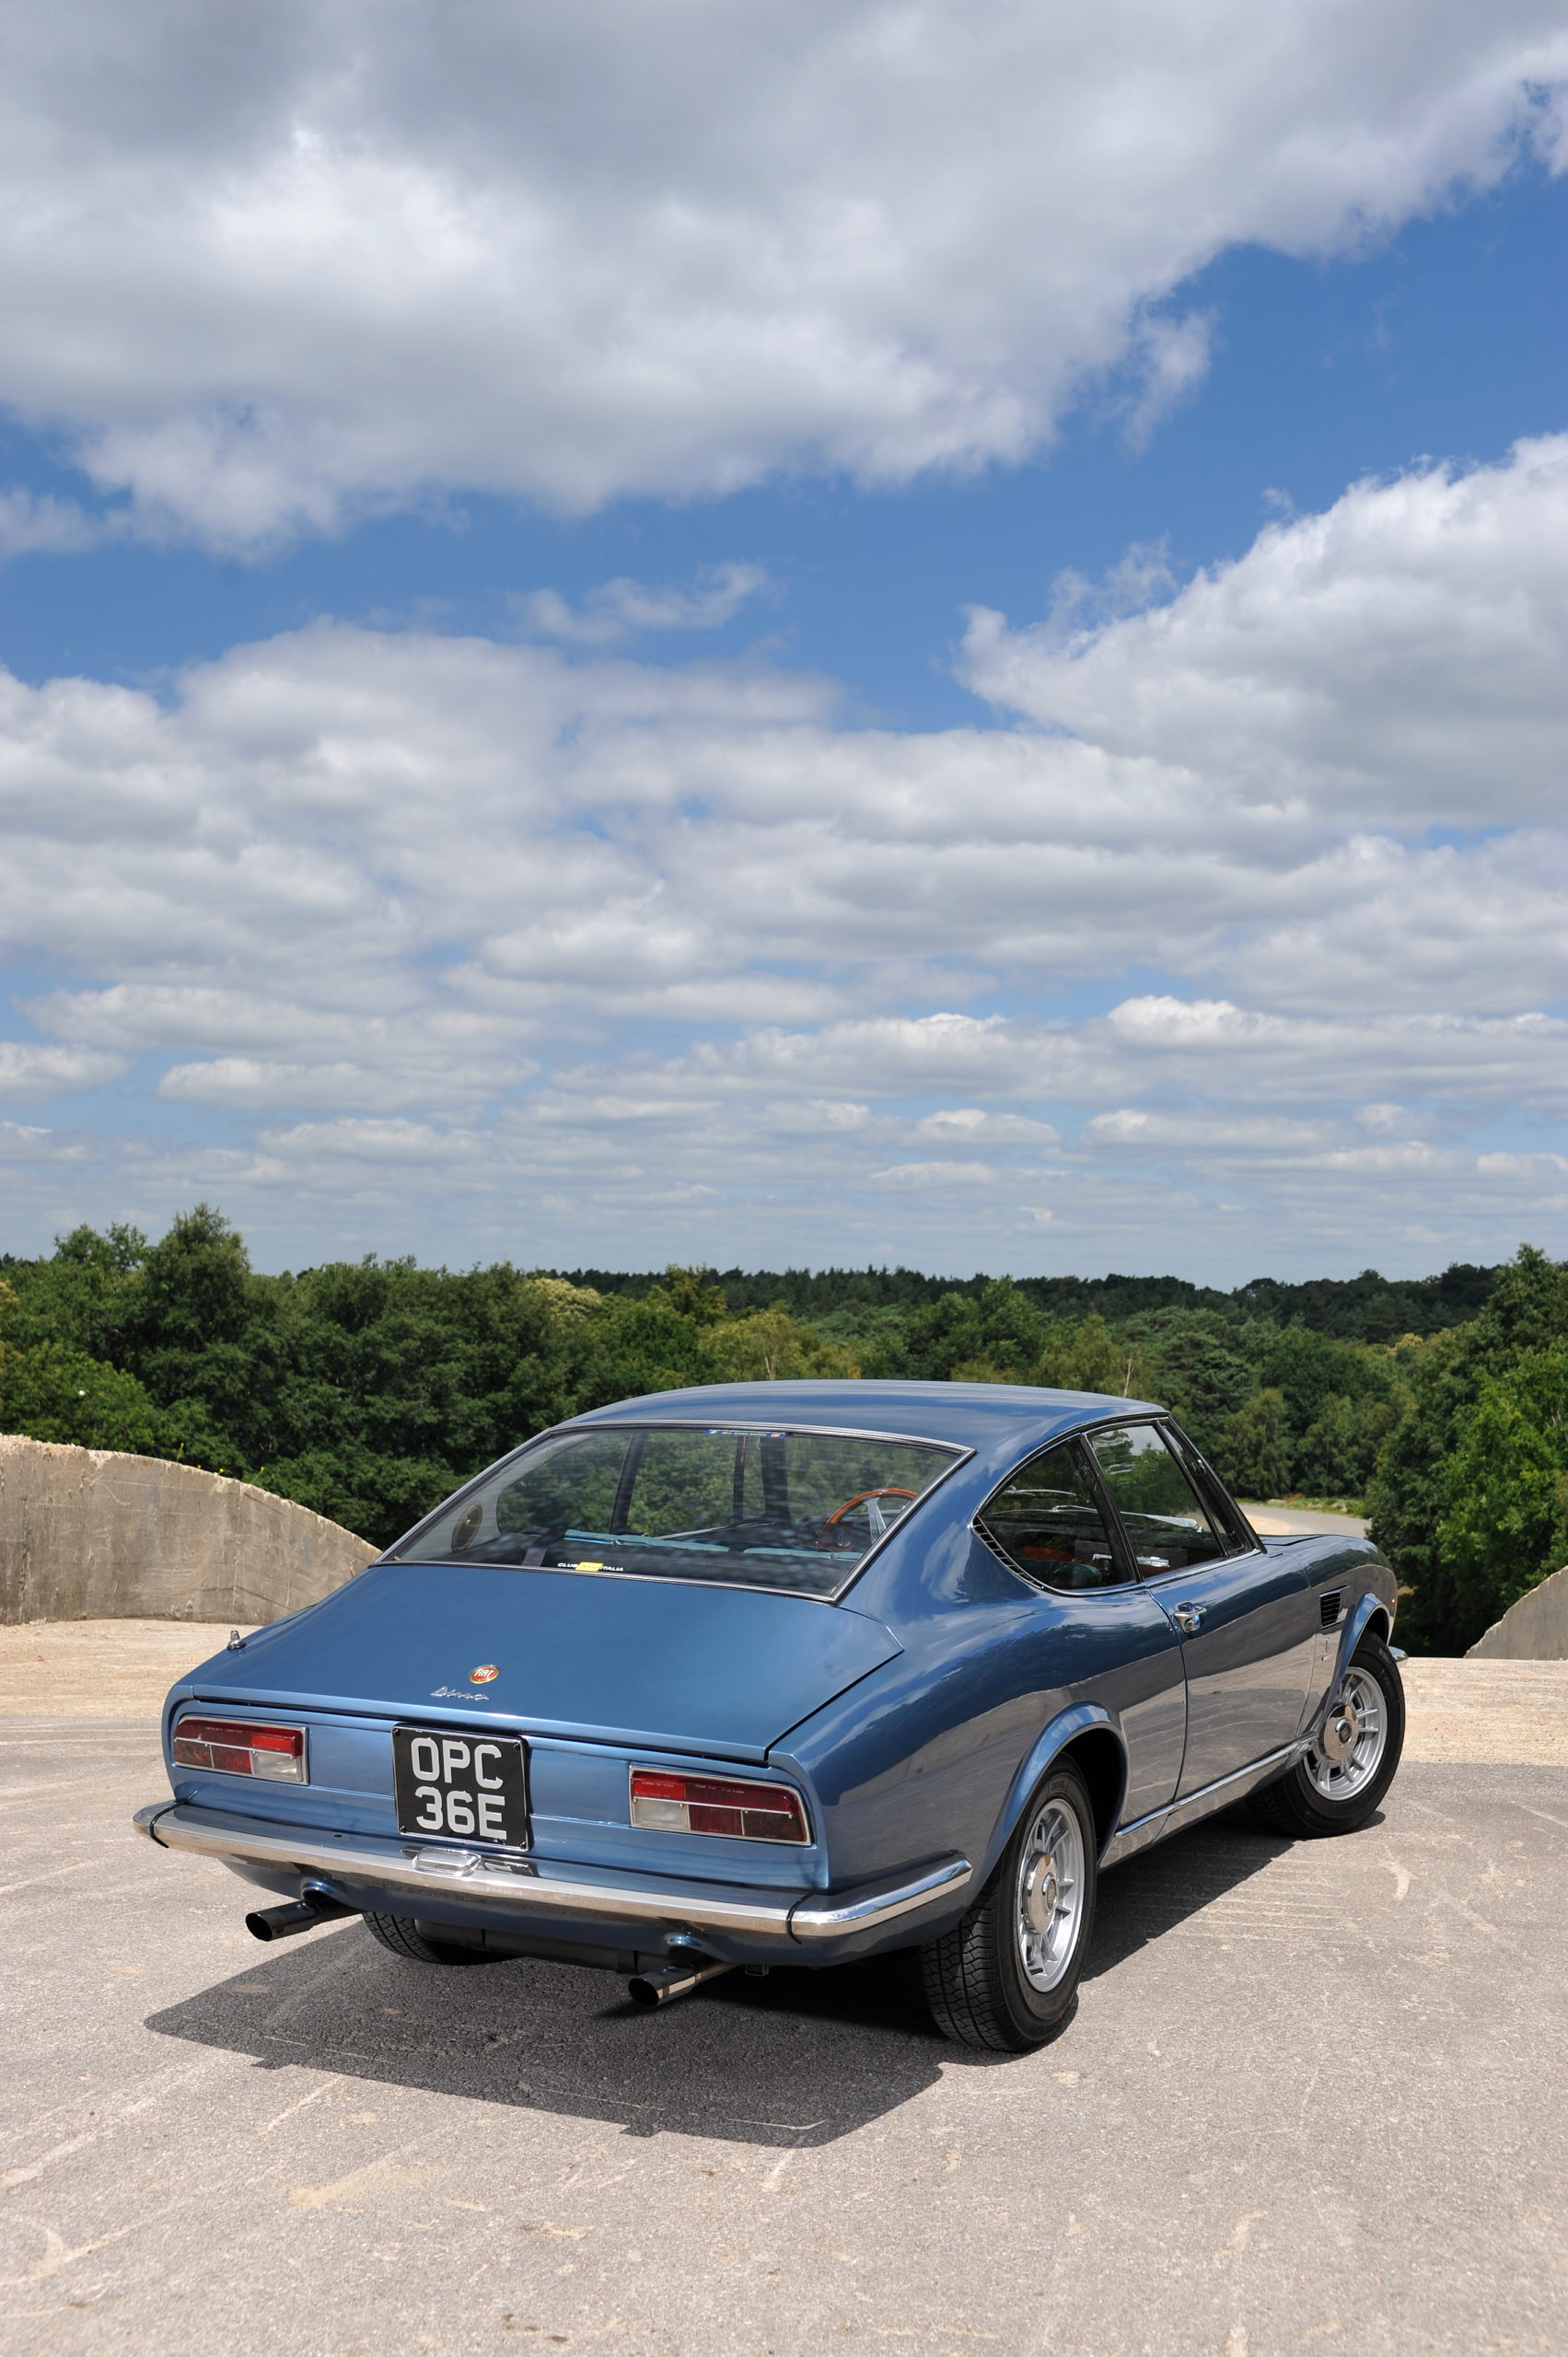
Concours was not the point, more a very good condition car that could be taken to a show wihtout disgracing herself but most importantly would drive as she should when new reliably!
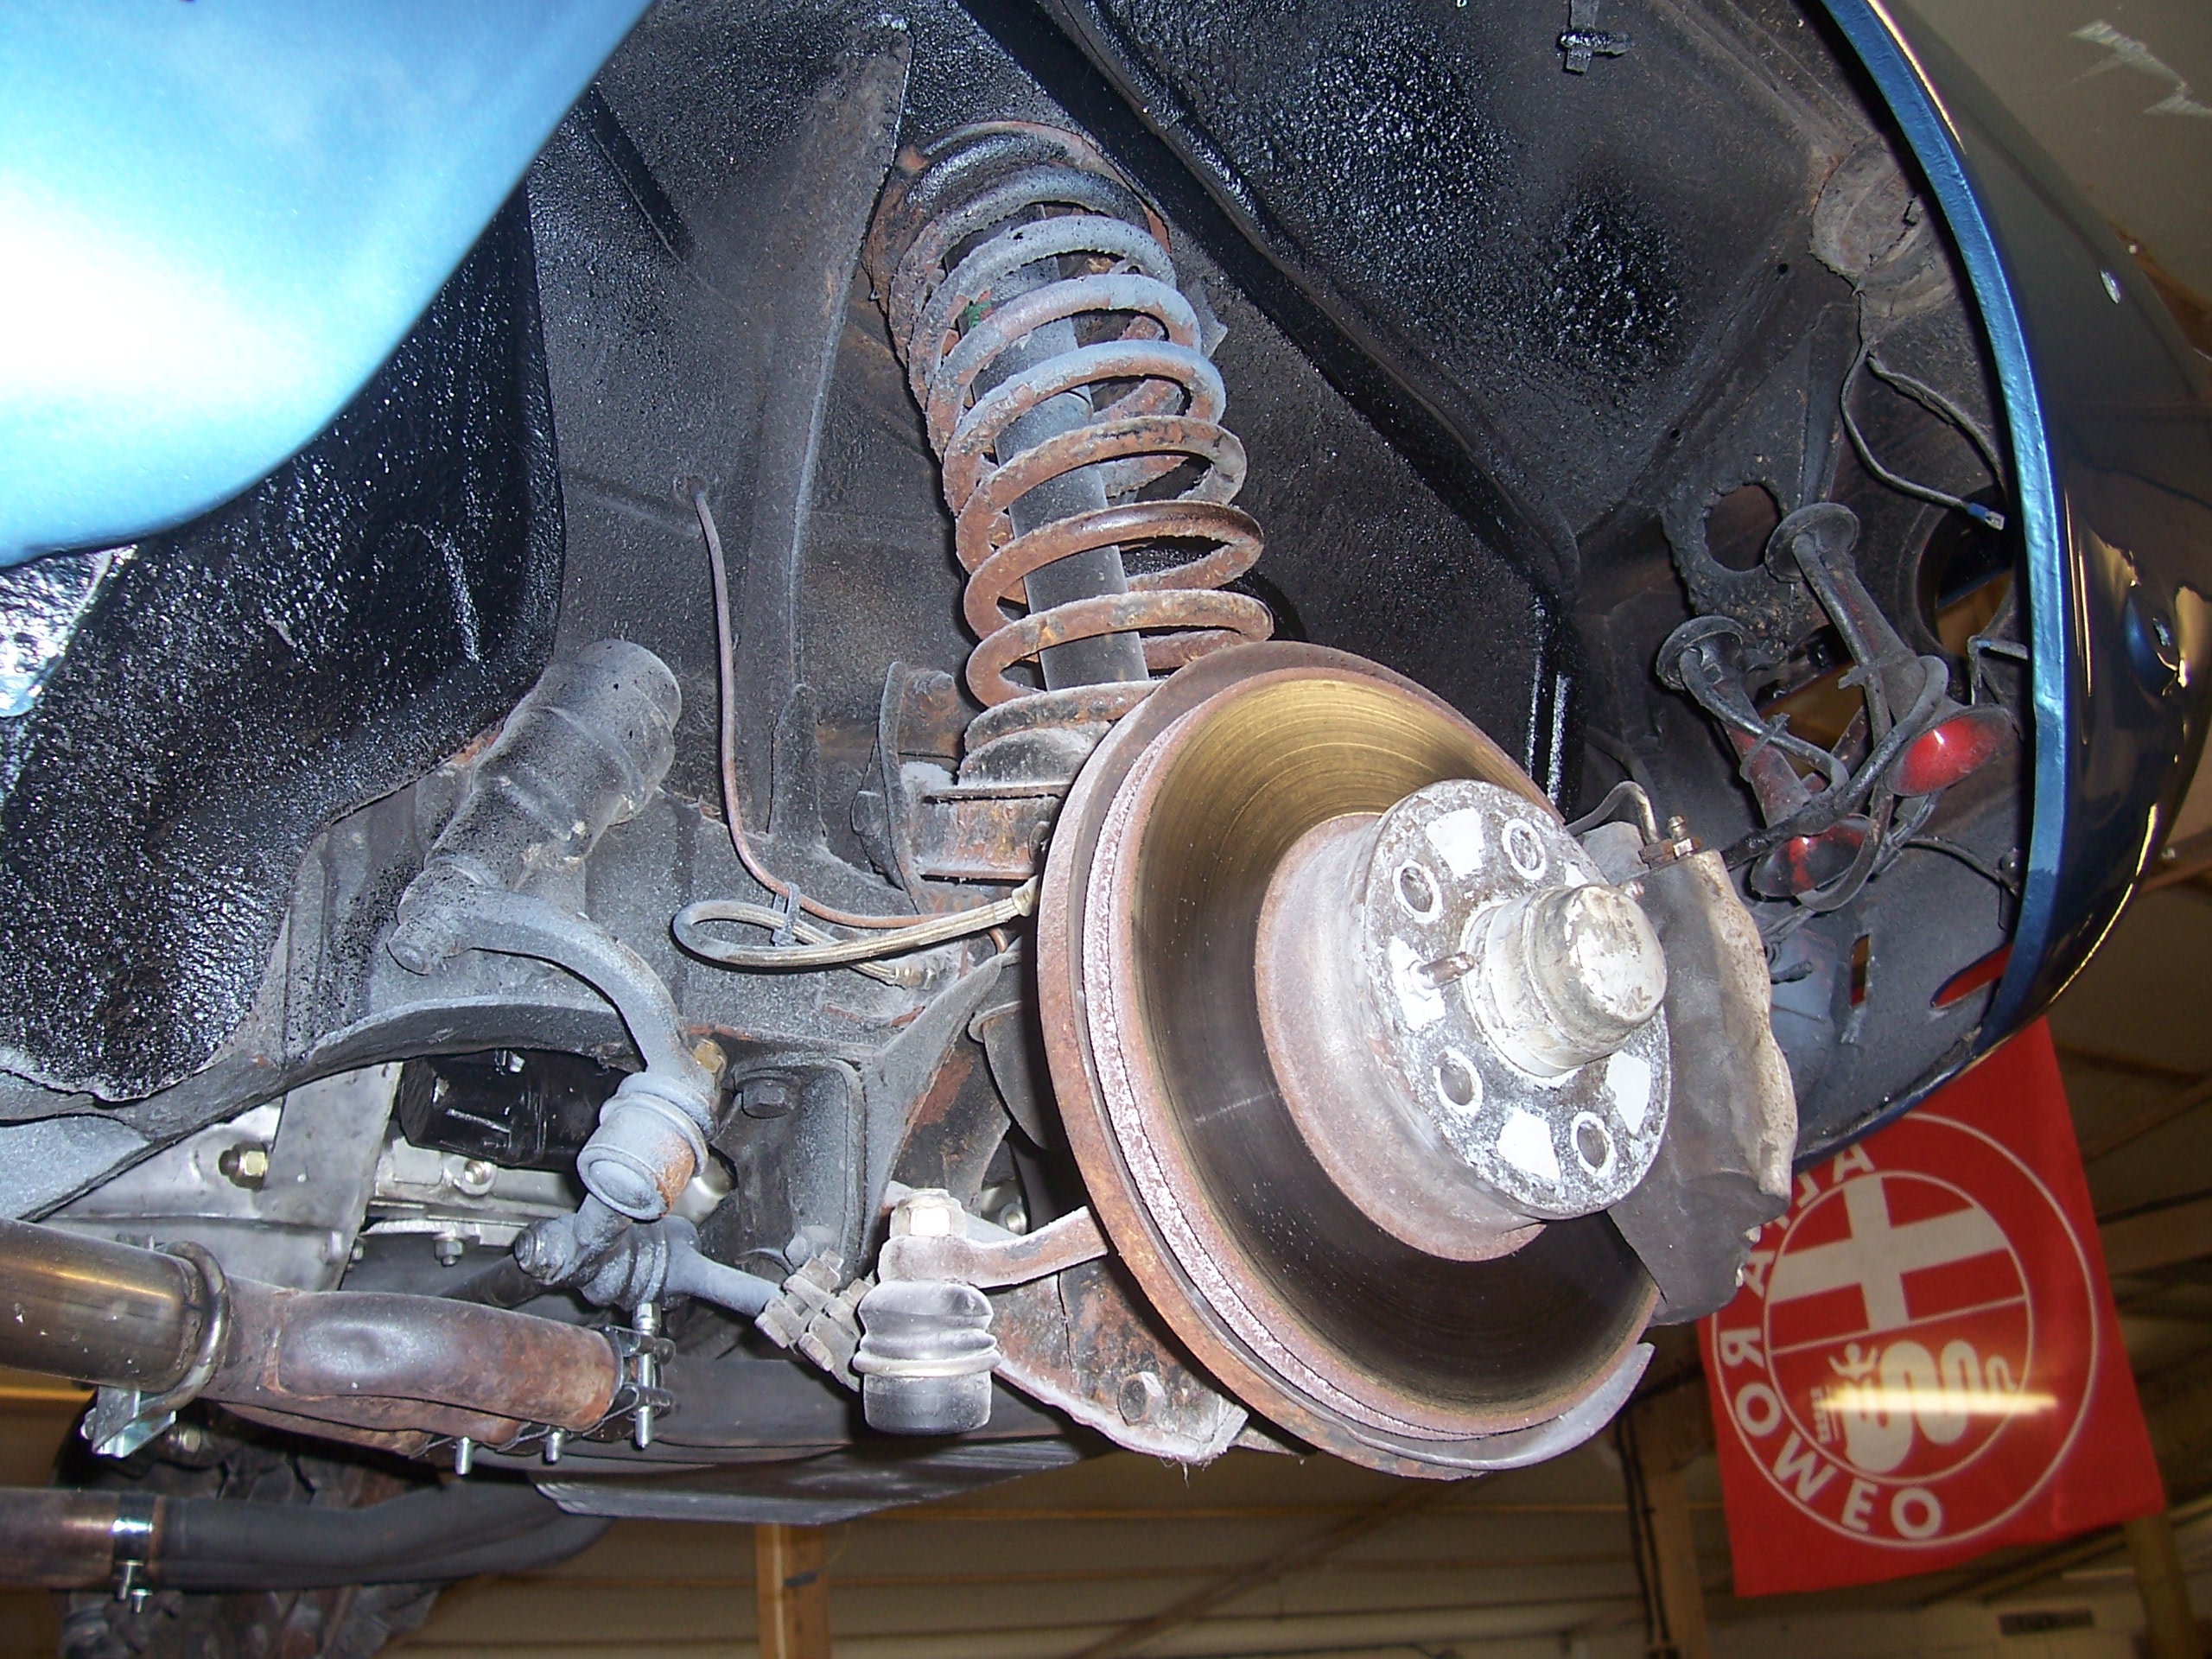
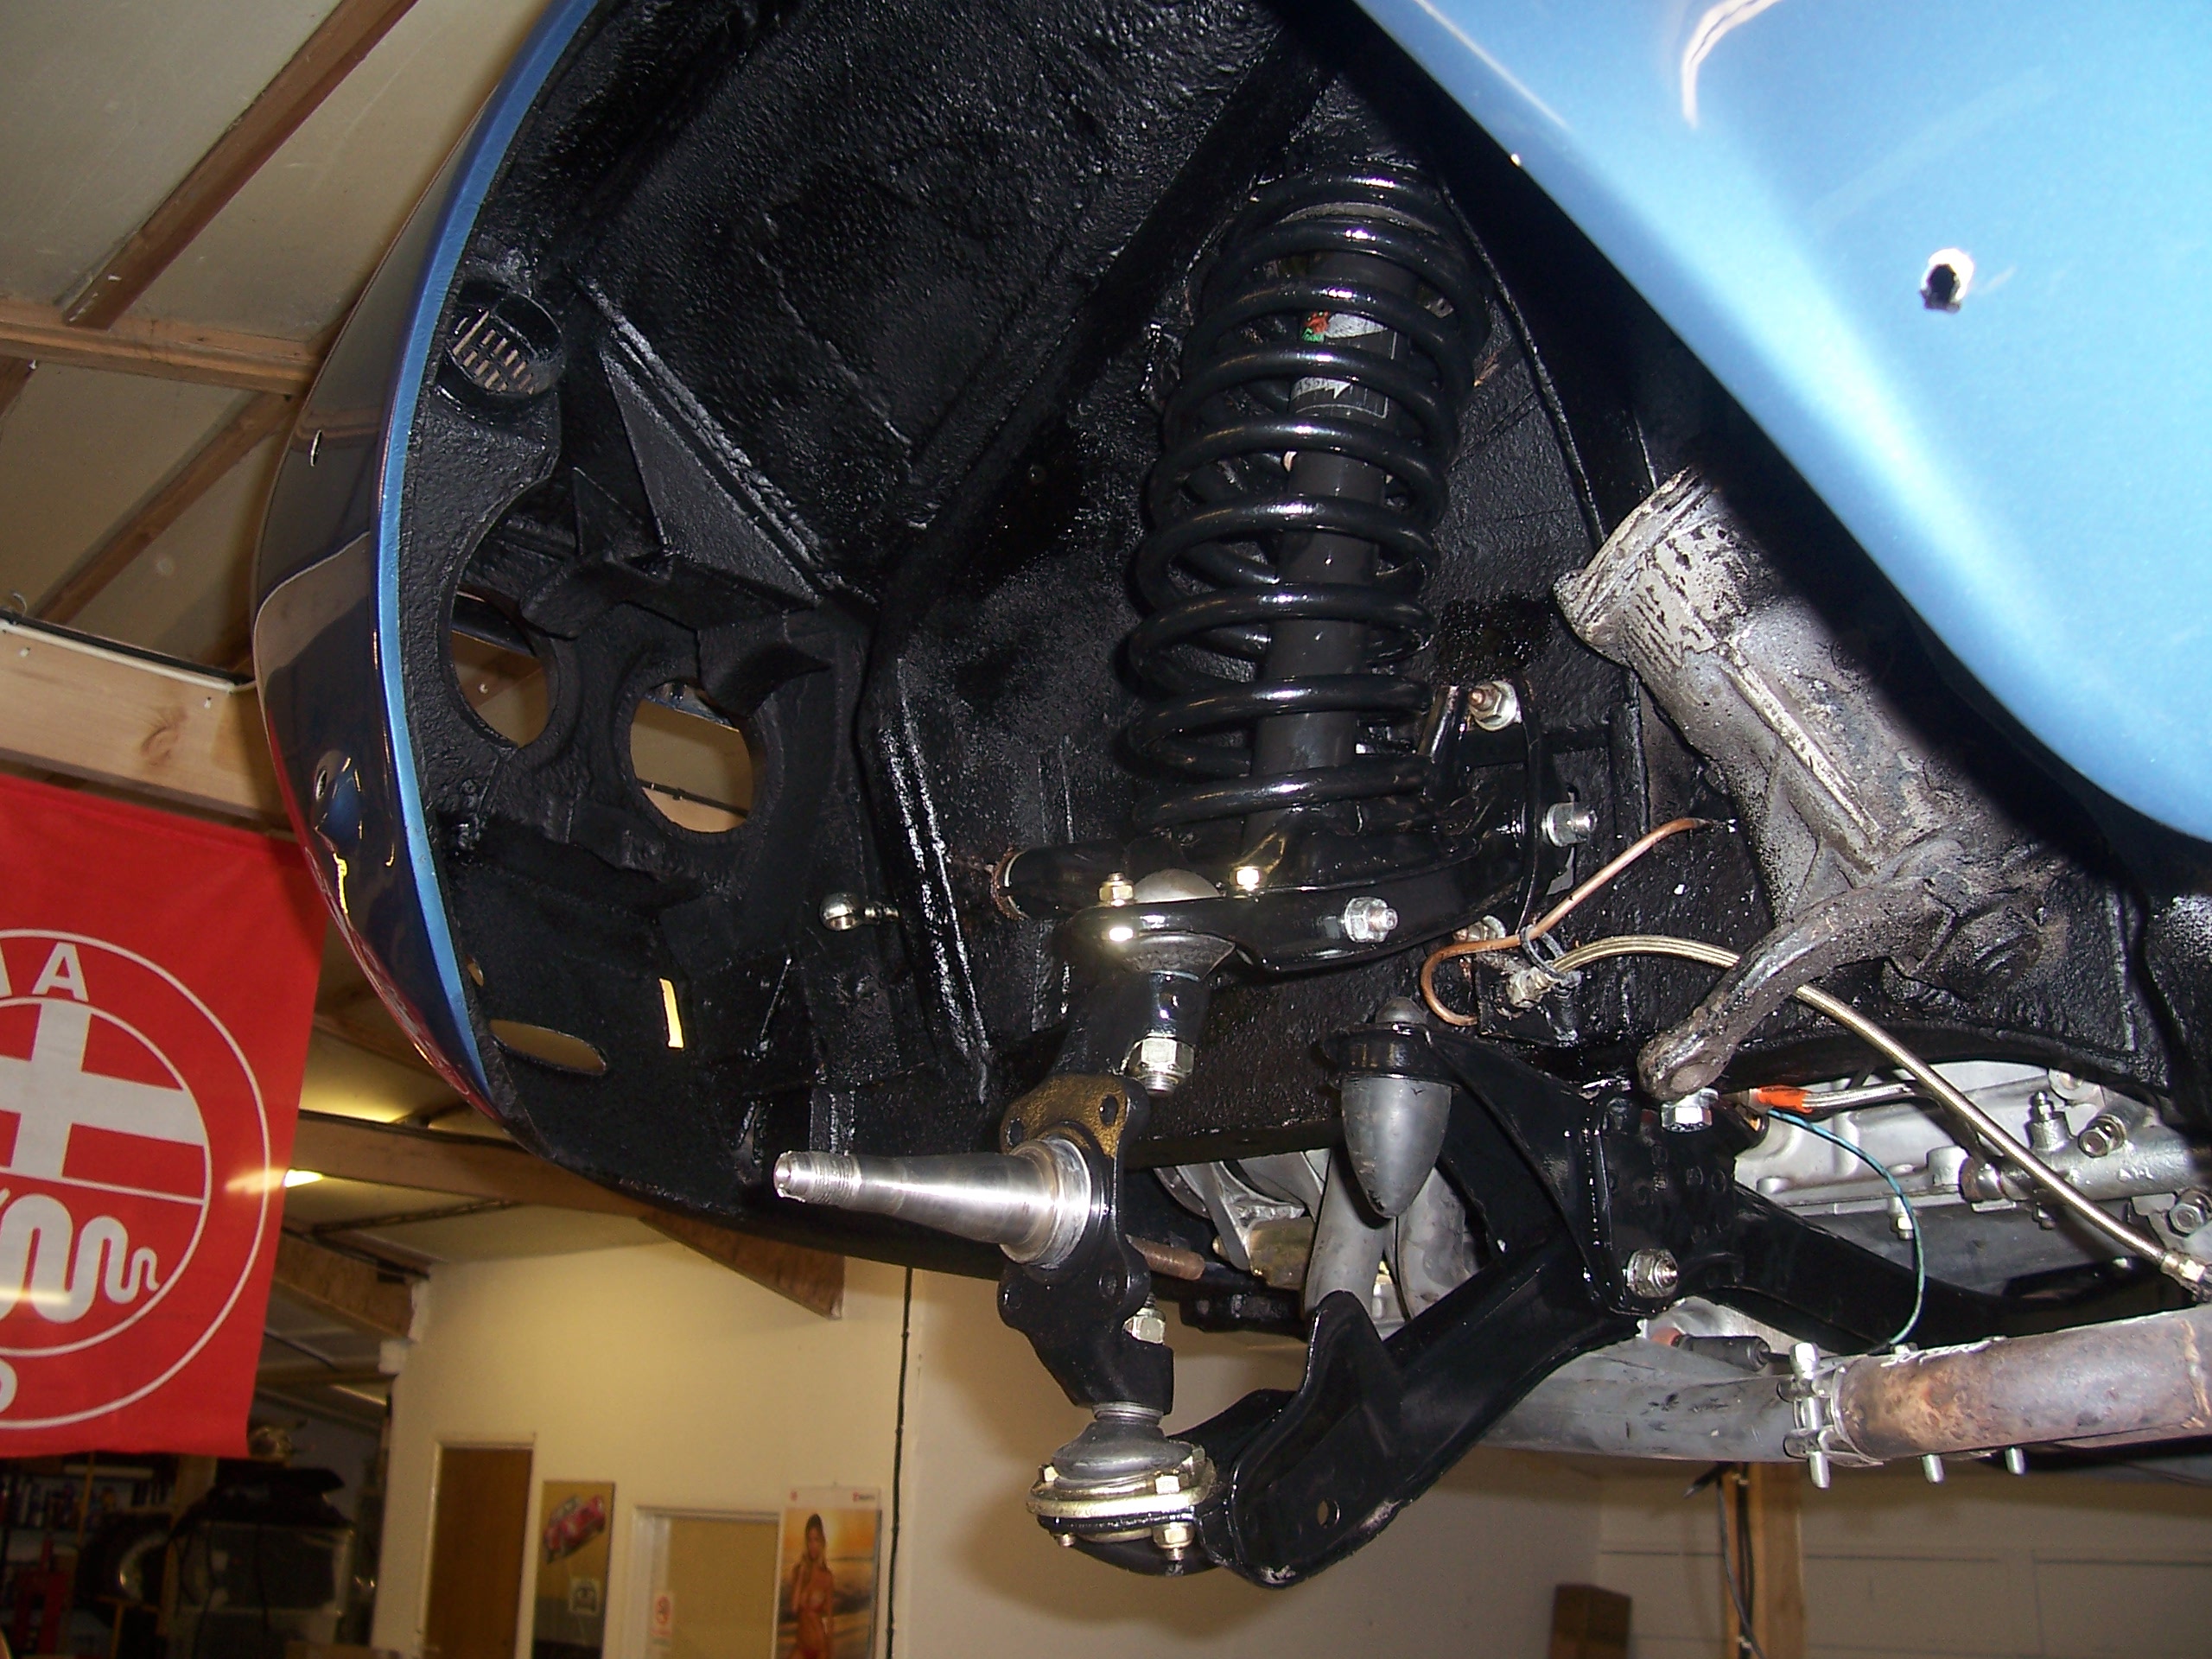
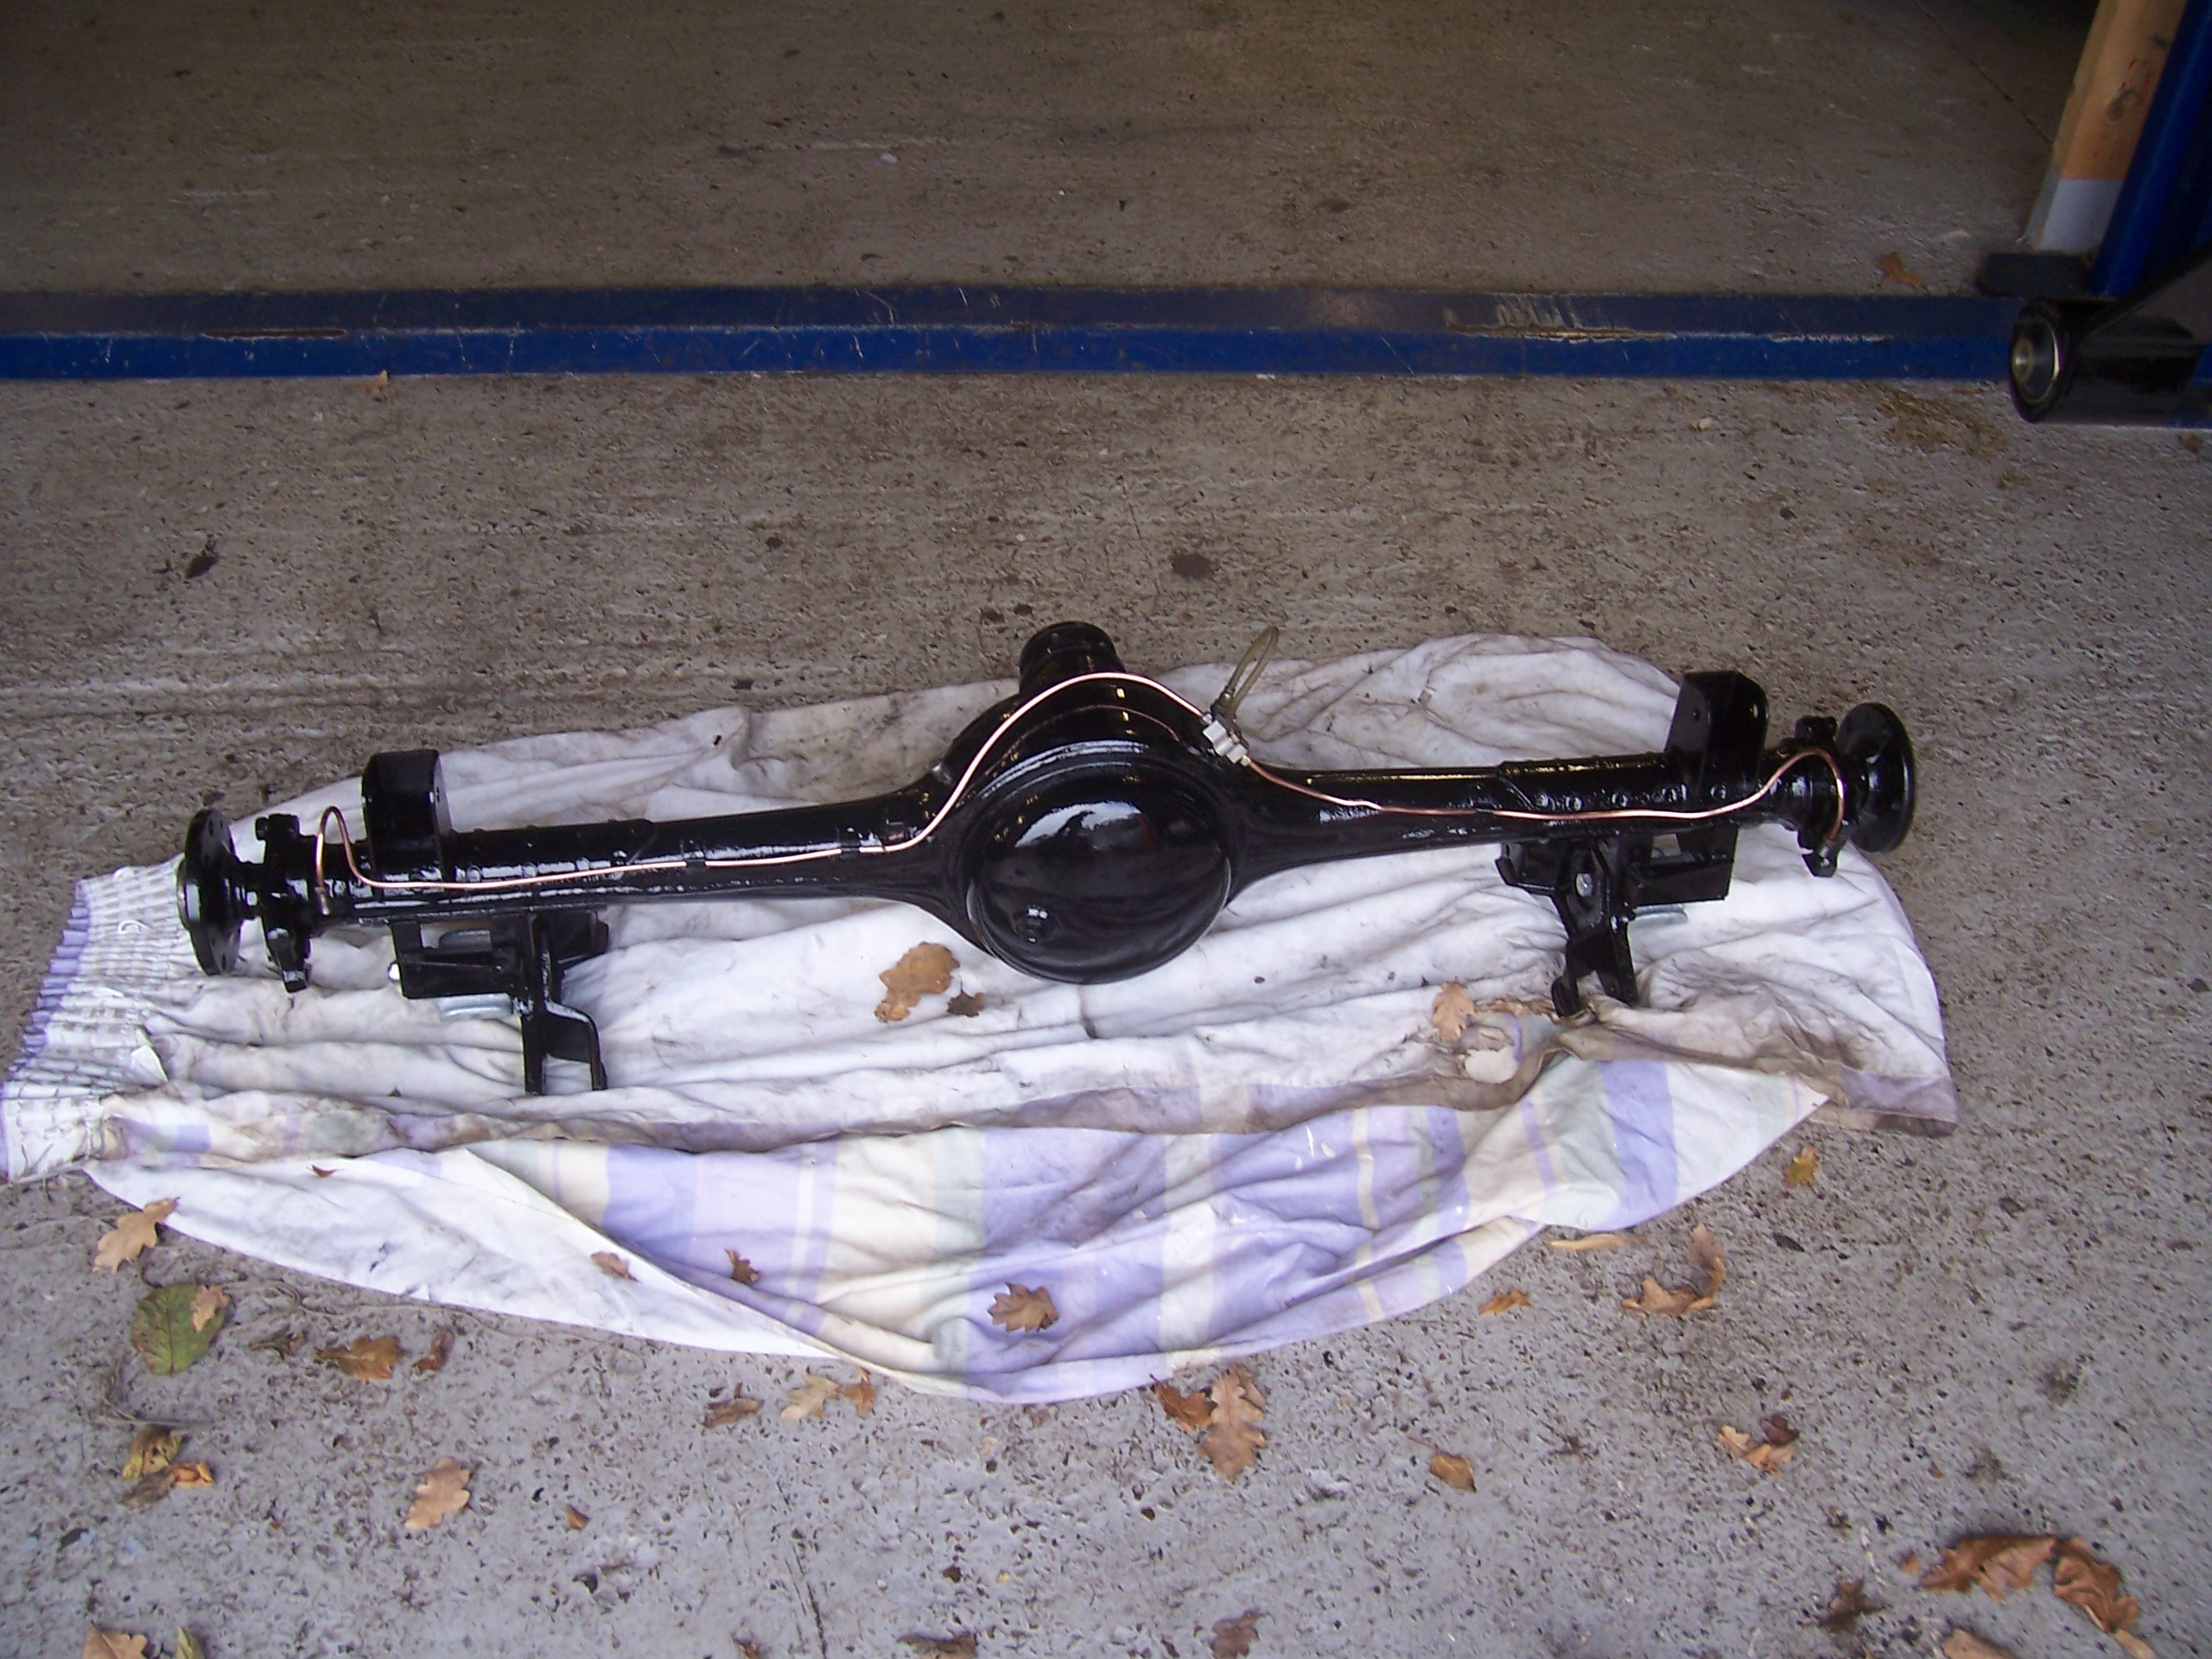
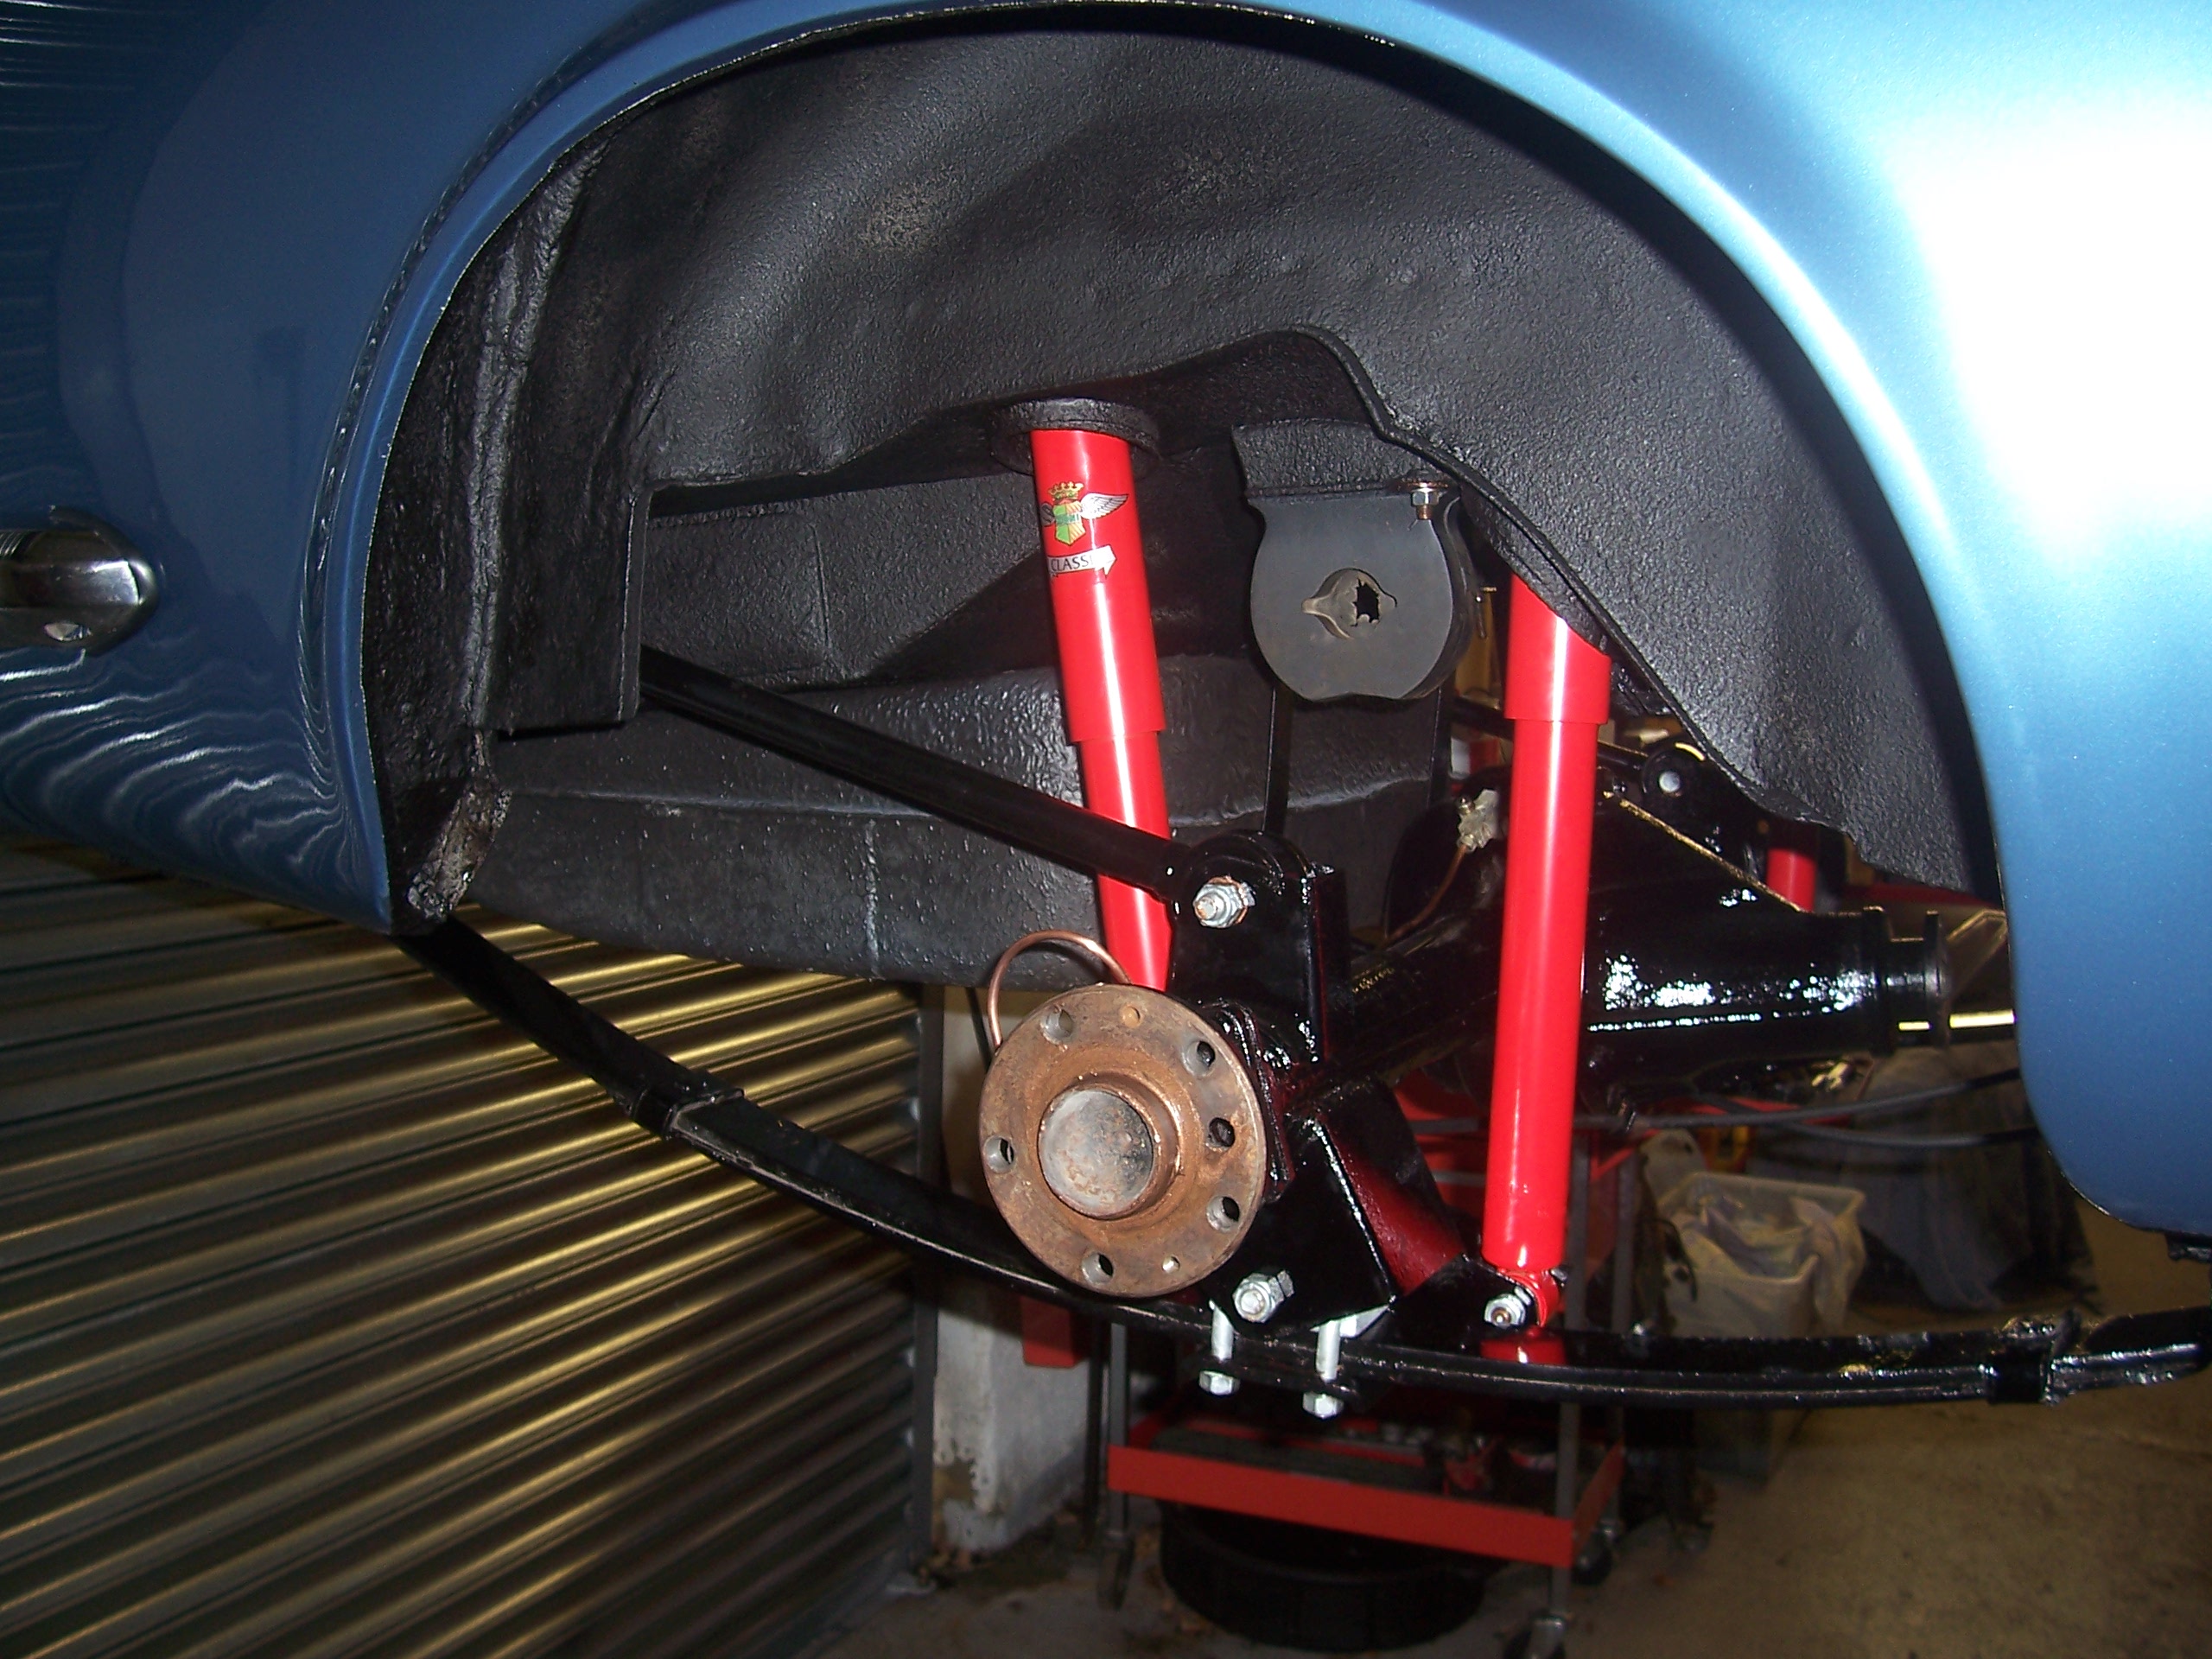
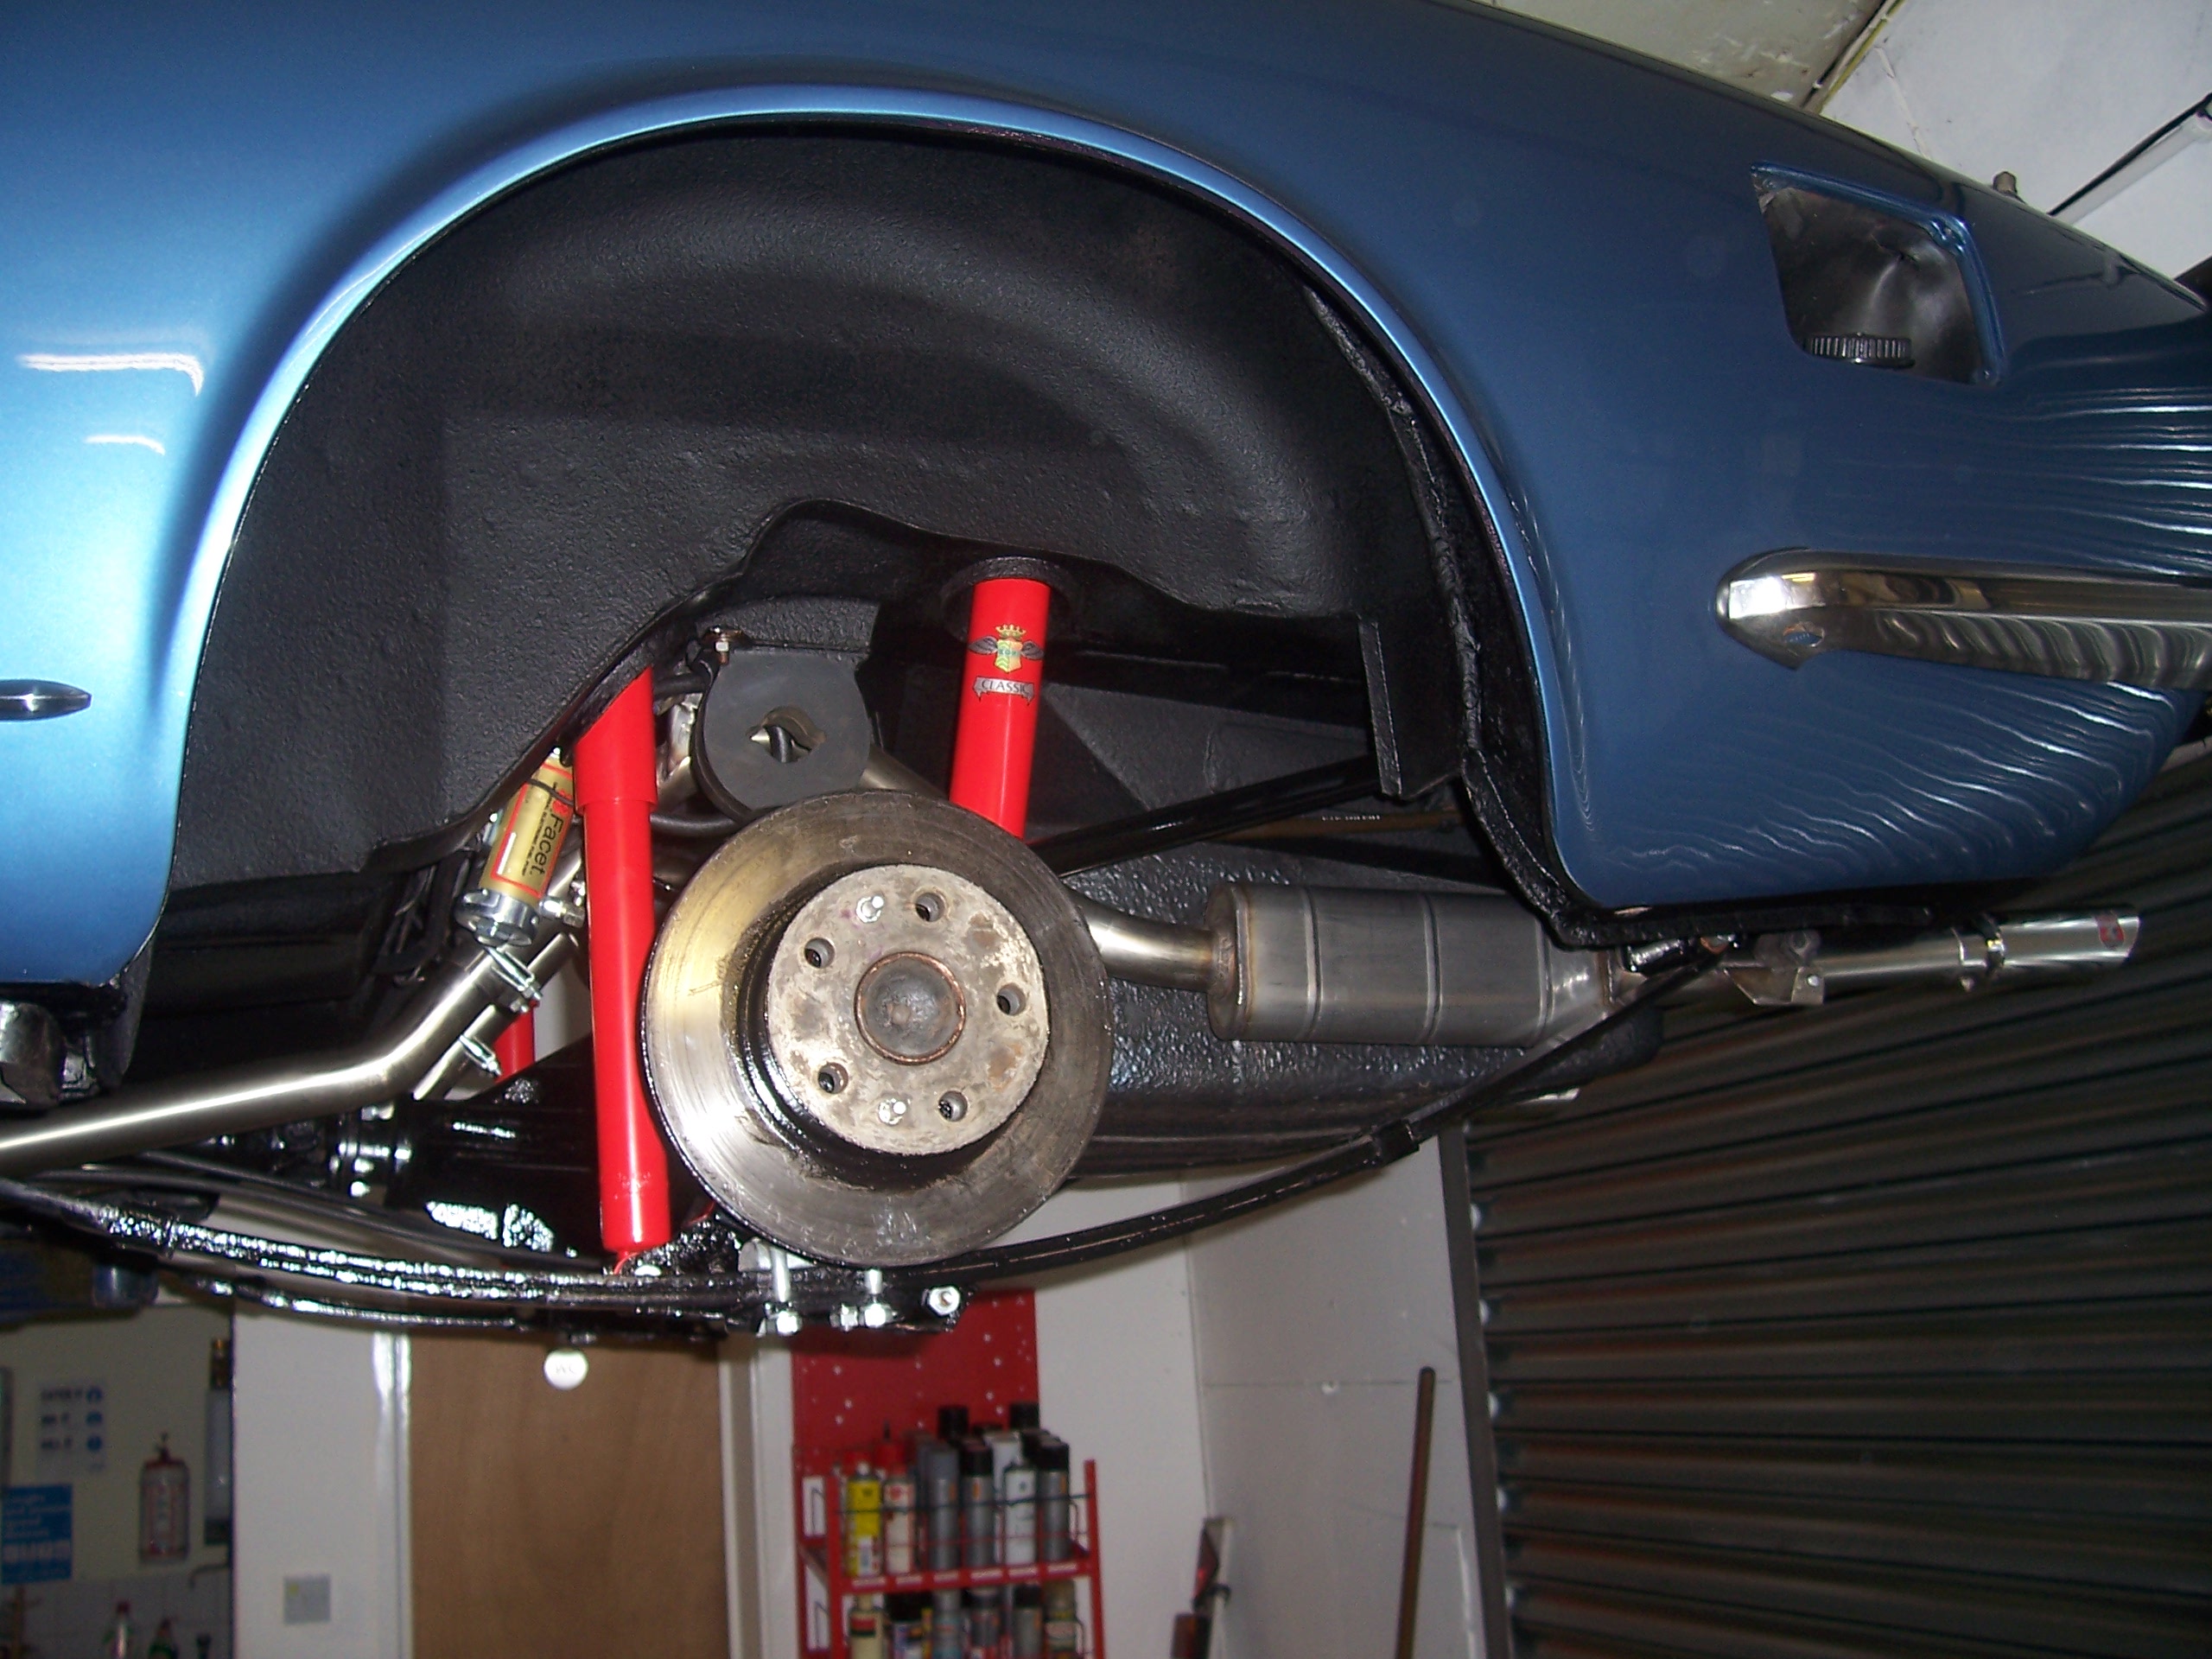
To that end all the running gear was stripped off the freshly restored & painted body shell. This was then stripped of all bushes, ball joints etc. All components were then either replated in the original finish or shot blasted & powder coated.
It was decided to replate rather than replace as the bolts are all stamped with FIAT on the heads & it was important to keep this orignal feature. Once this had been completed a complete set of new ball joints, bushes, shock absorbers & wheel bearings were fitted ready to go back on the car.
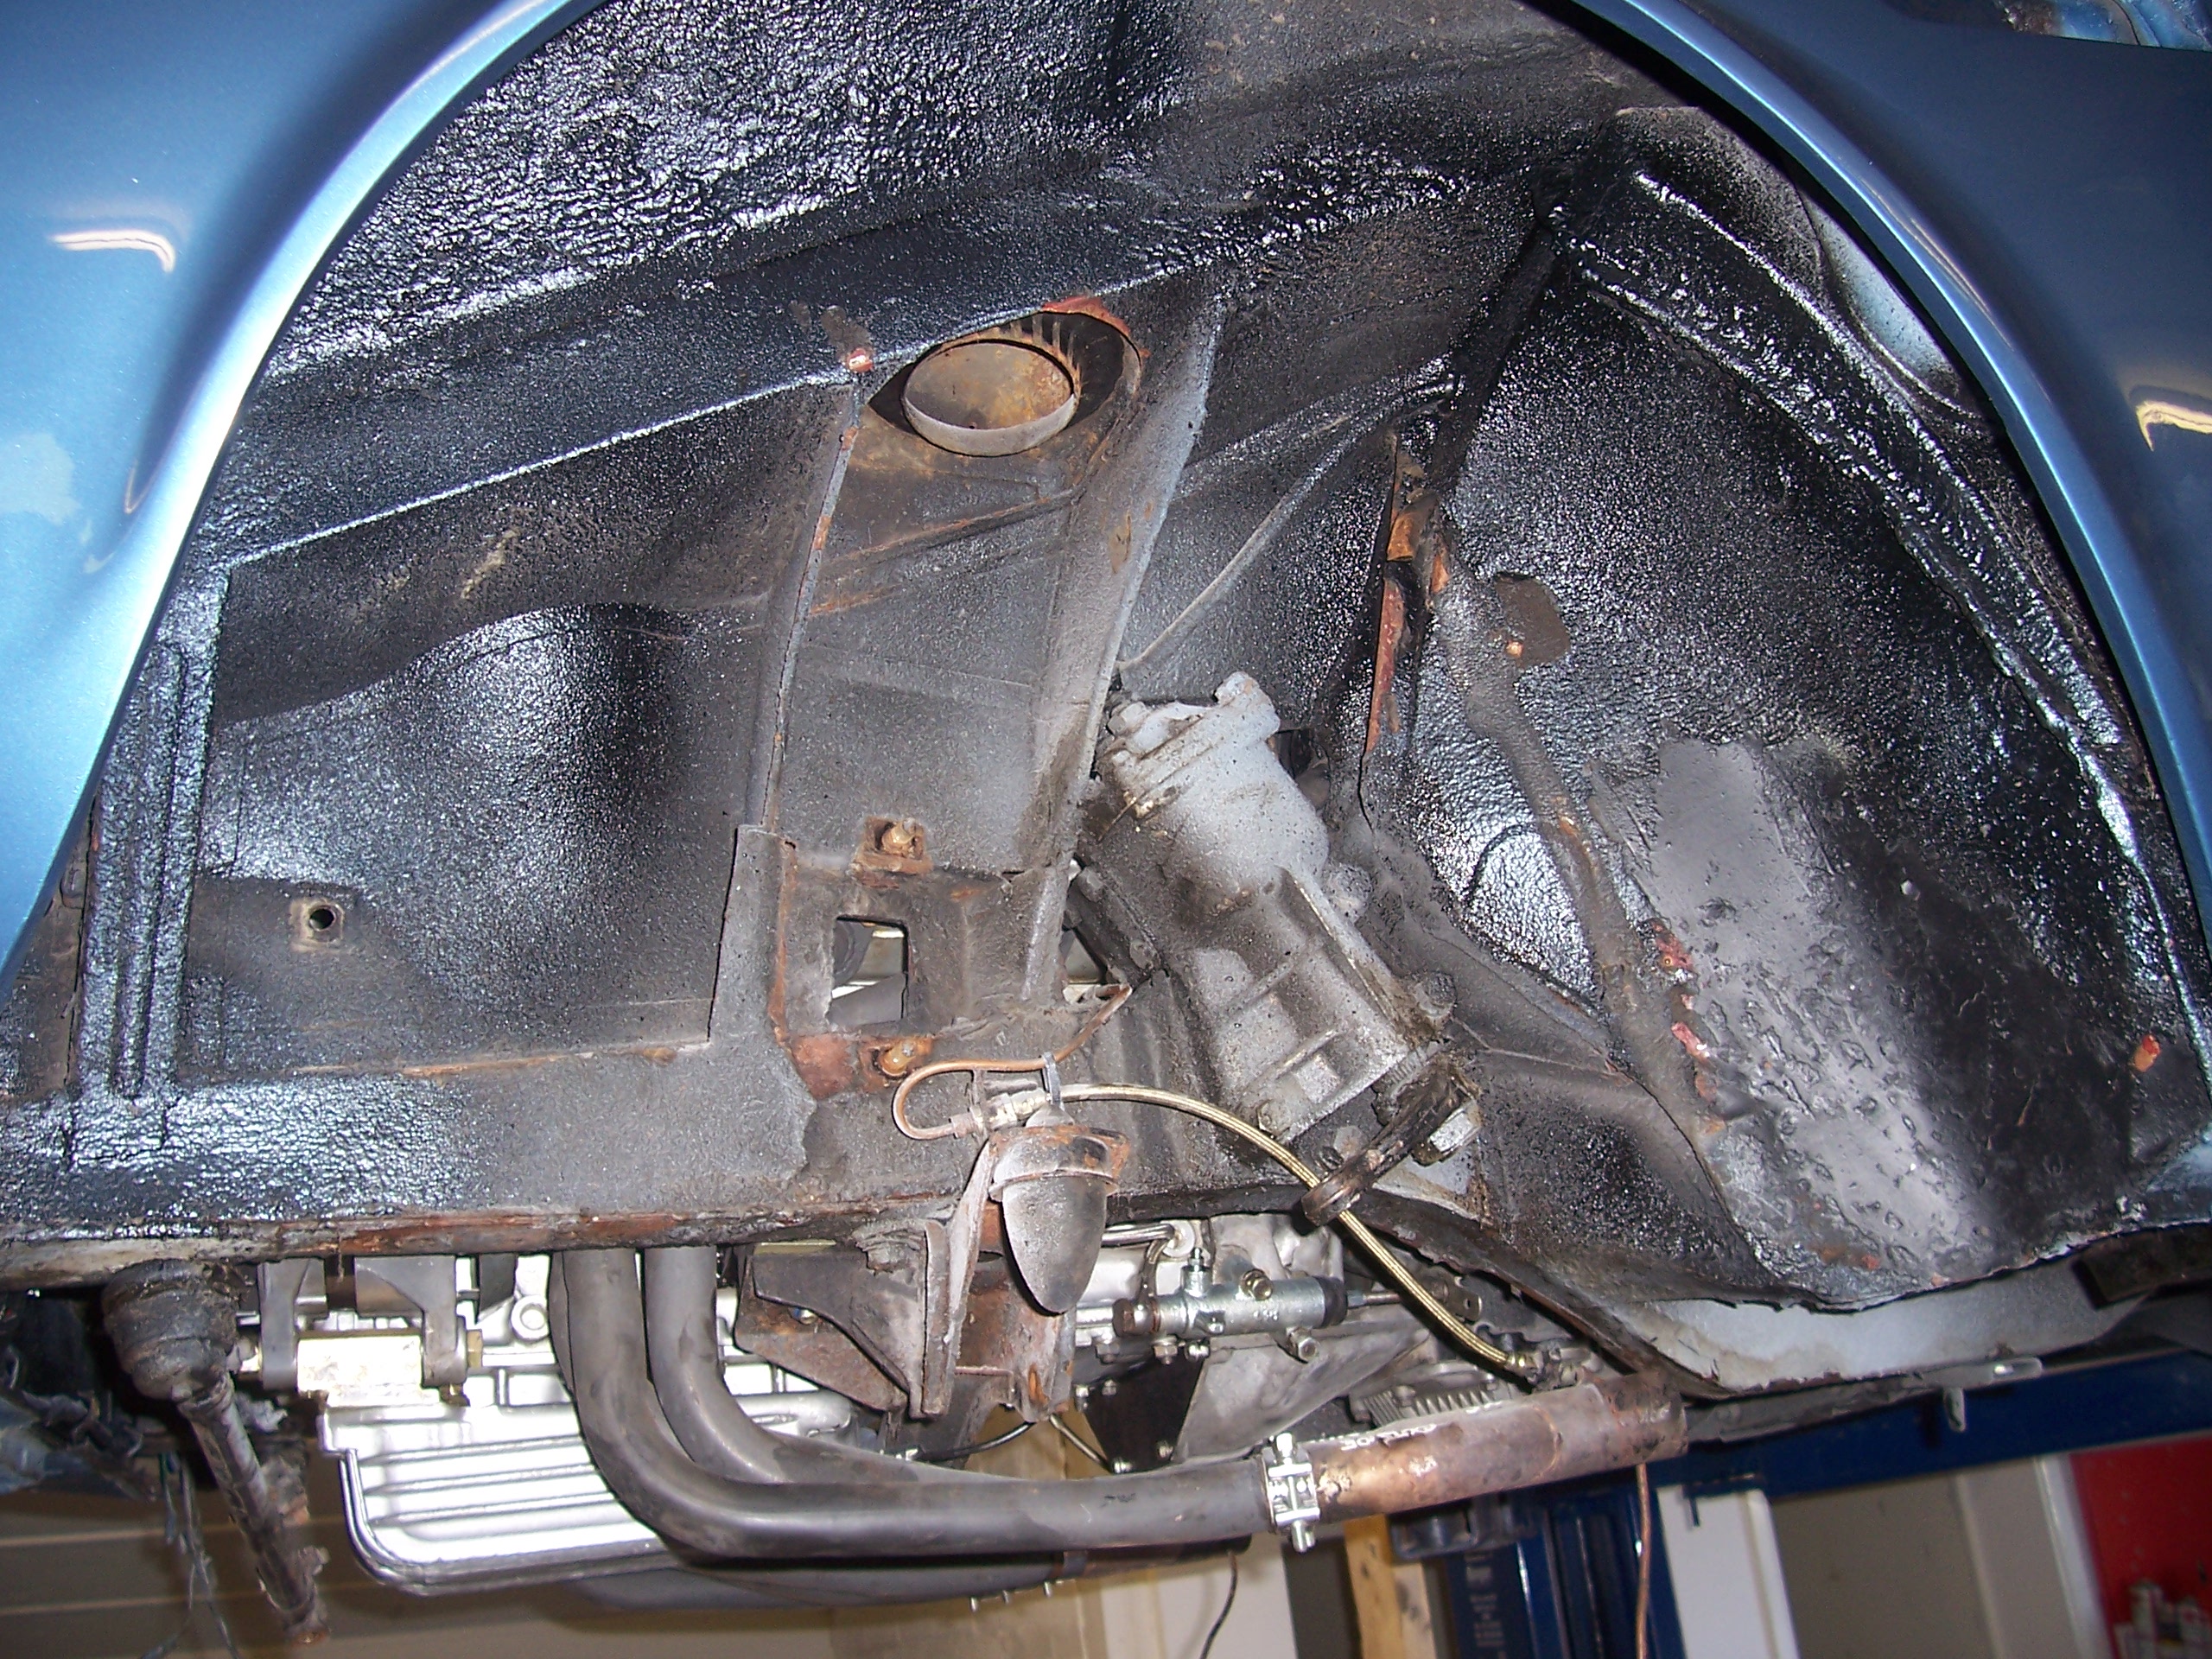
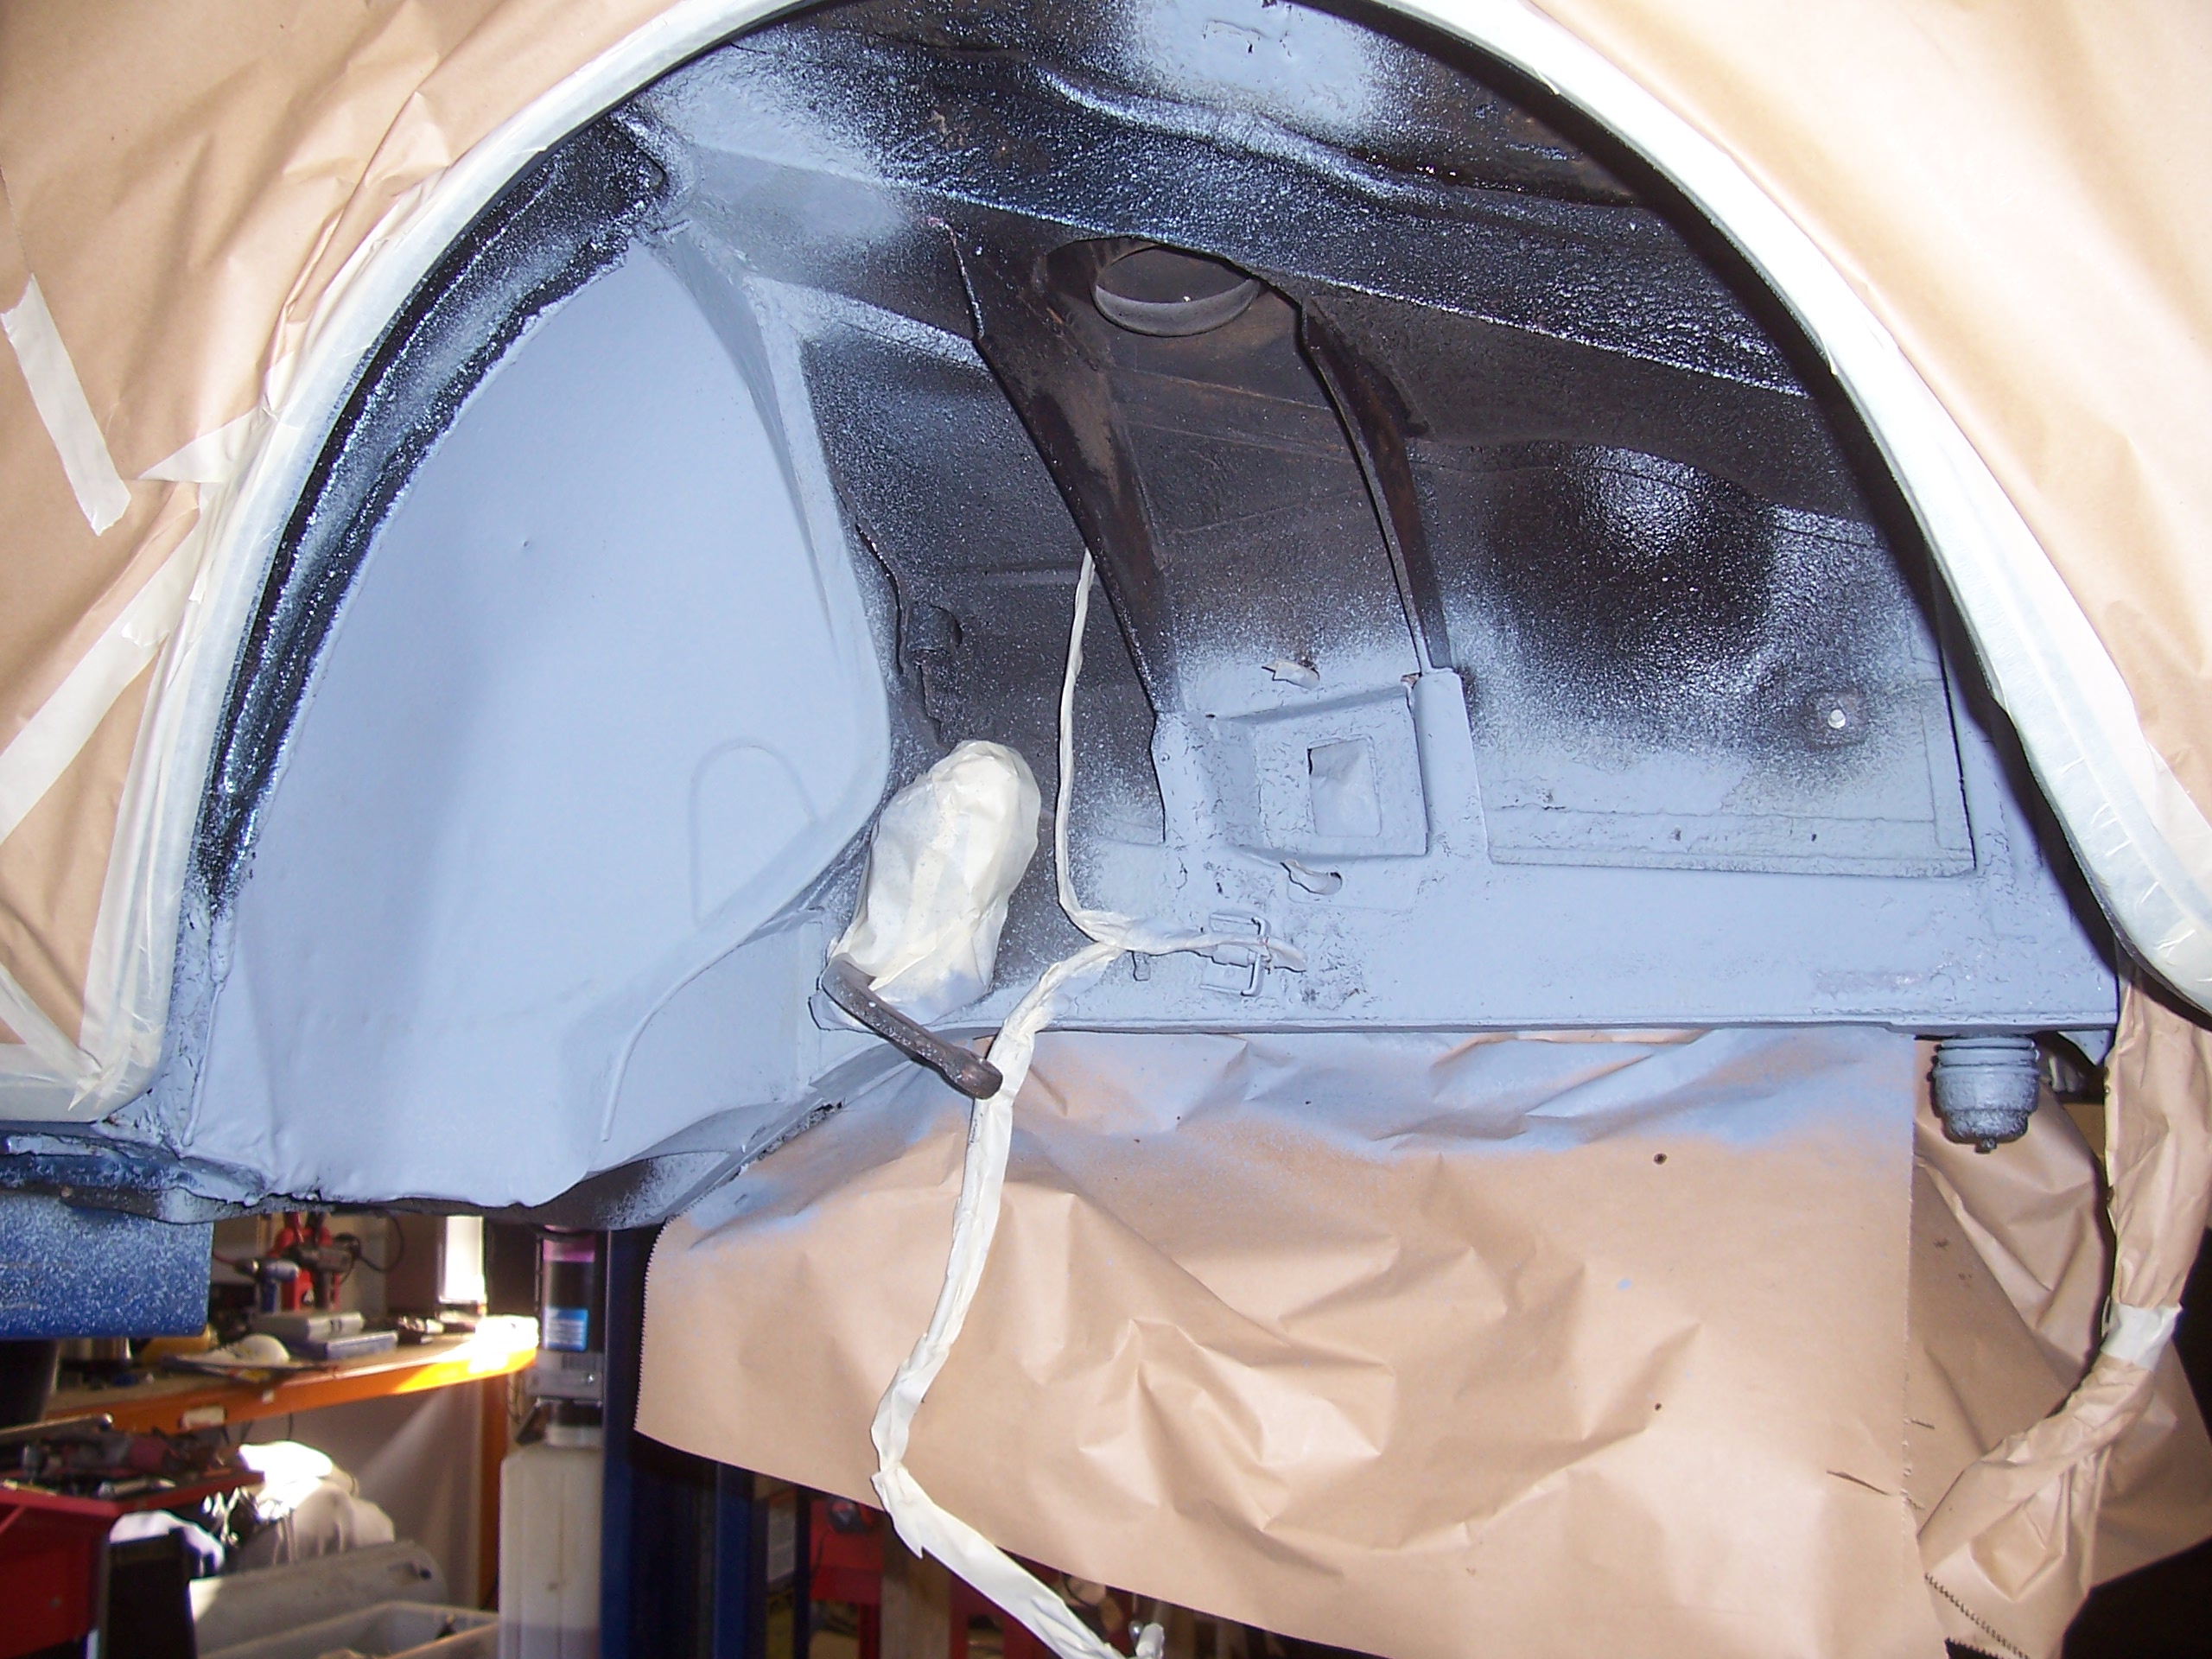
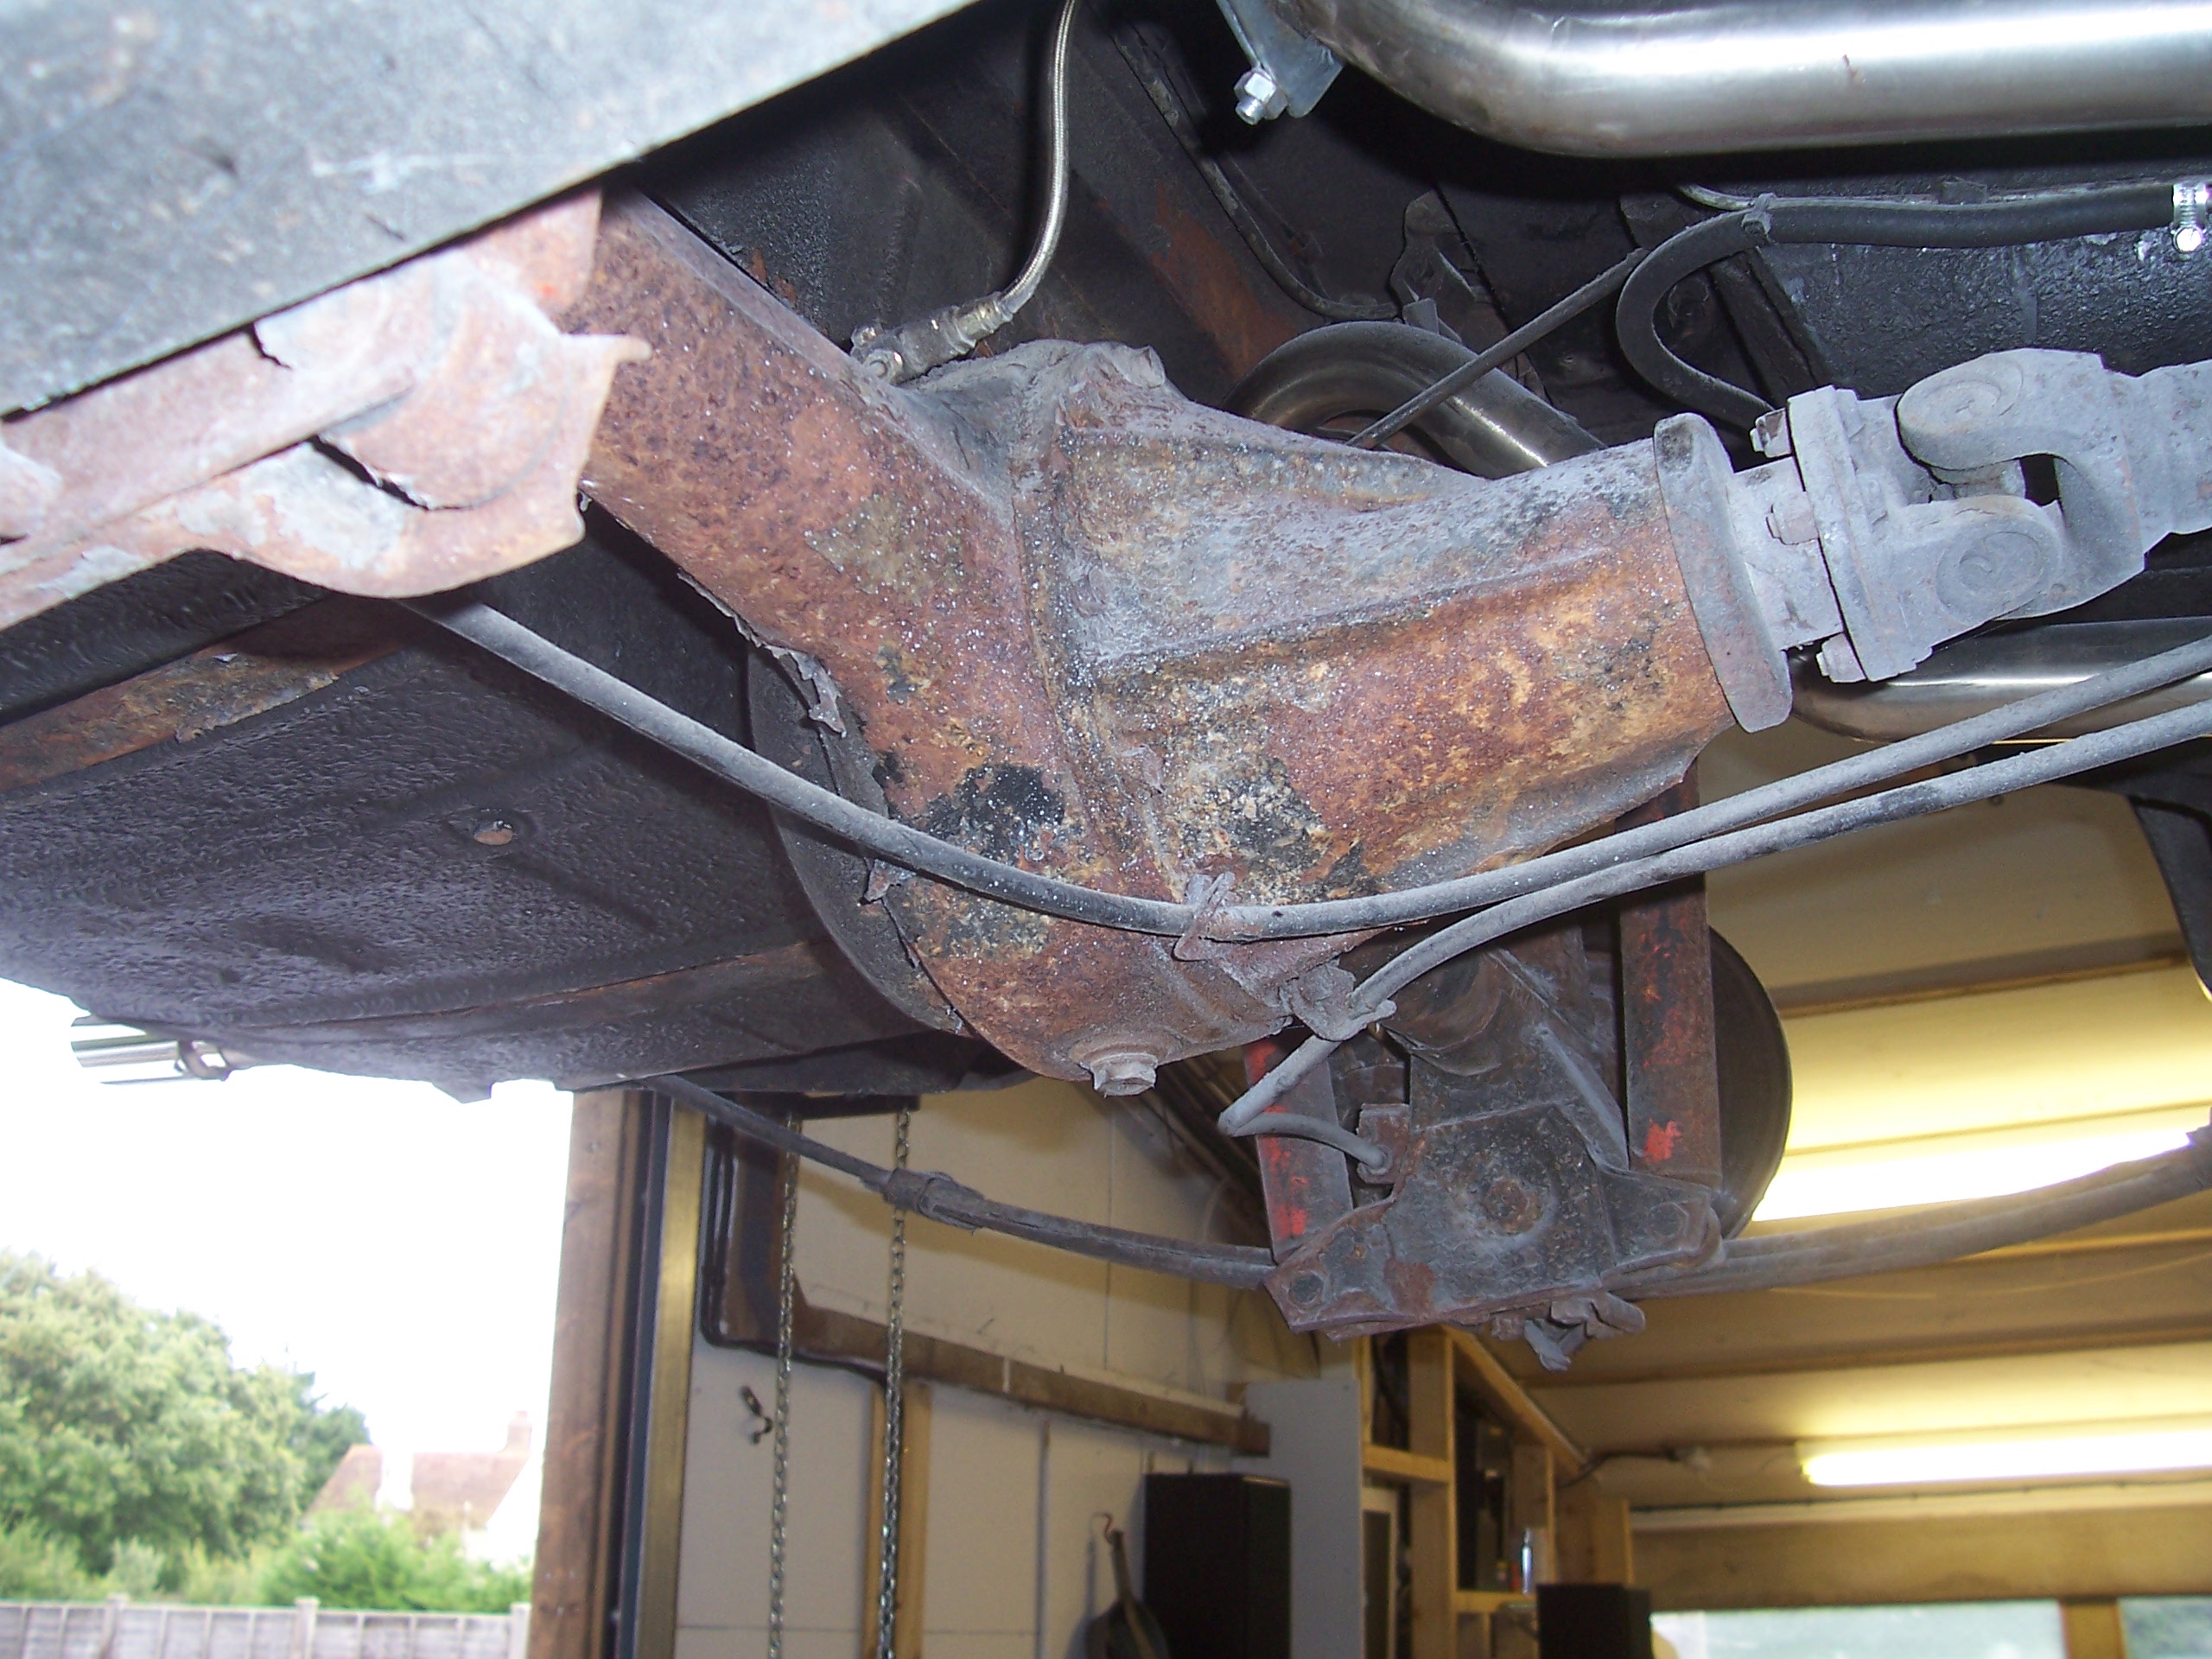
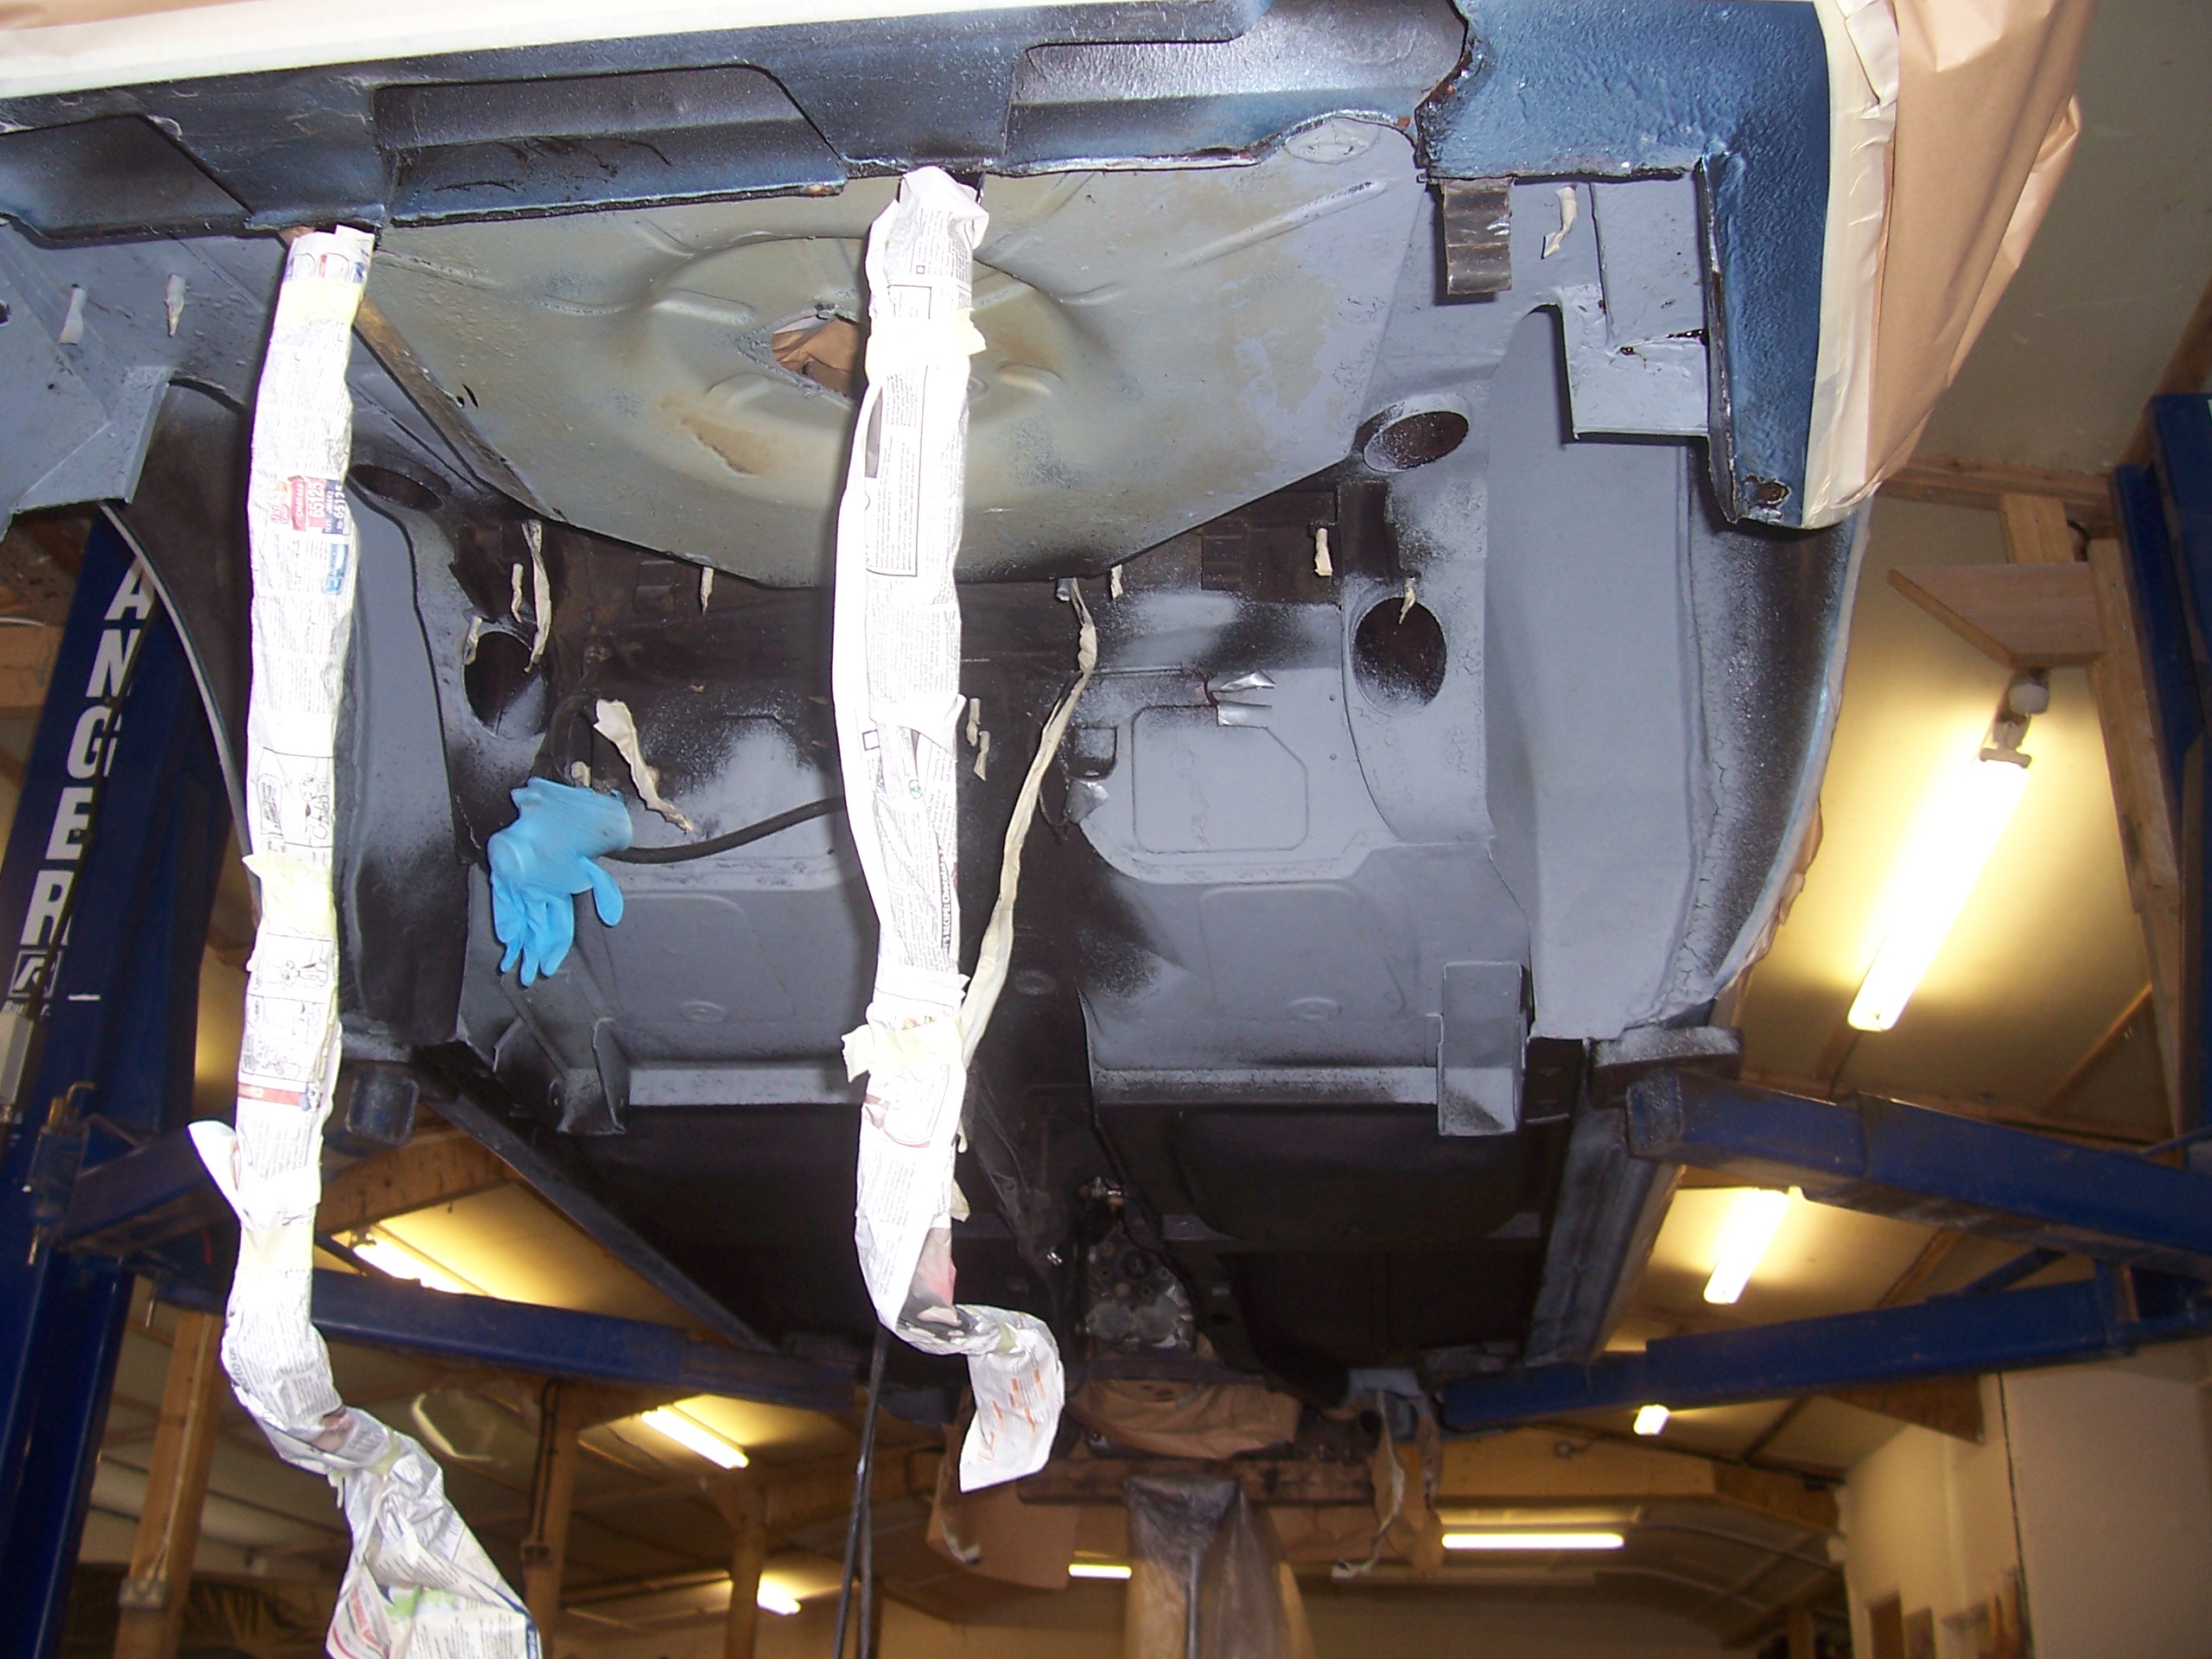
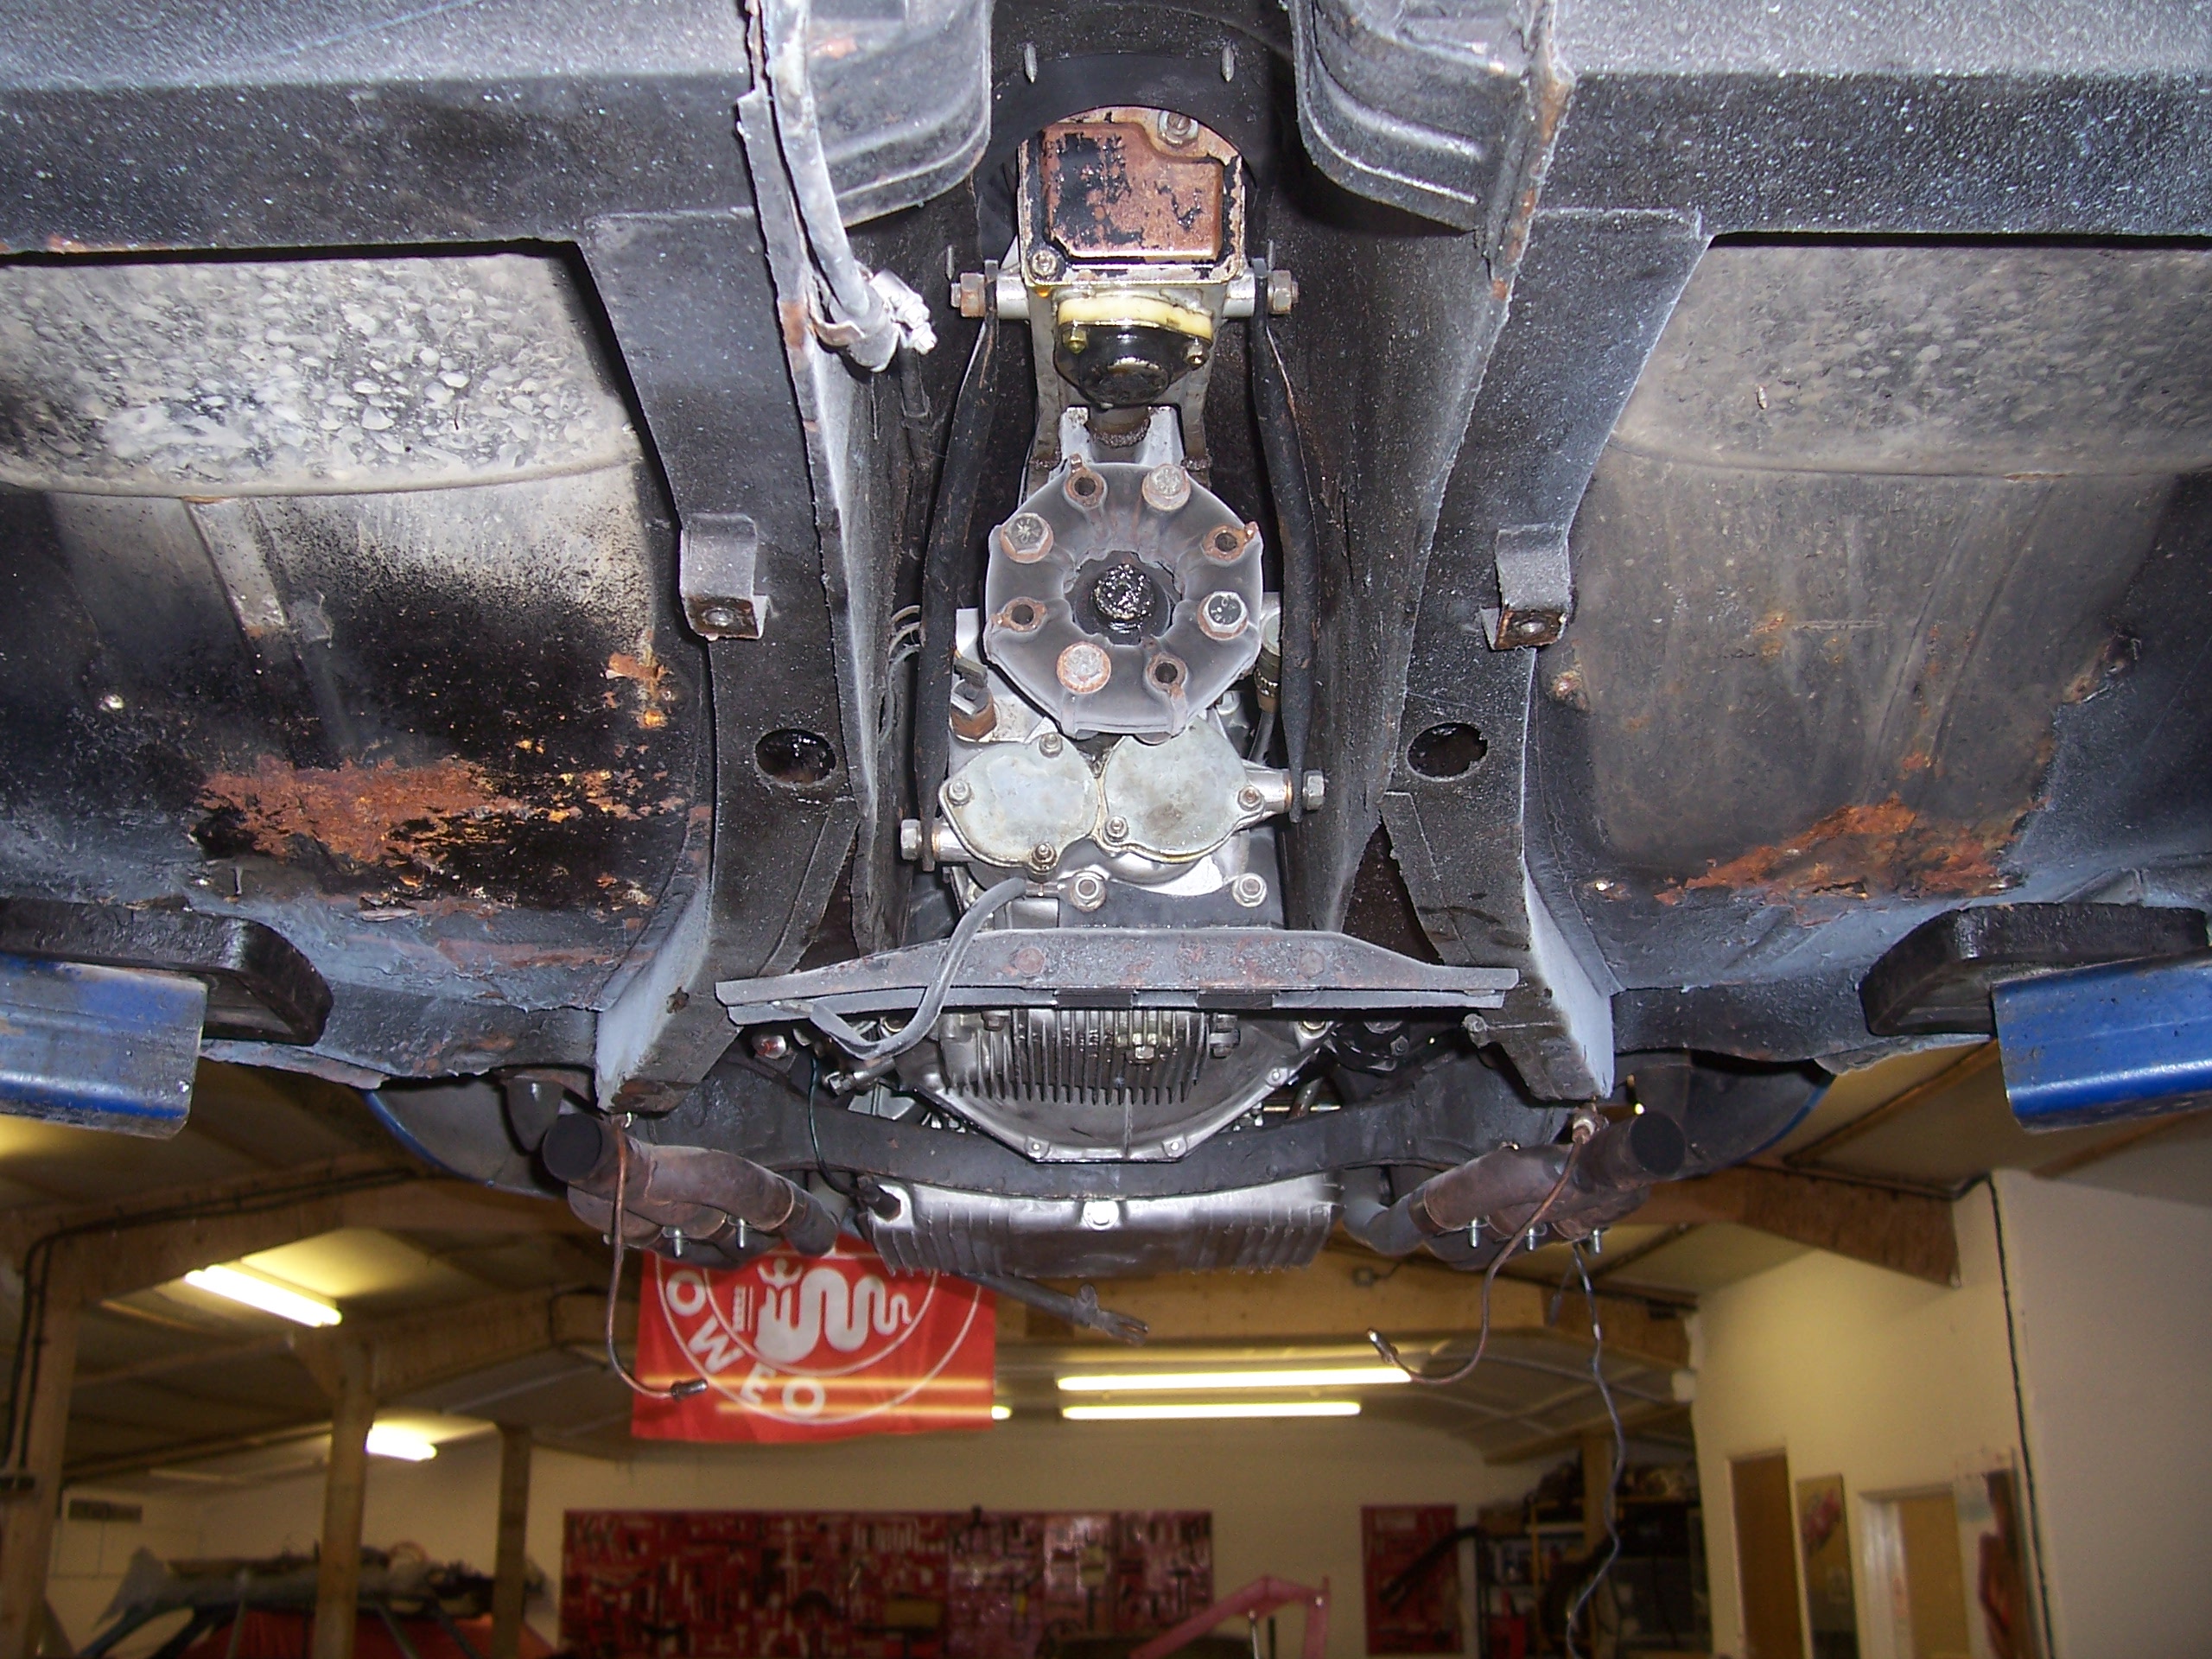
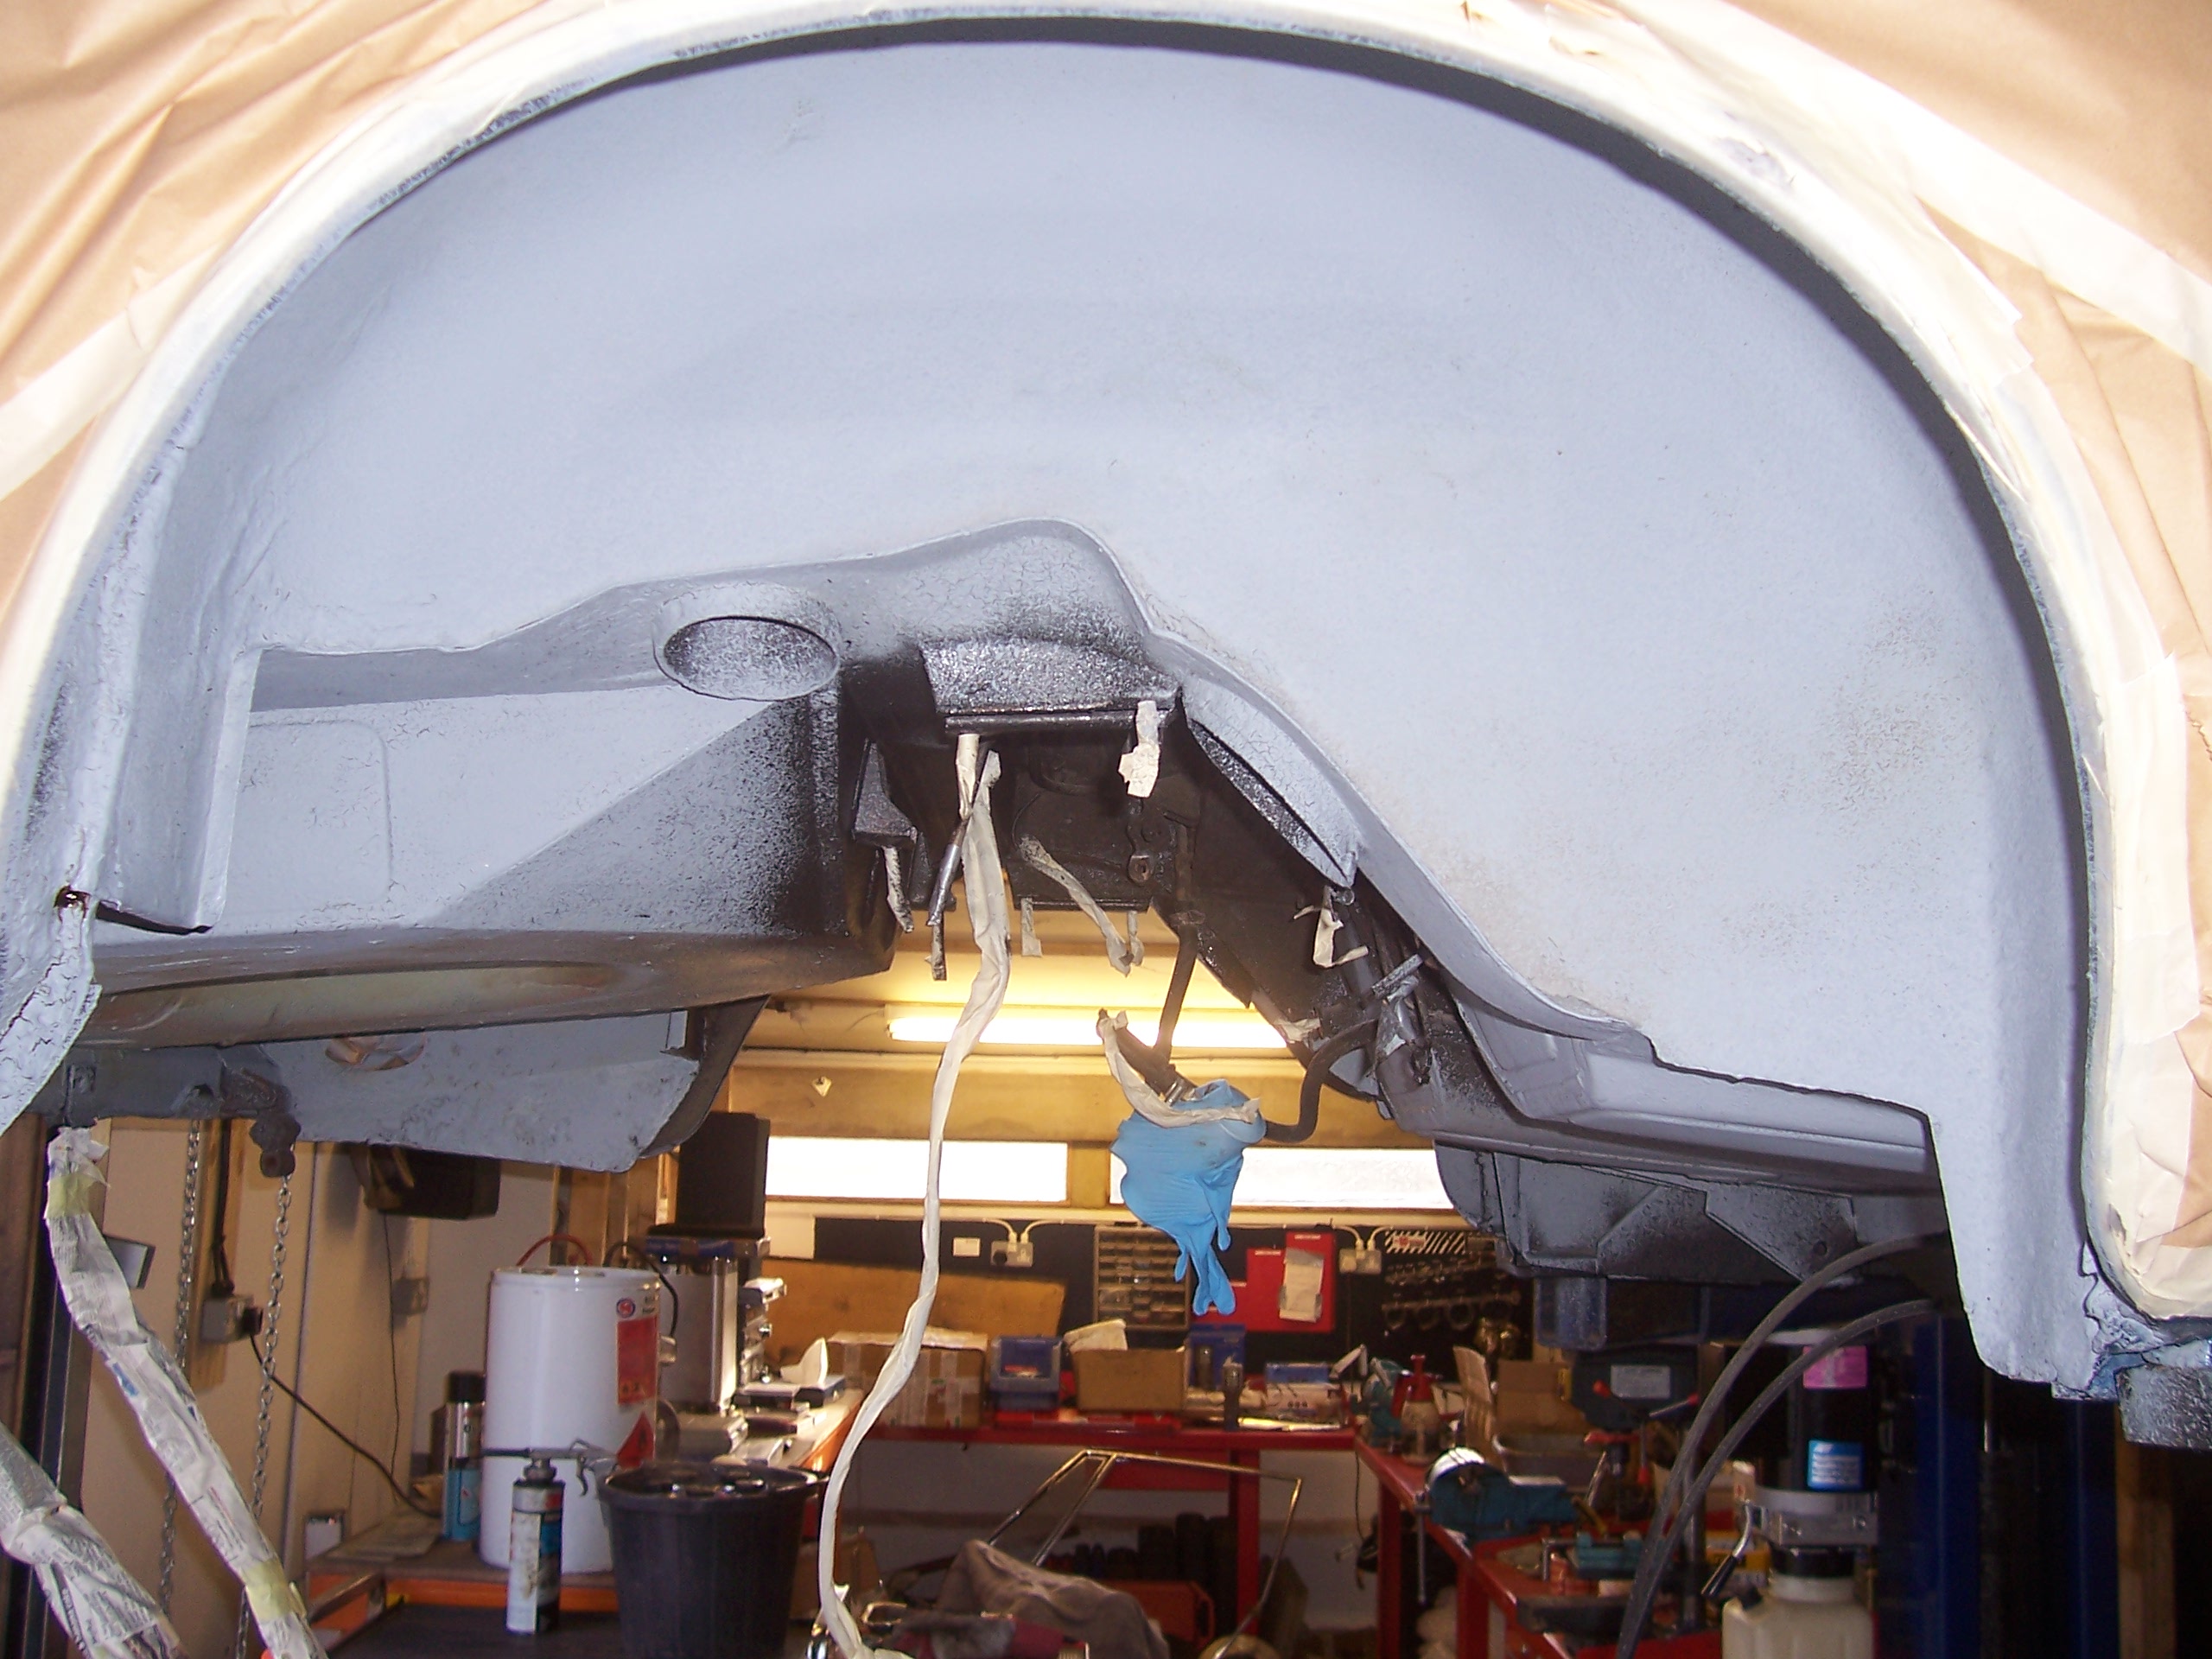
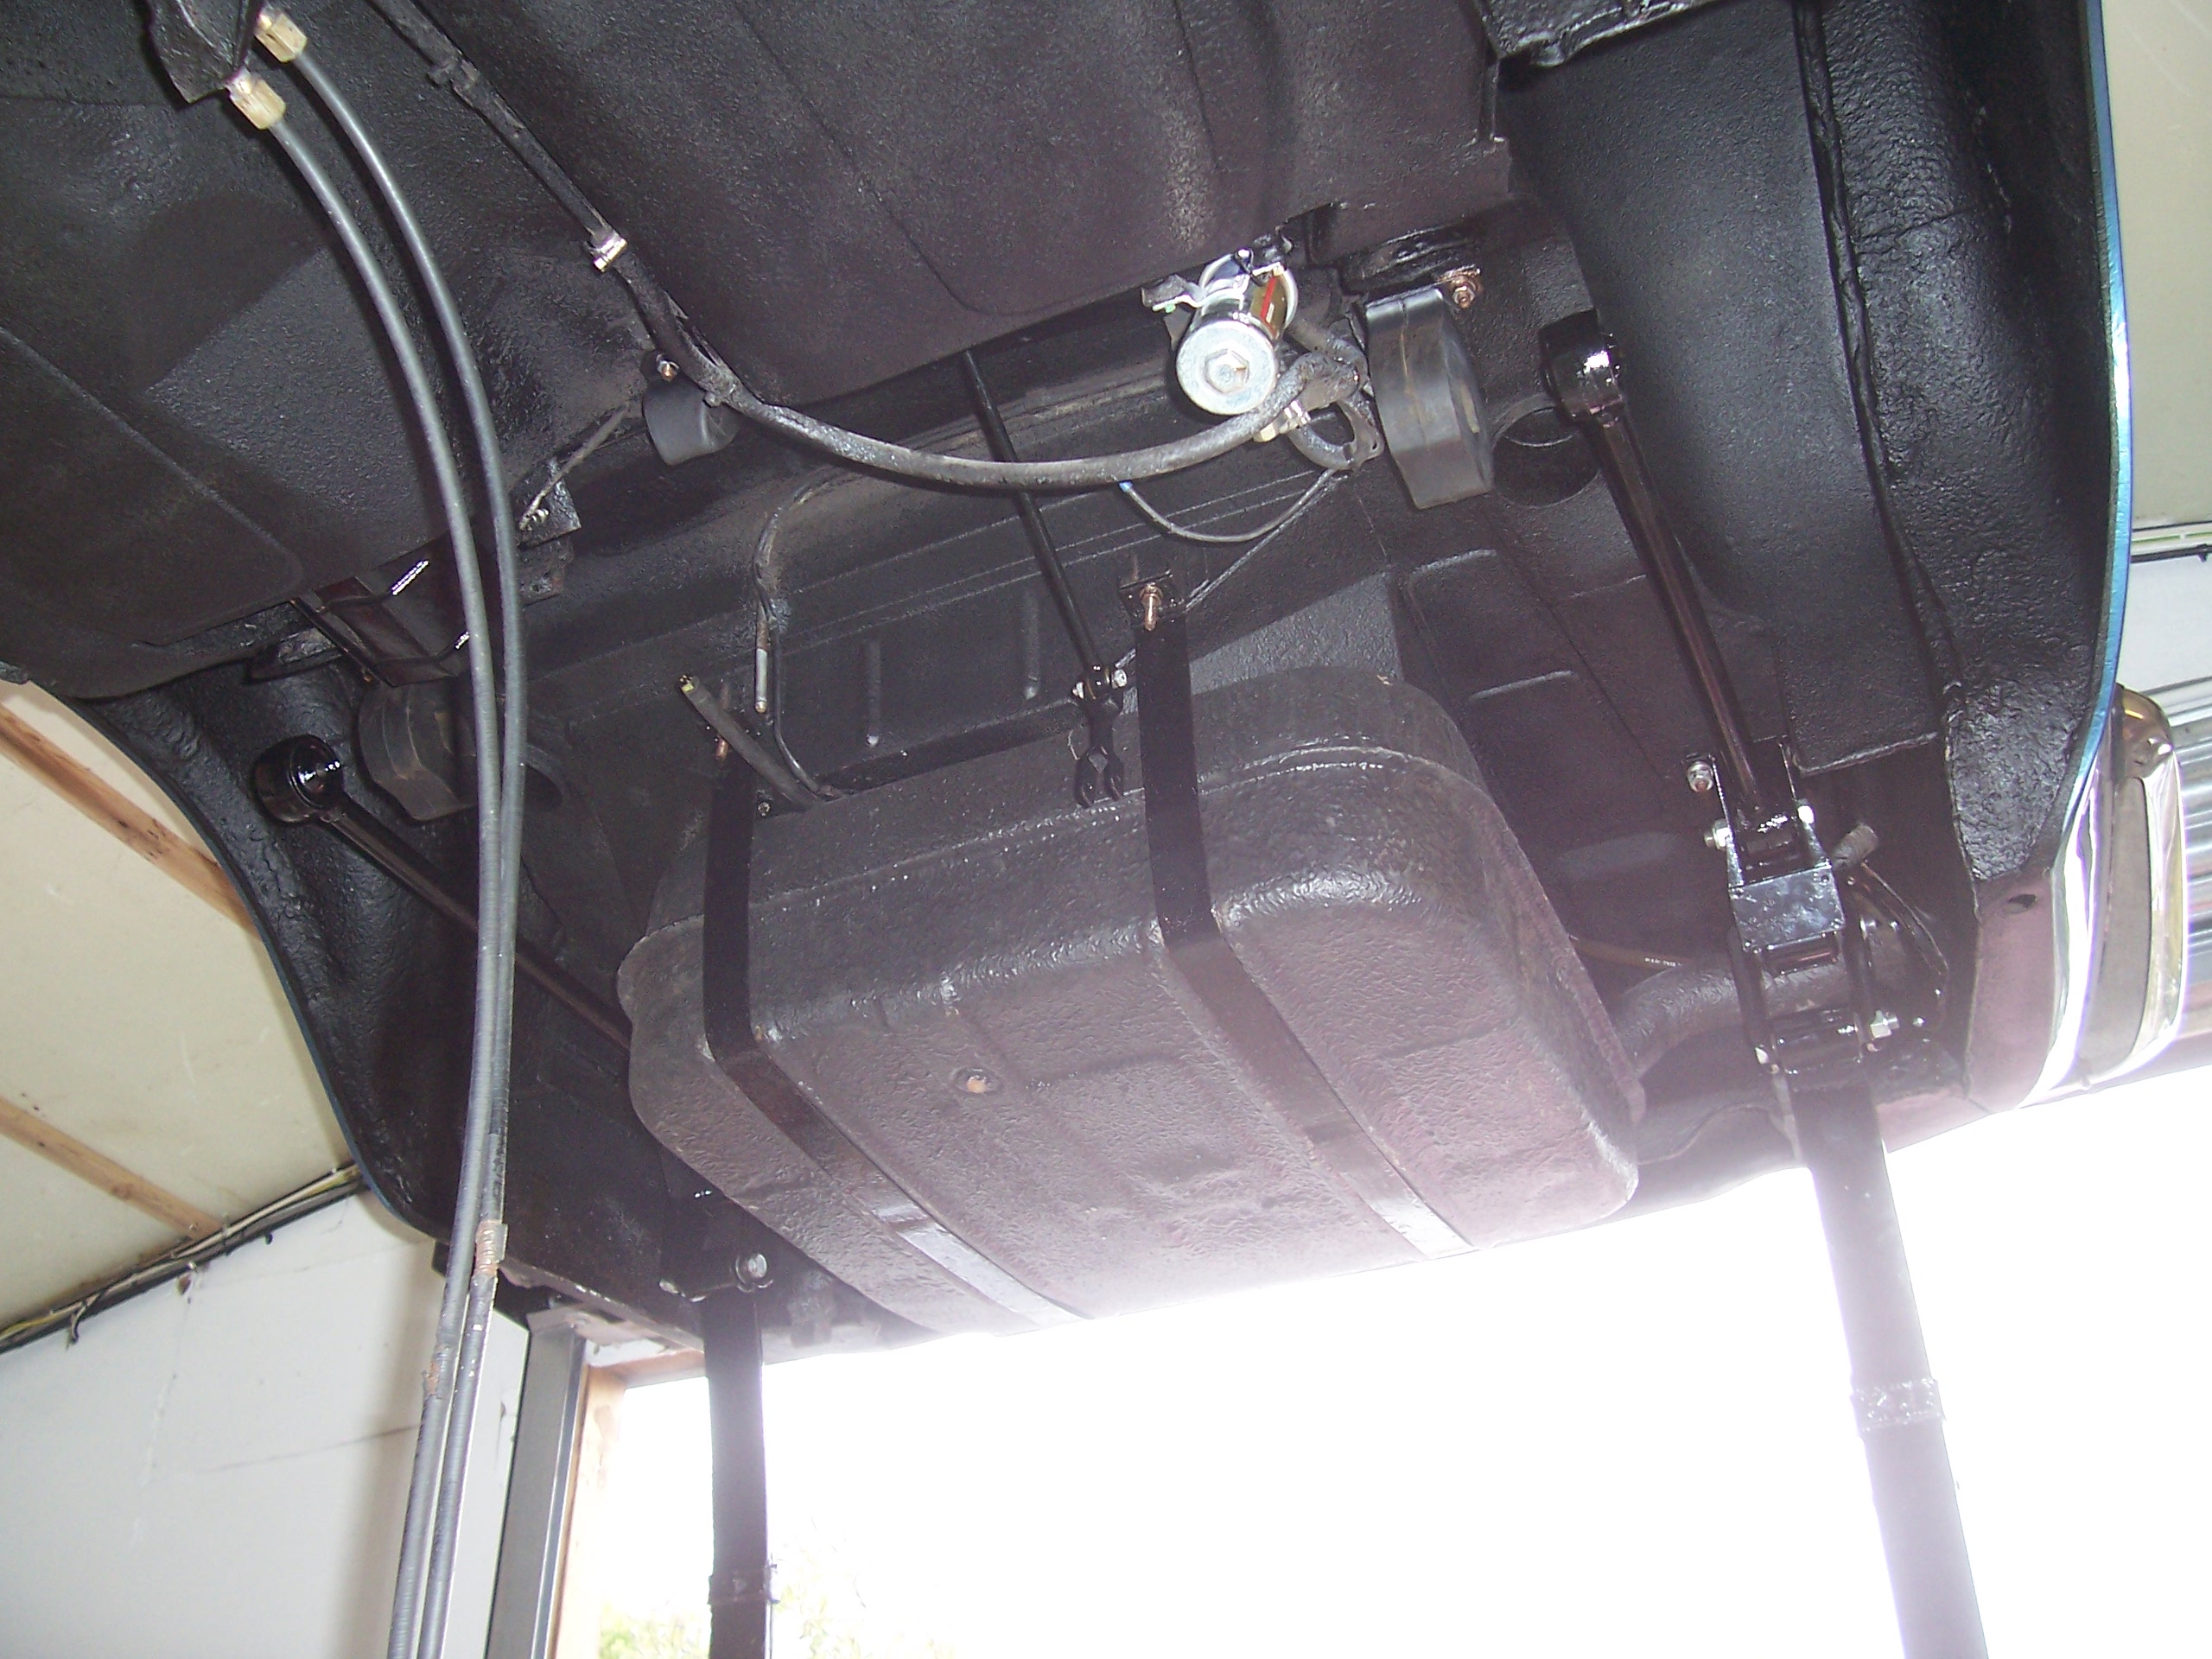
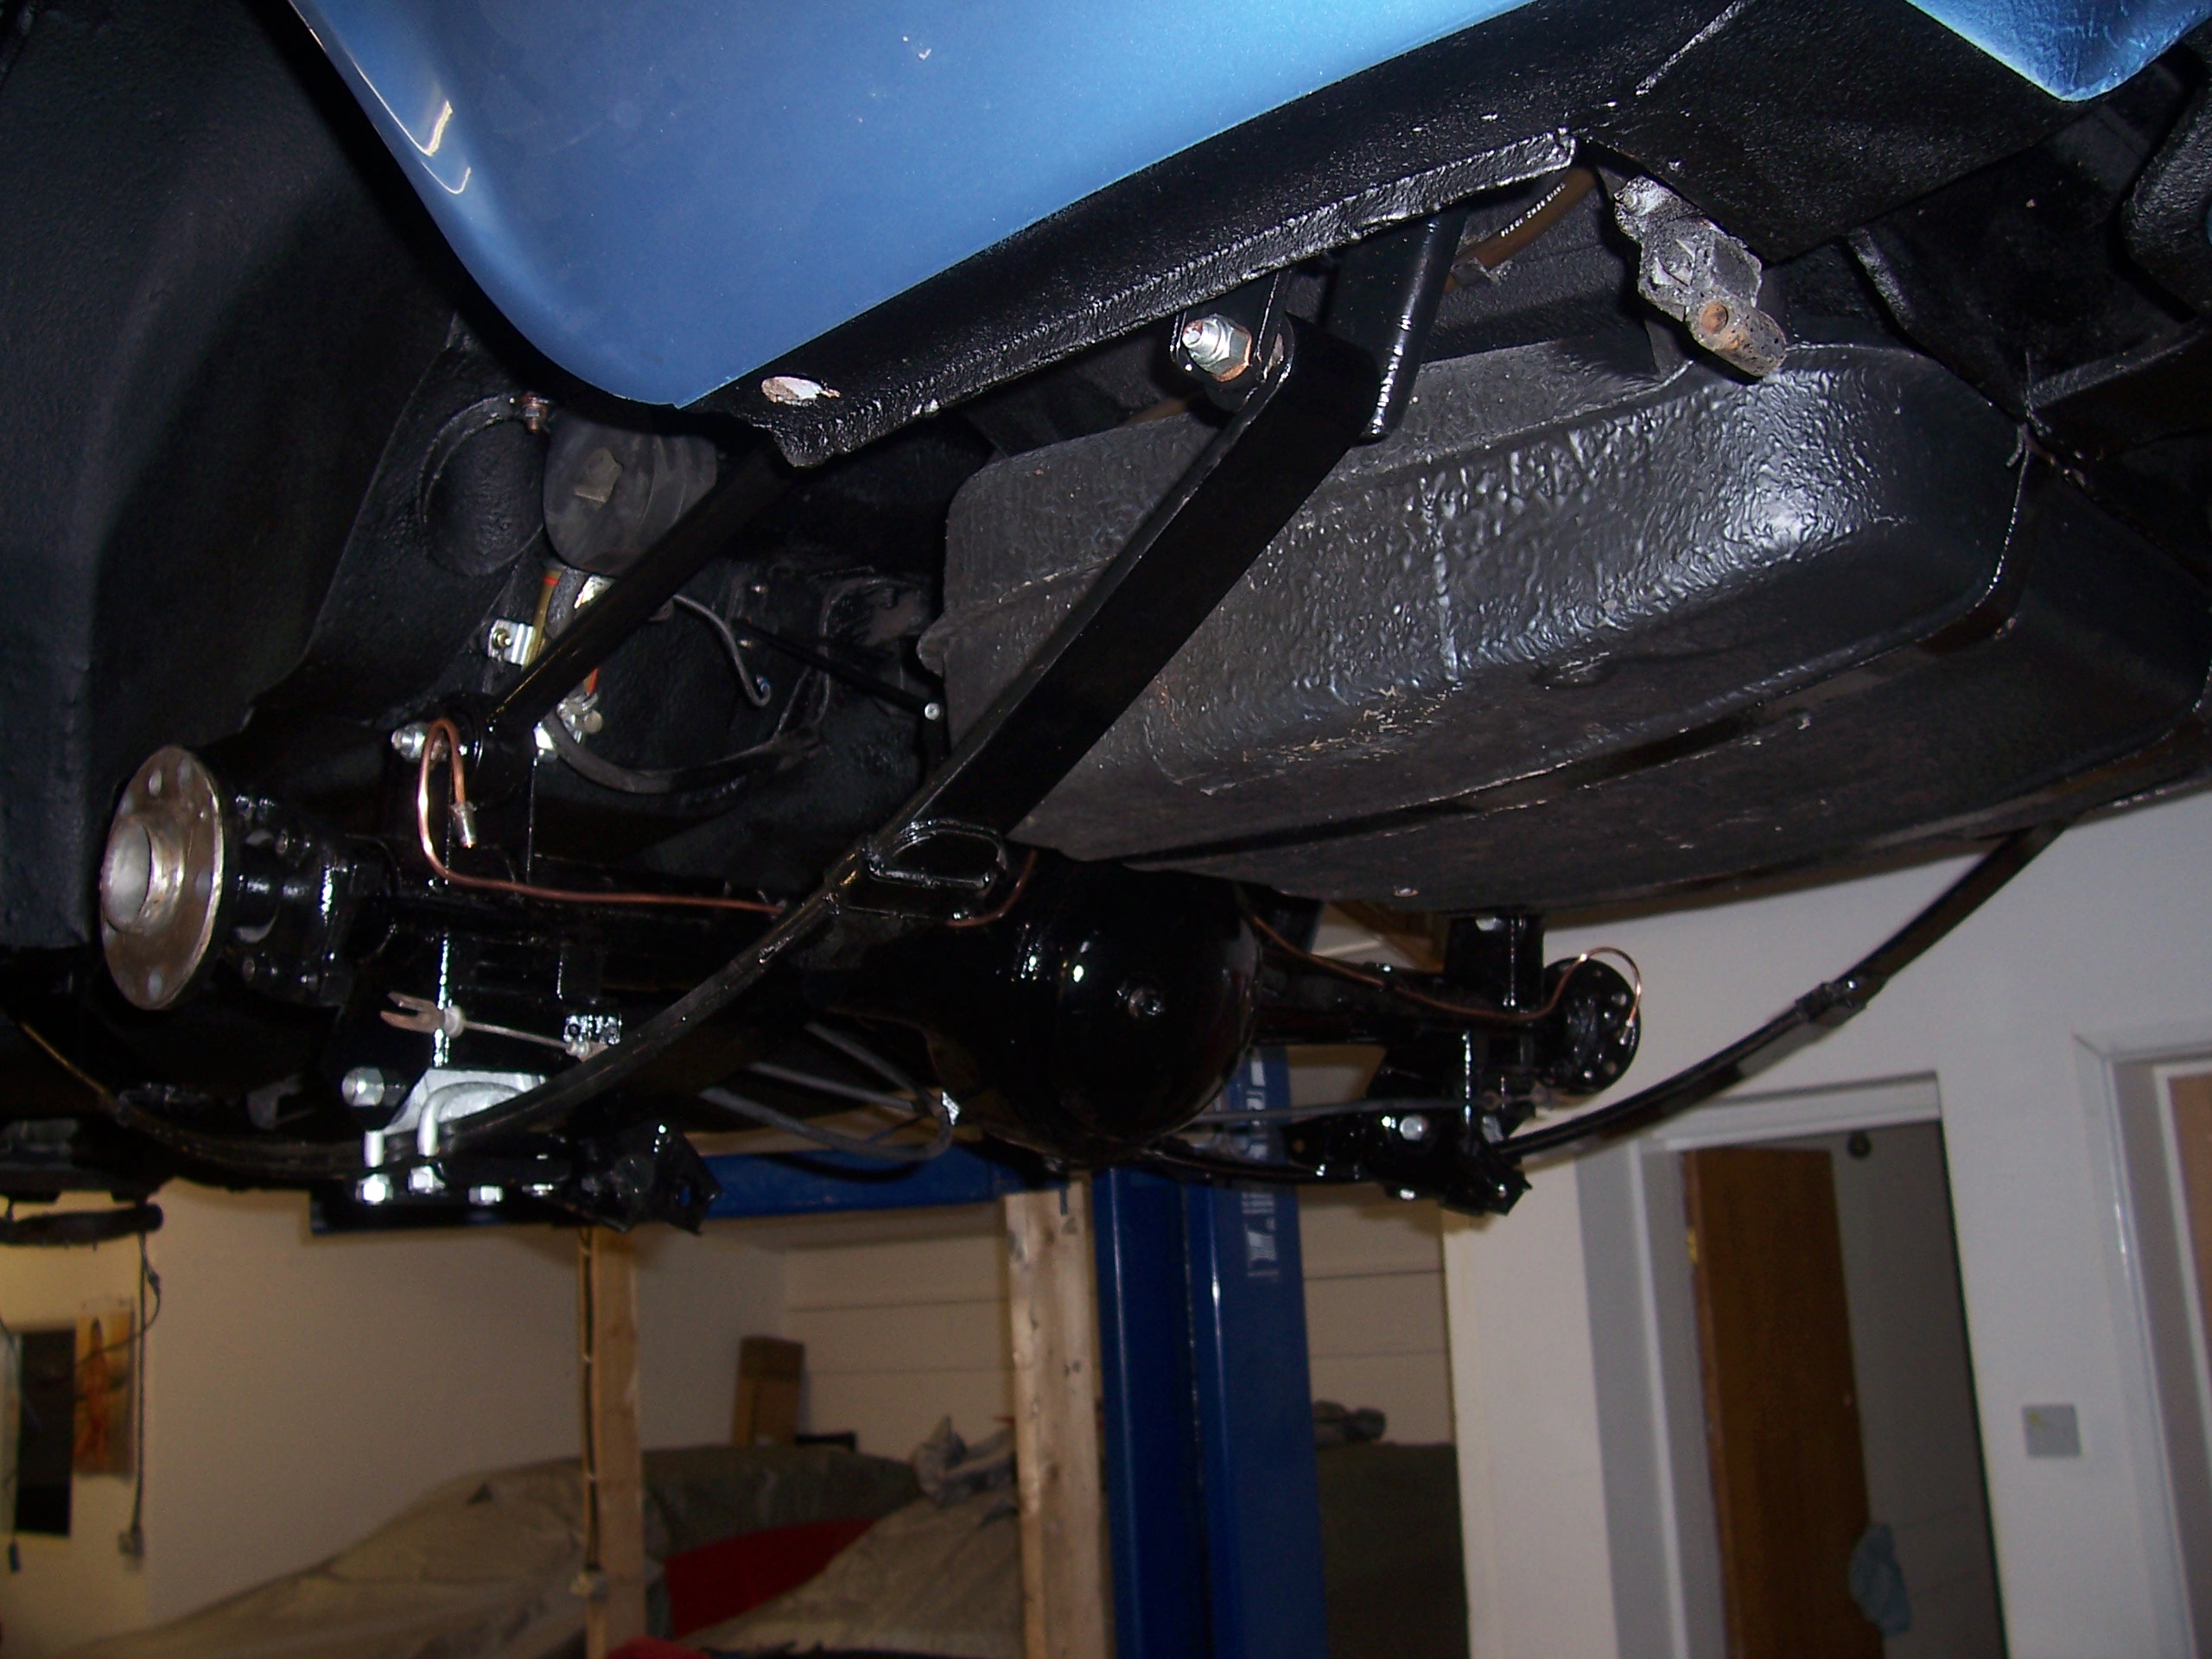
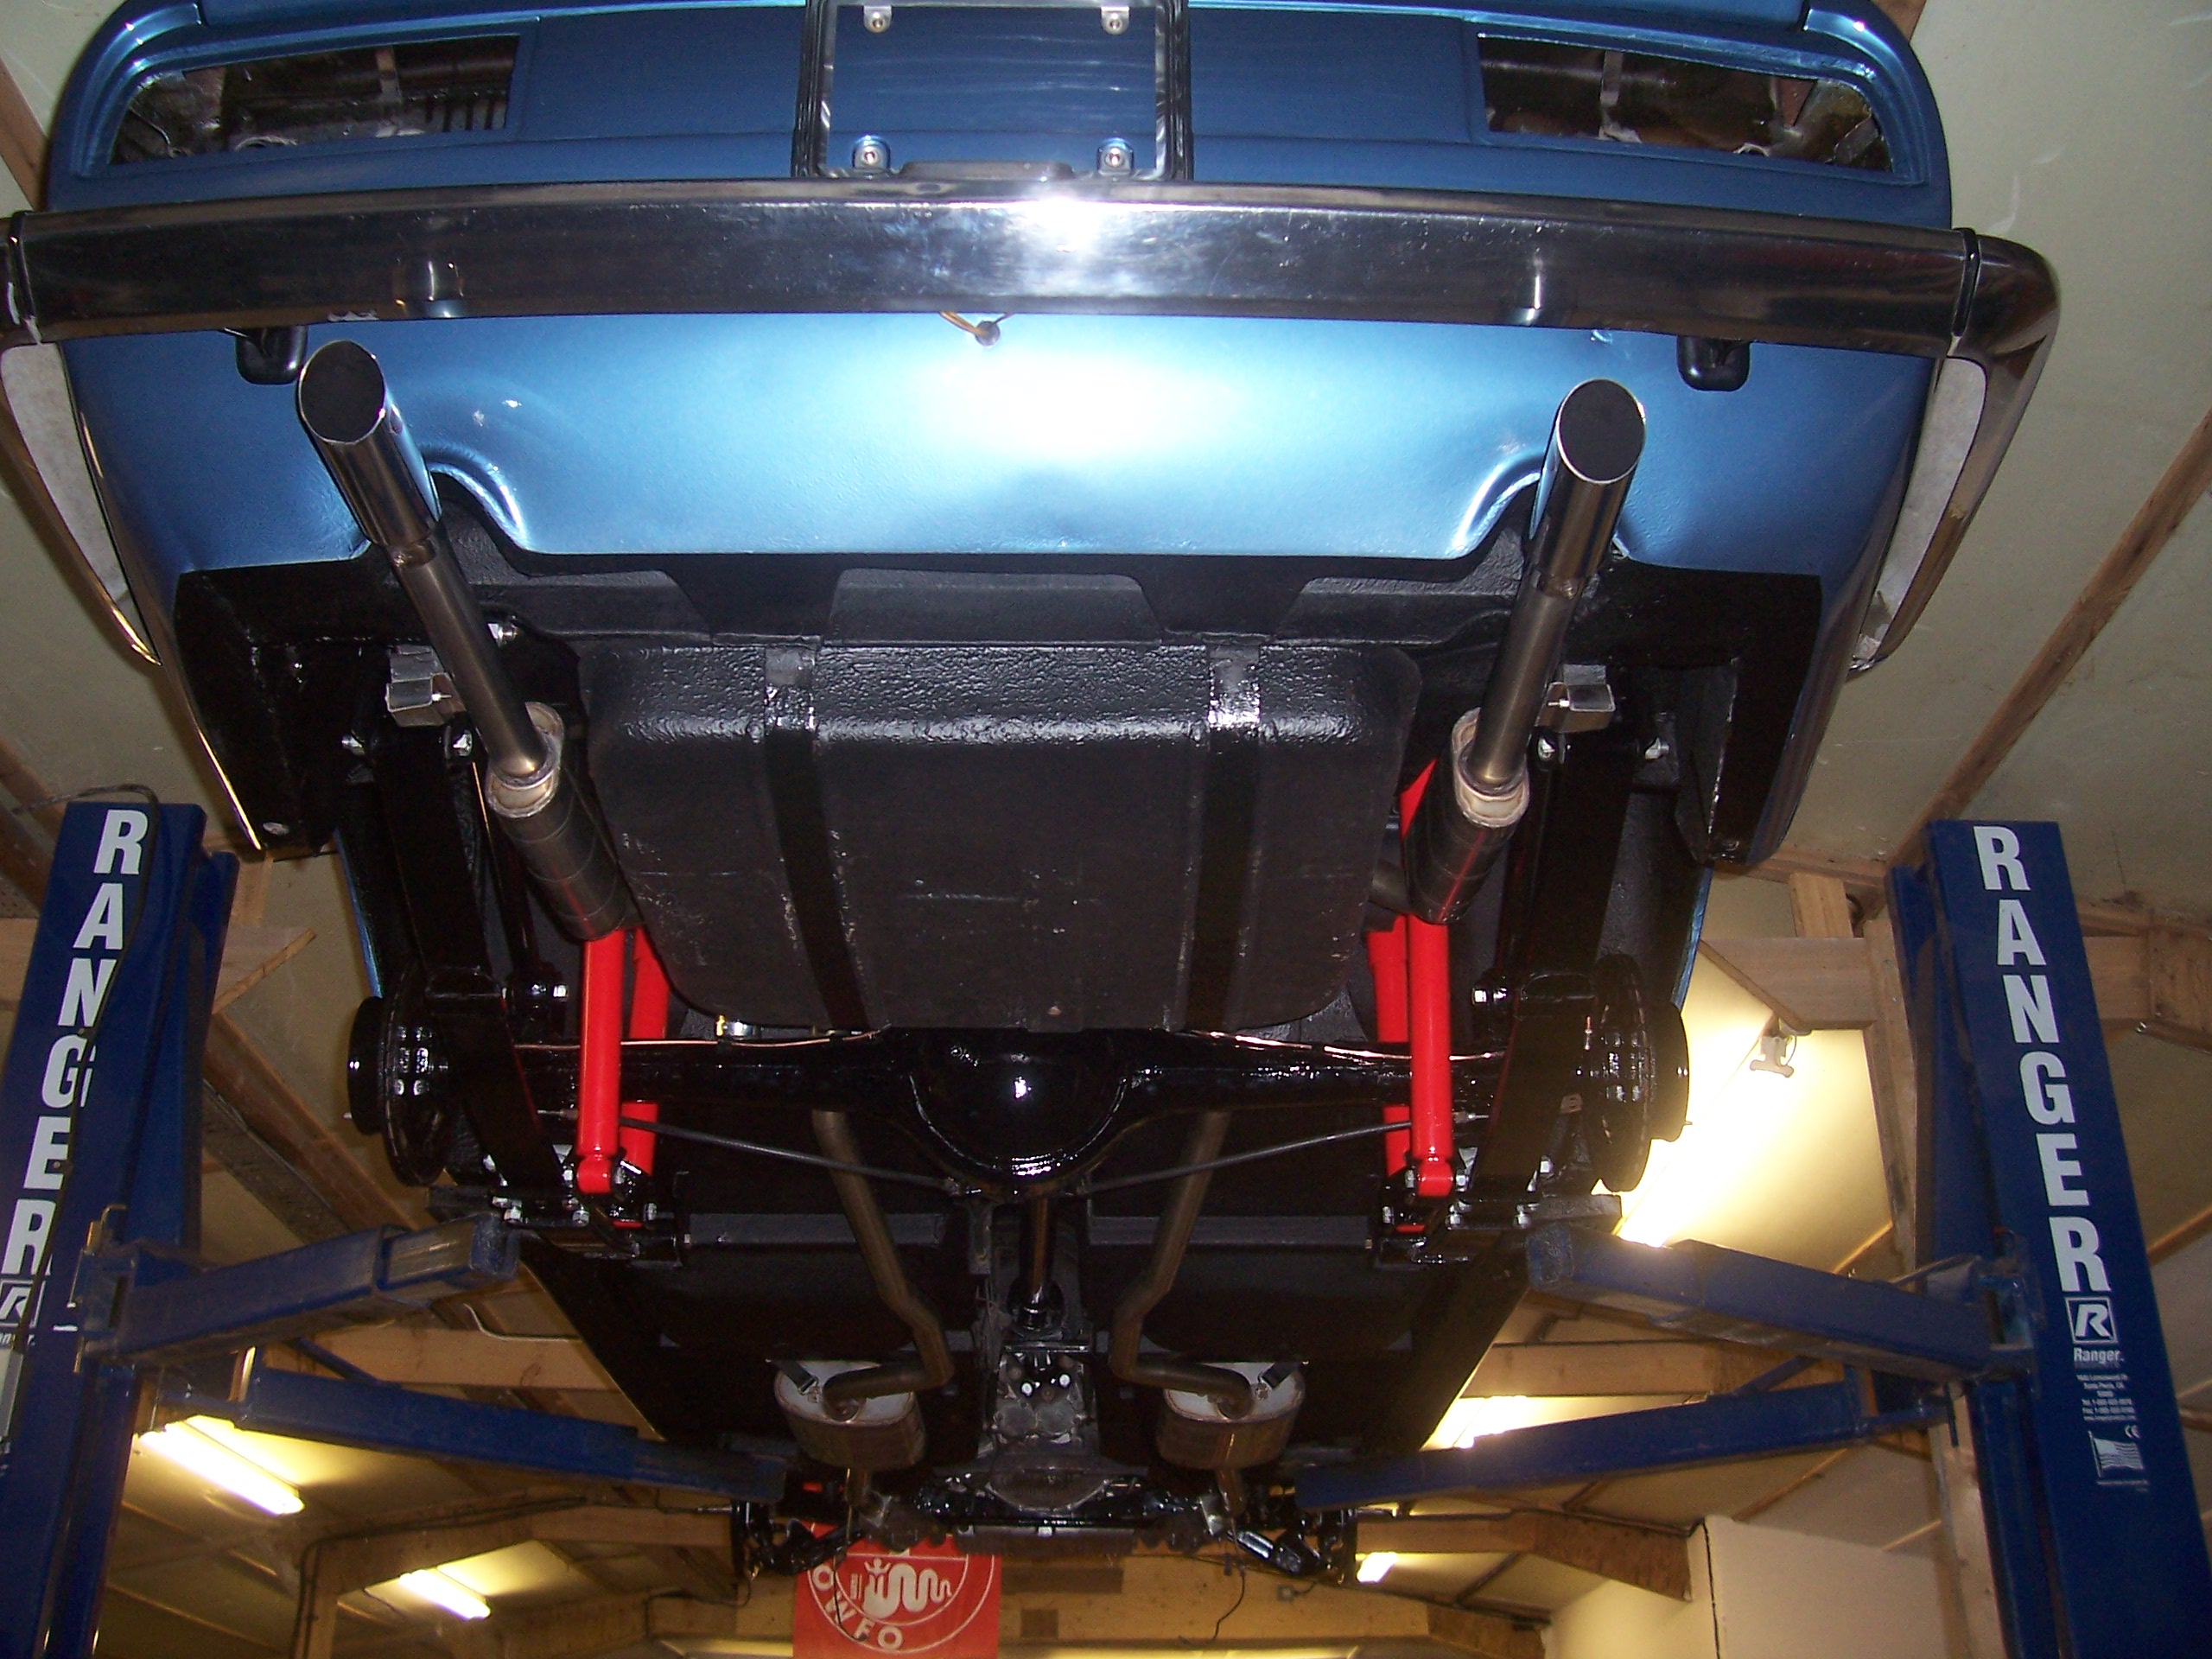
While all this was going on we carefully masked up the fresh paint work and set about stripping the underside back to bare metal. These cars were appallingly badly finished underneath when new with just a thin layer of black paint, which over the years had some underseal added. This all needed removing as it had dried and was cracking & flaking allowing potential moisture traps.
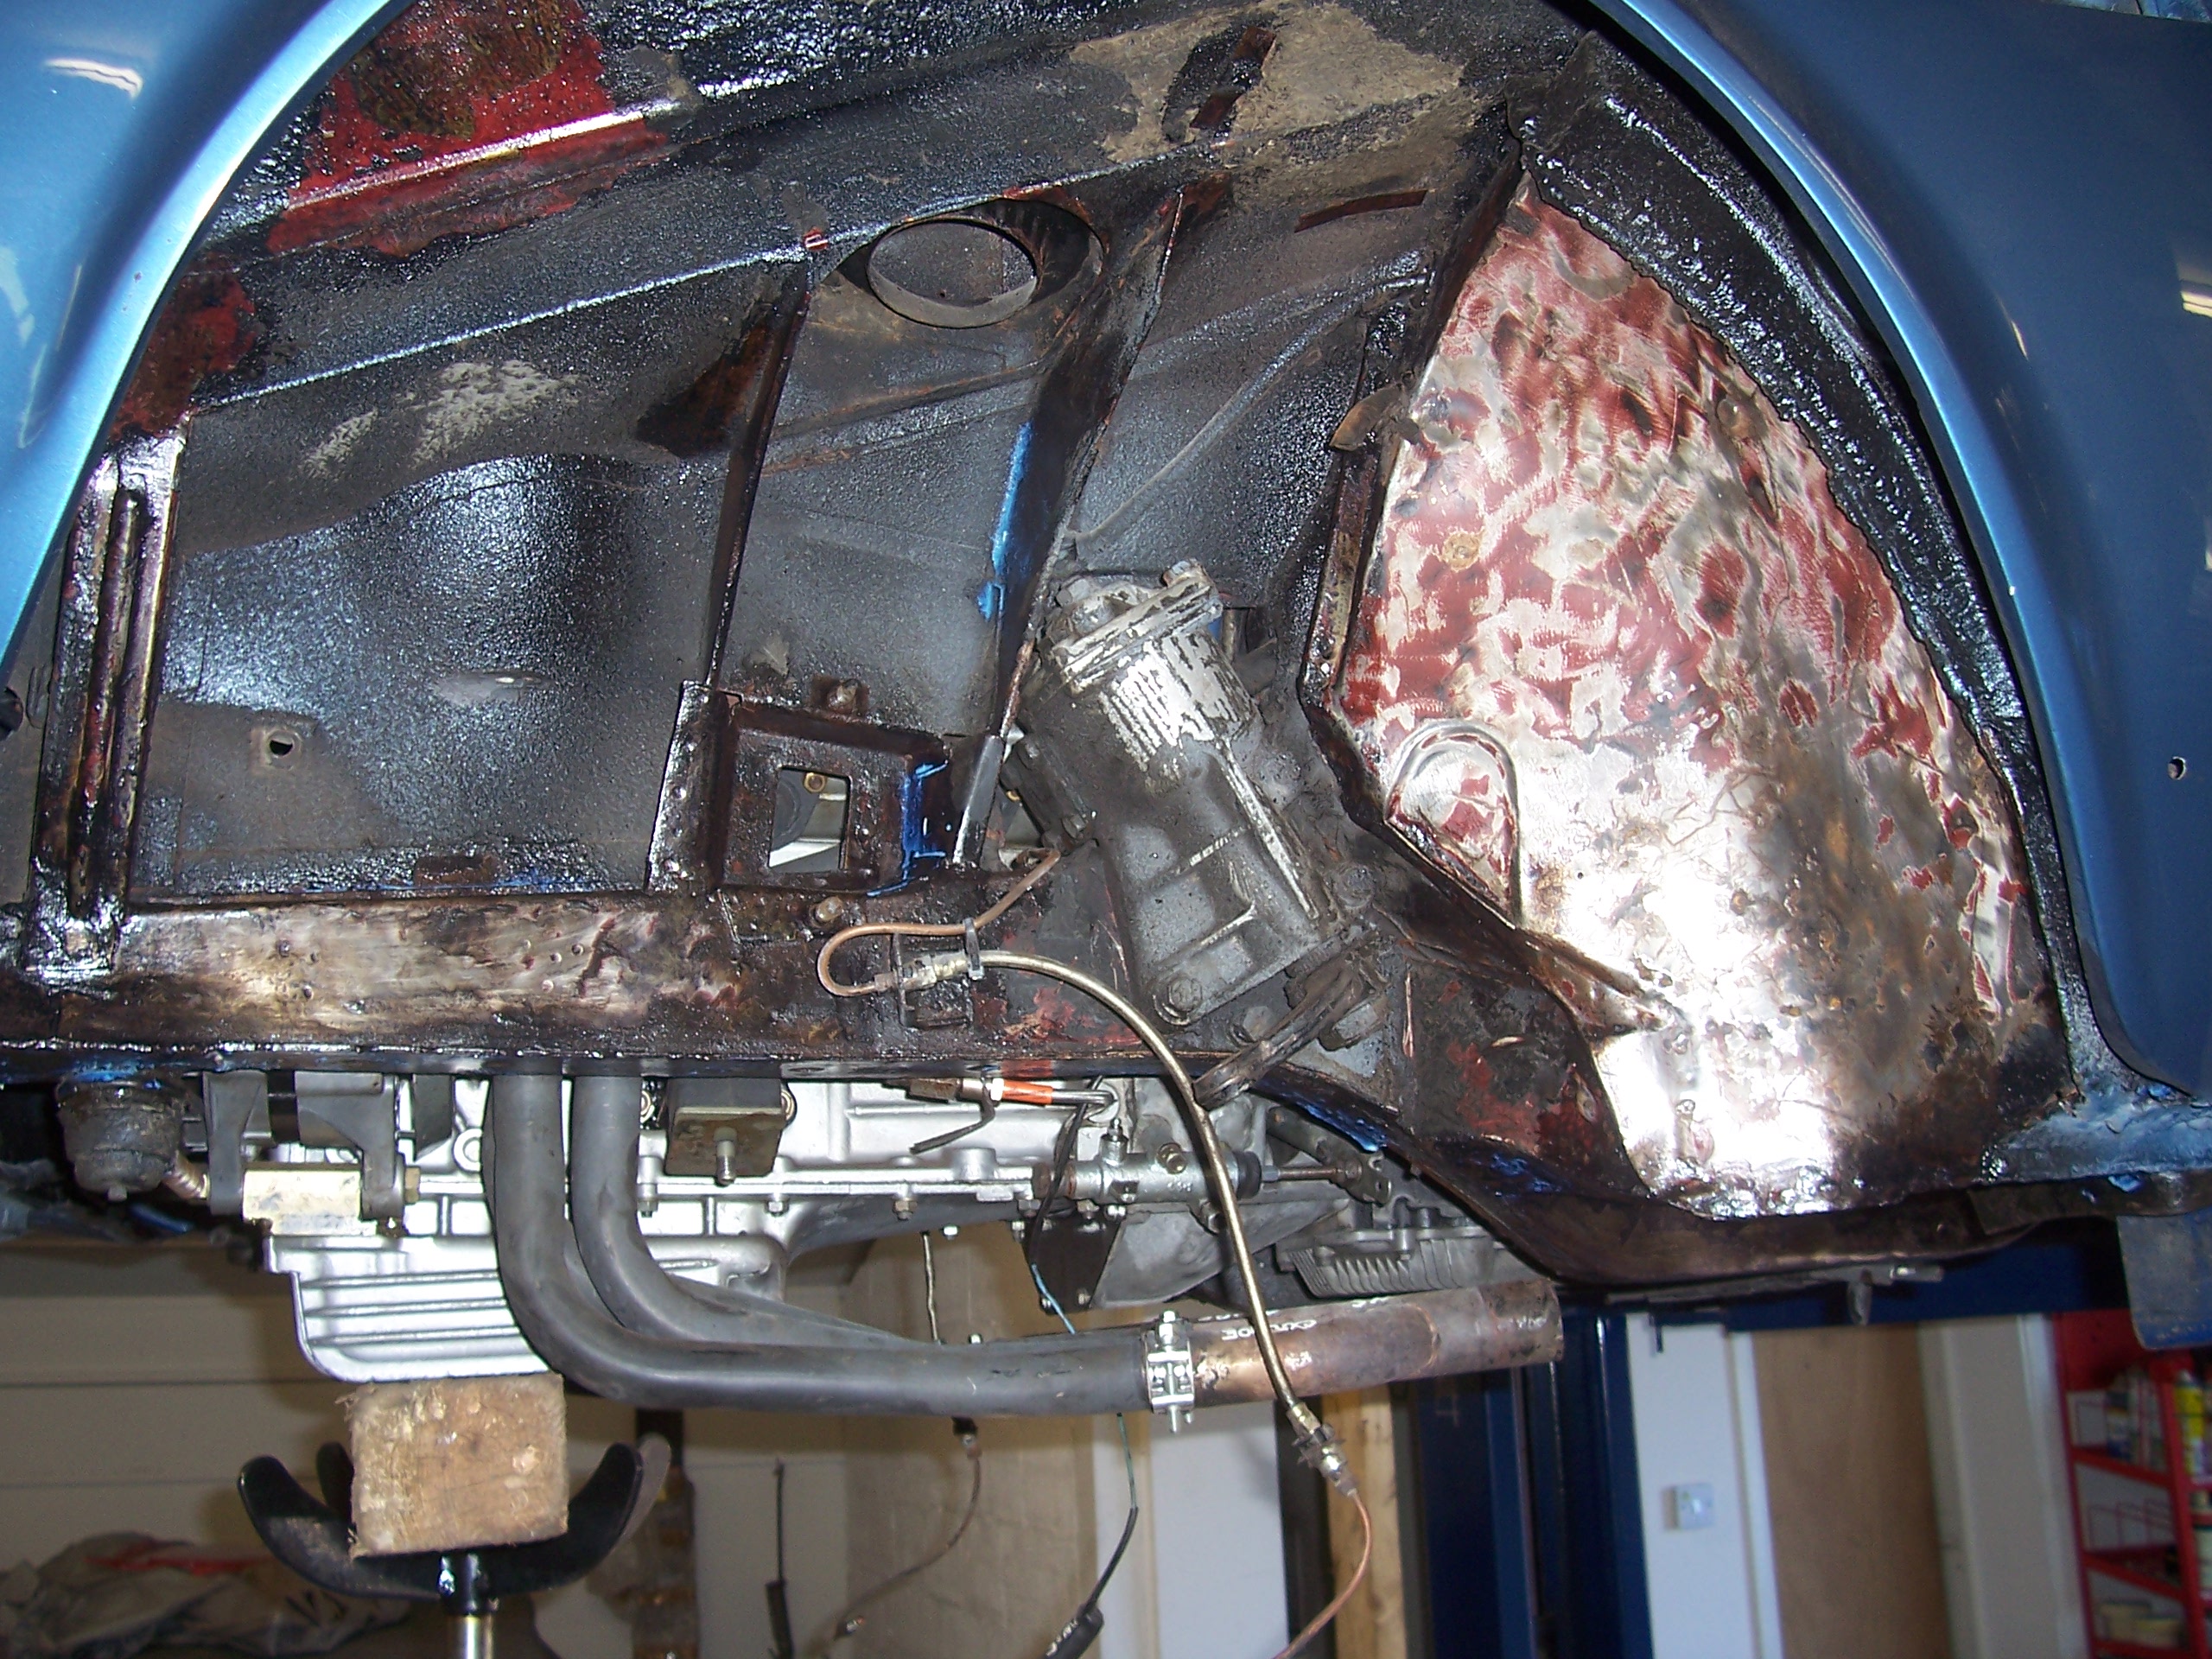
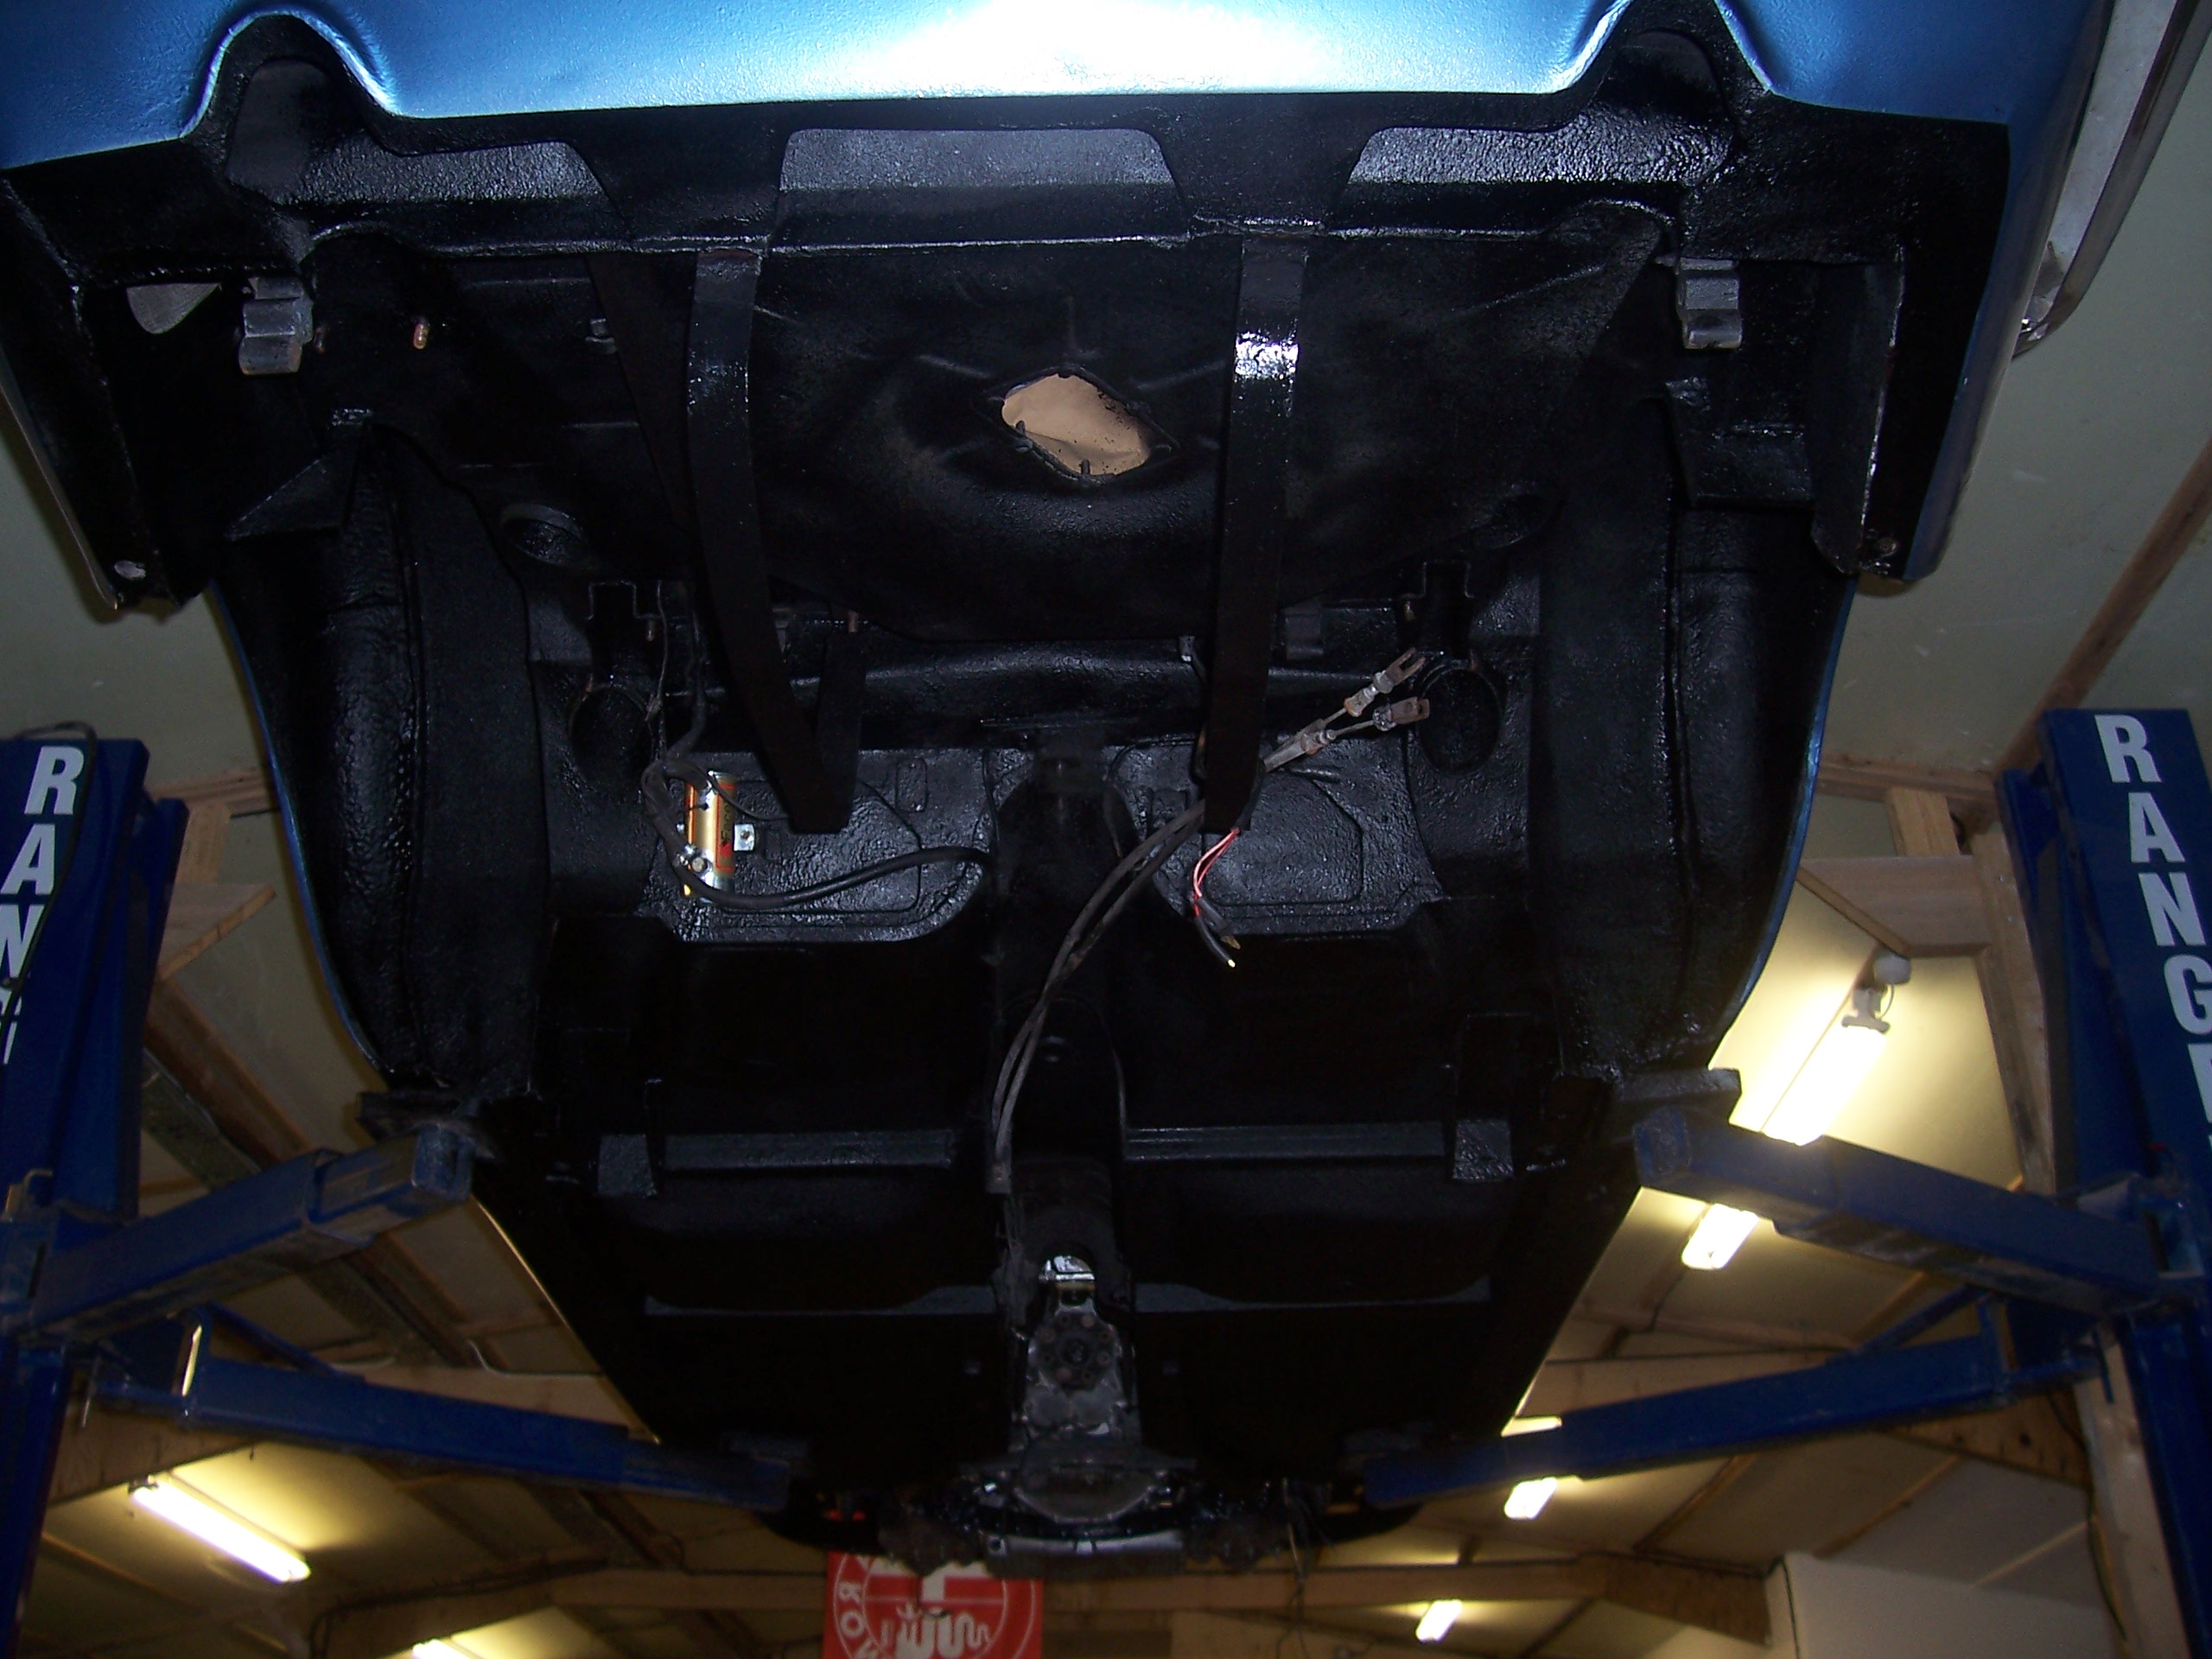
Once all this was off any pitted areas were treated with rust killer to make sure it won’t return before being sprayed in grey primer, then stone guard (a flexible rubber coating designed to take the constant abrasion from road dirt & stones). After this a wax based underbody sealer was added to protect her from rusting again.
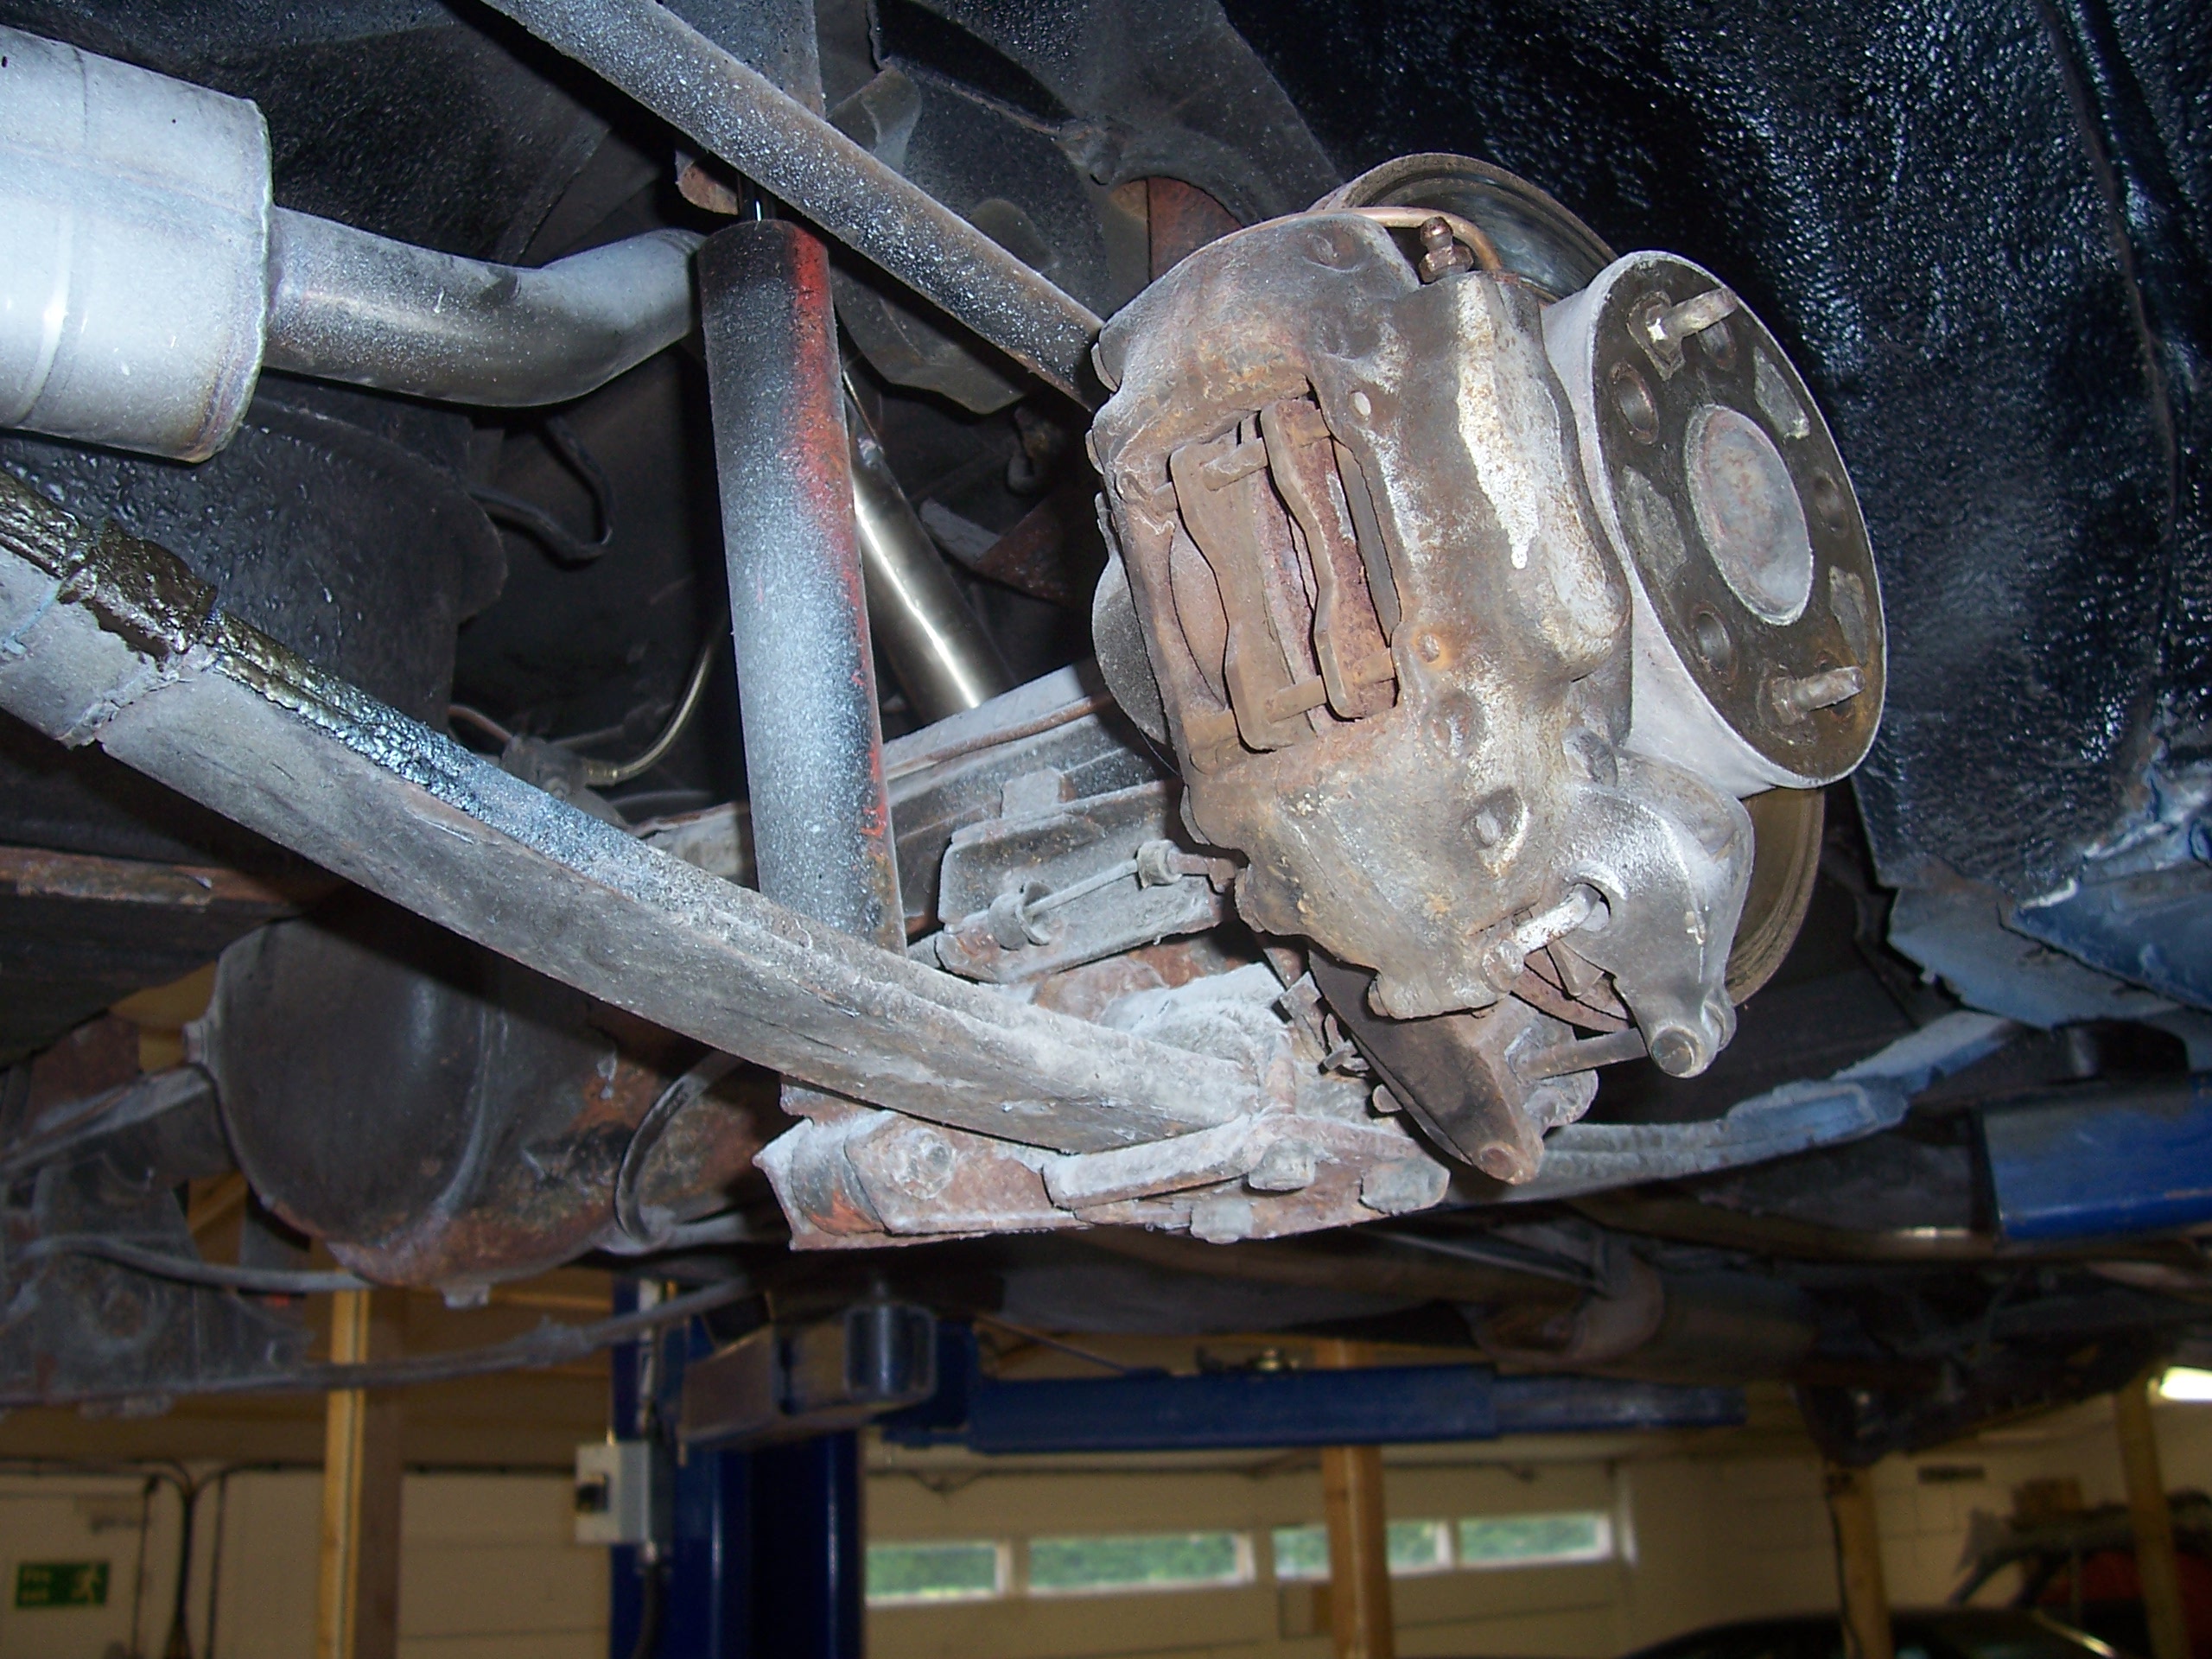
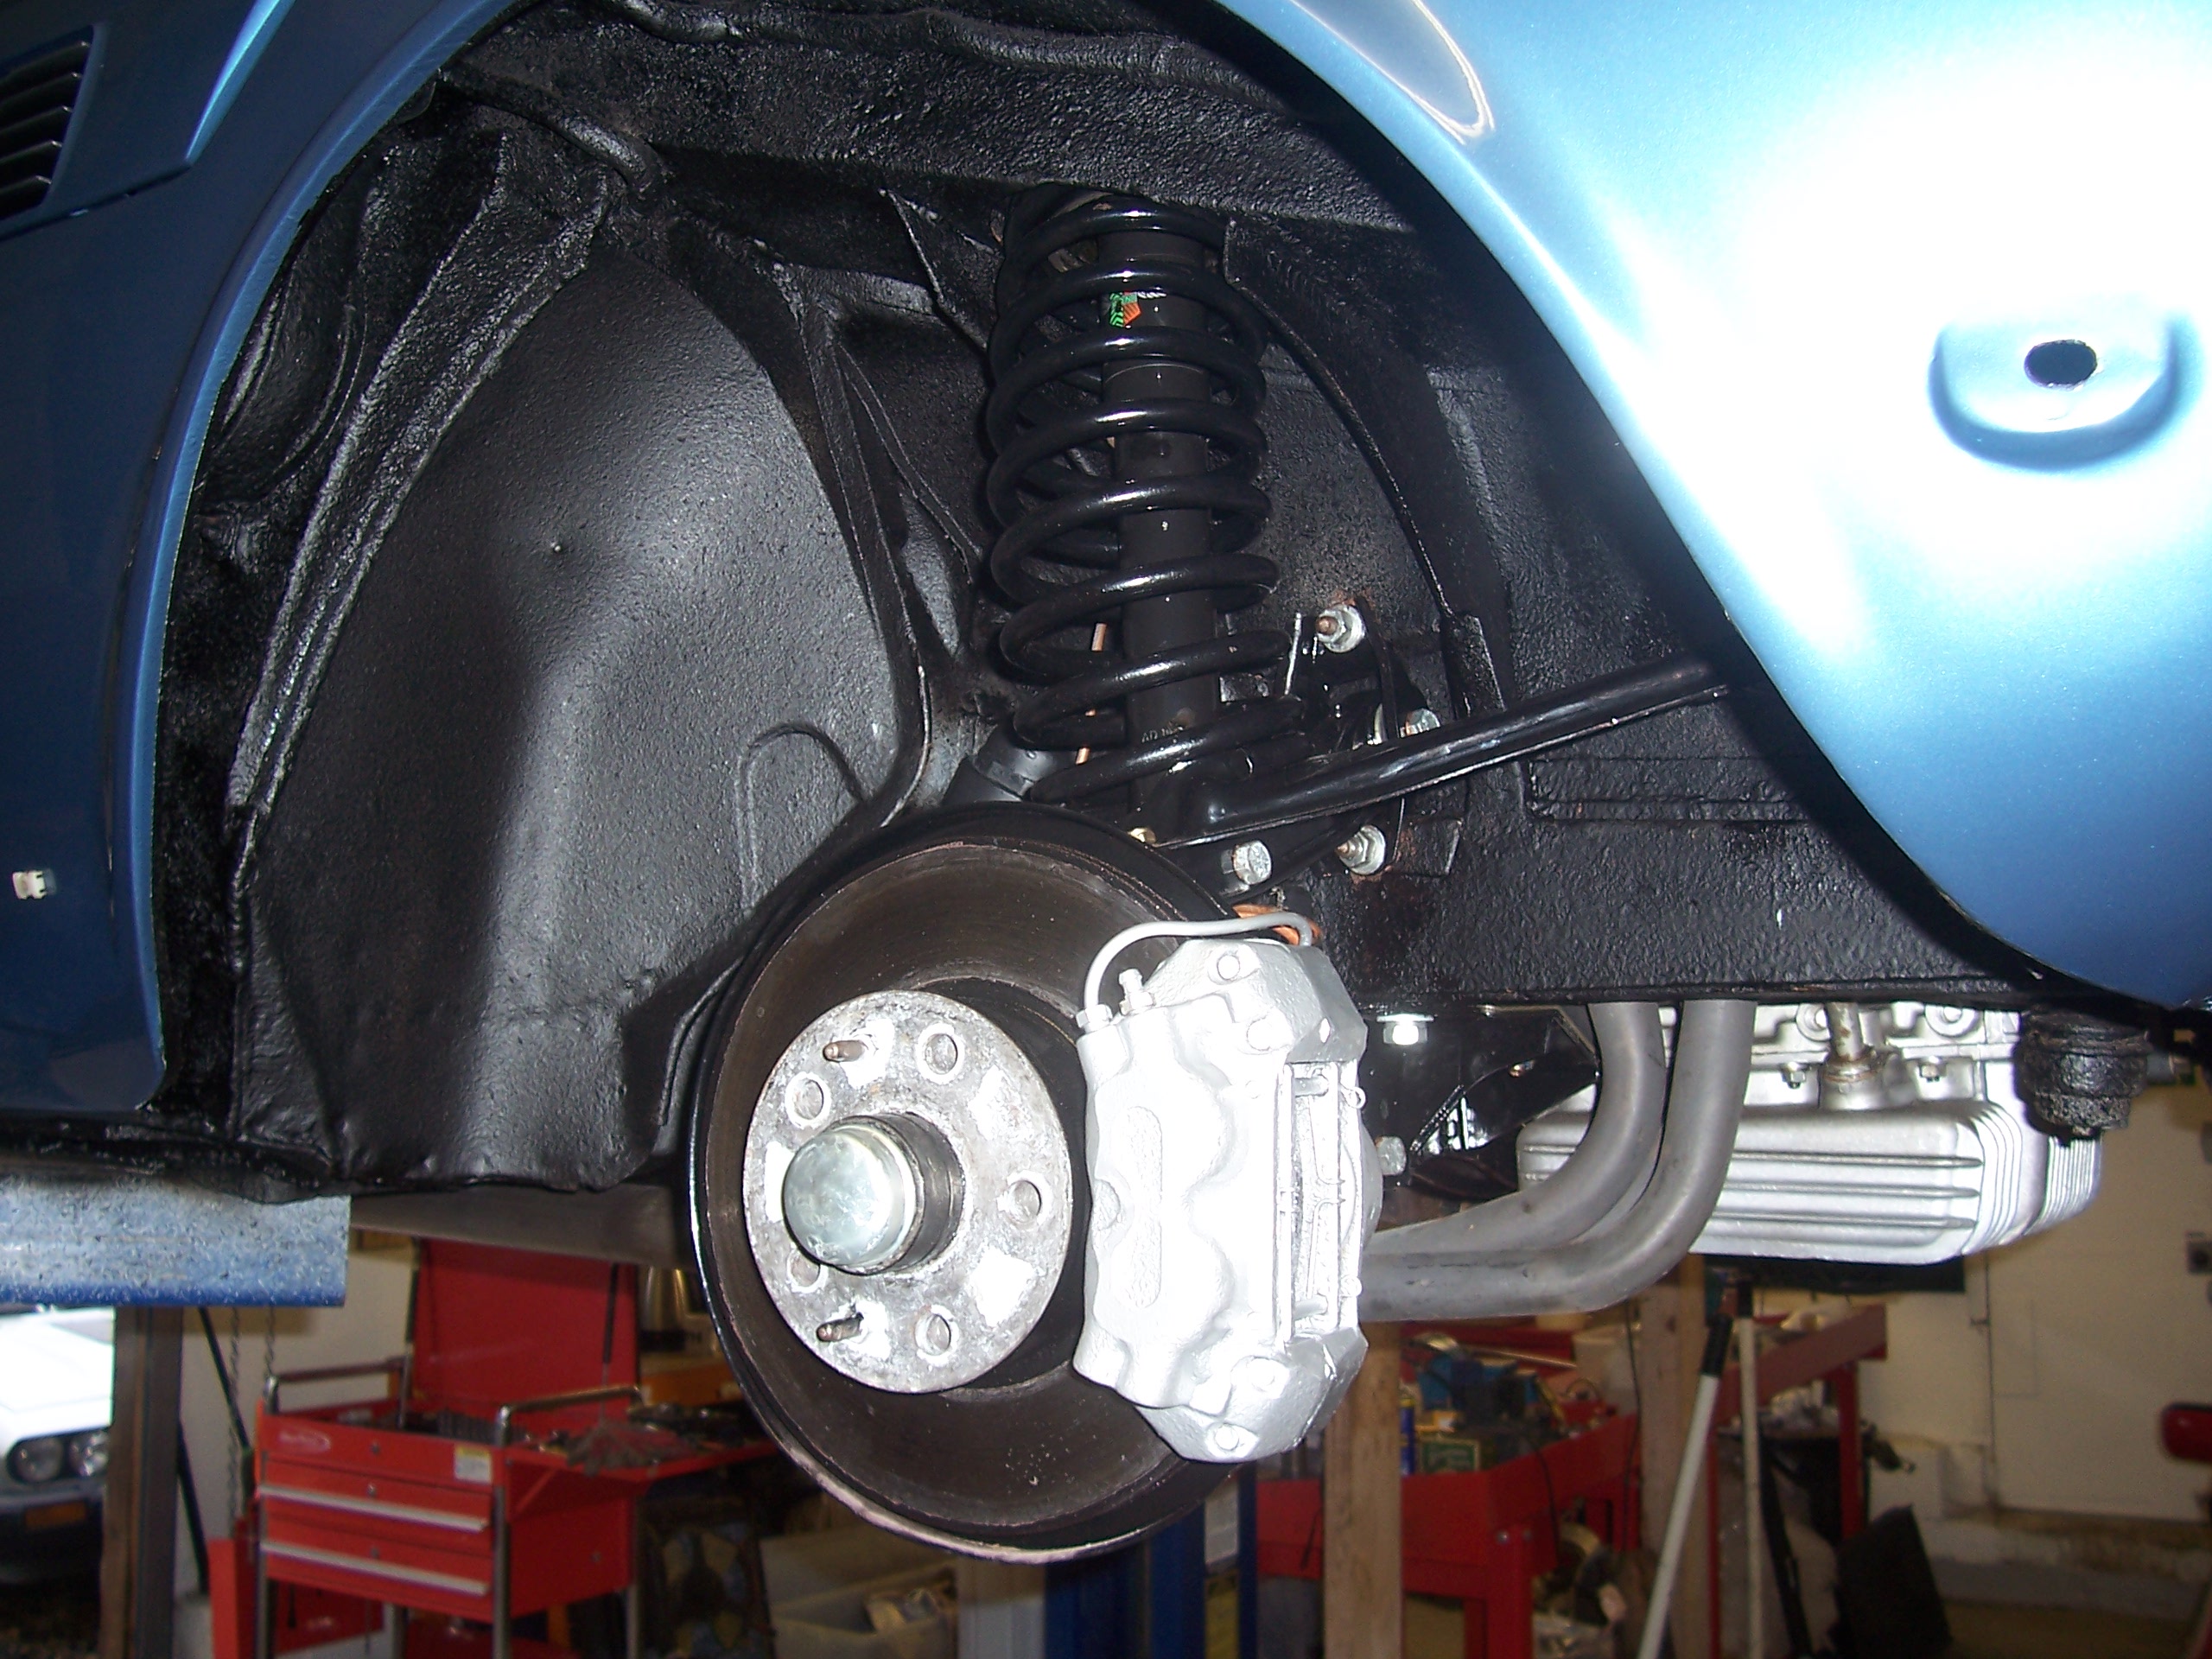
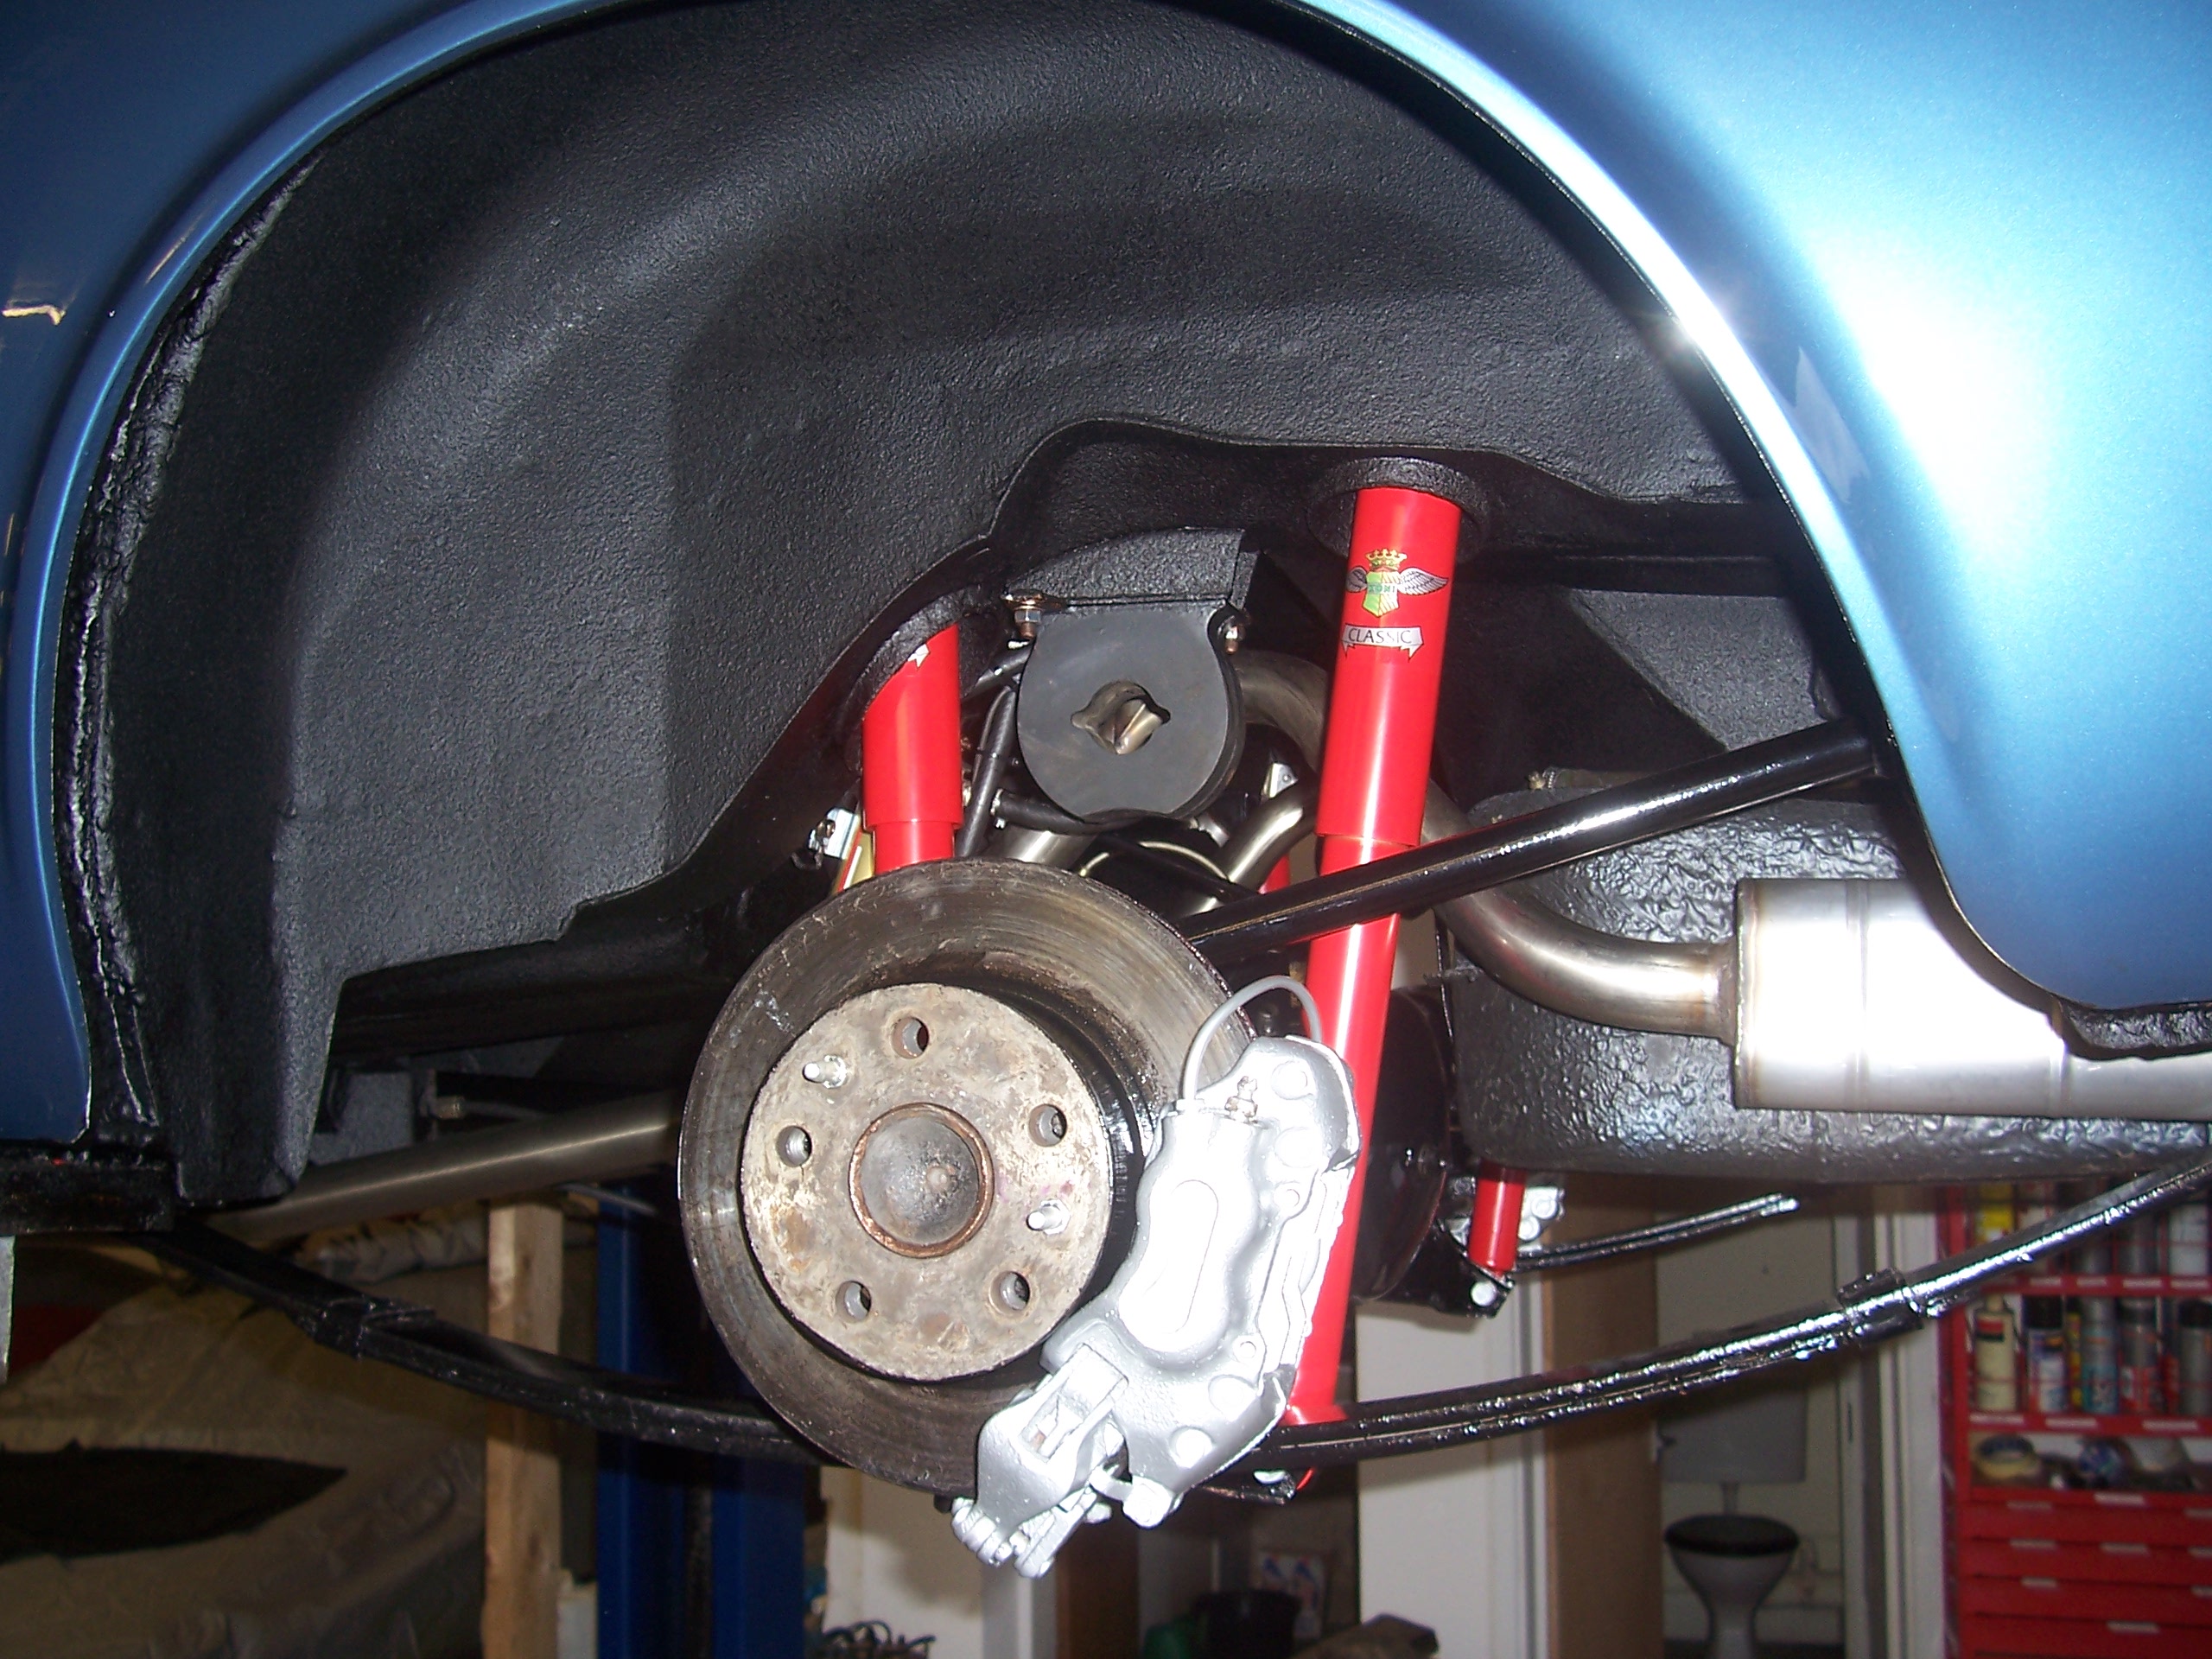
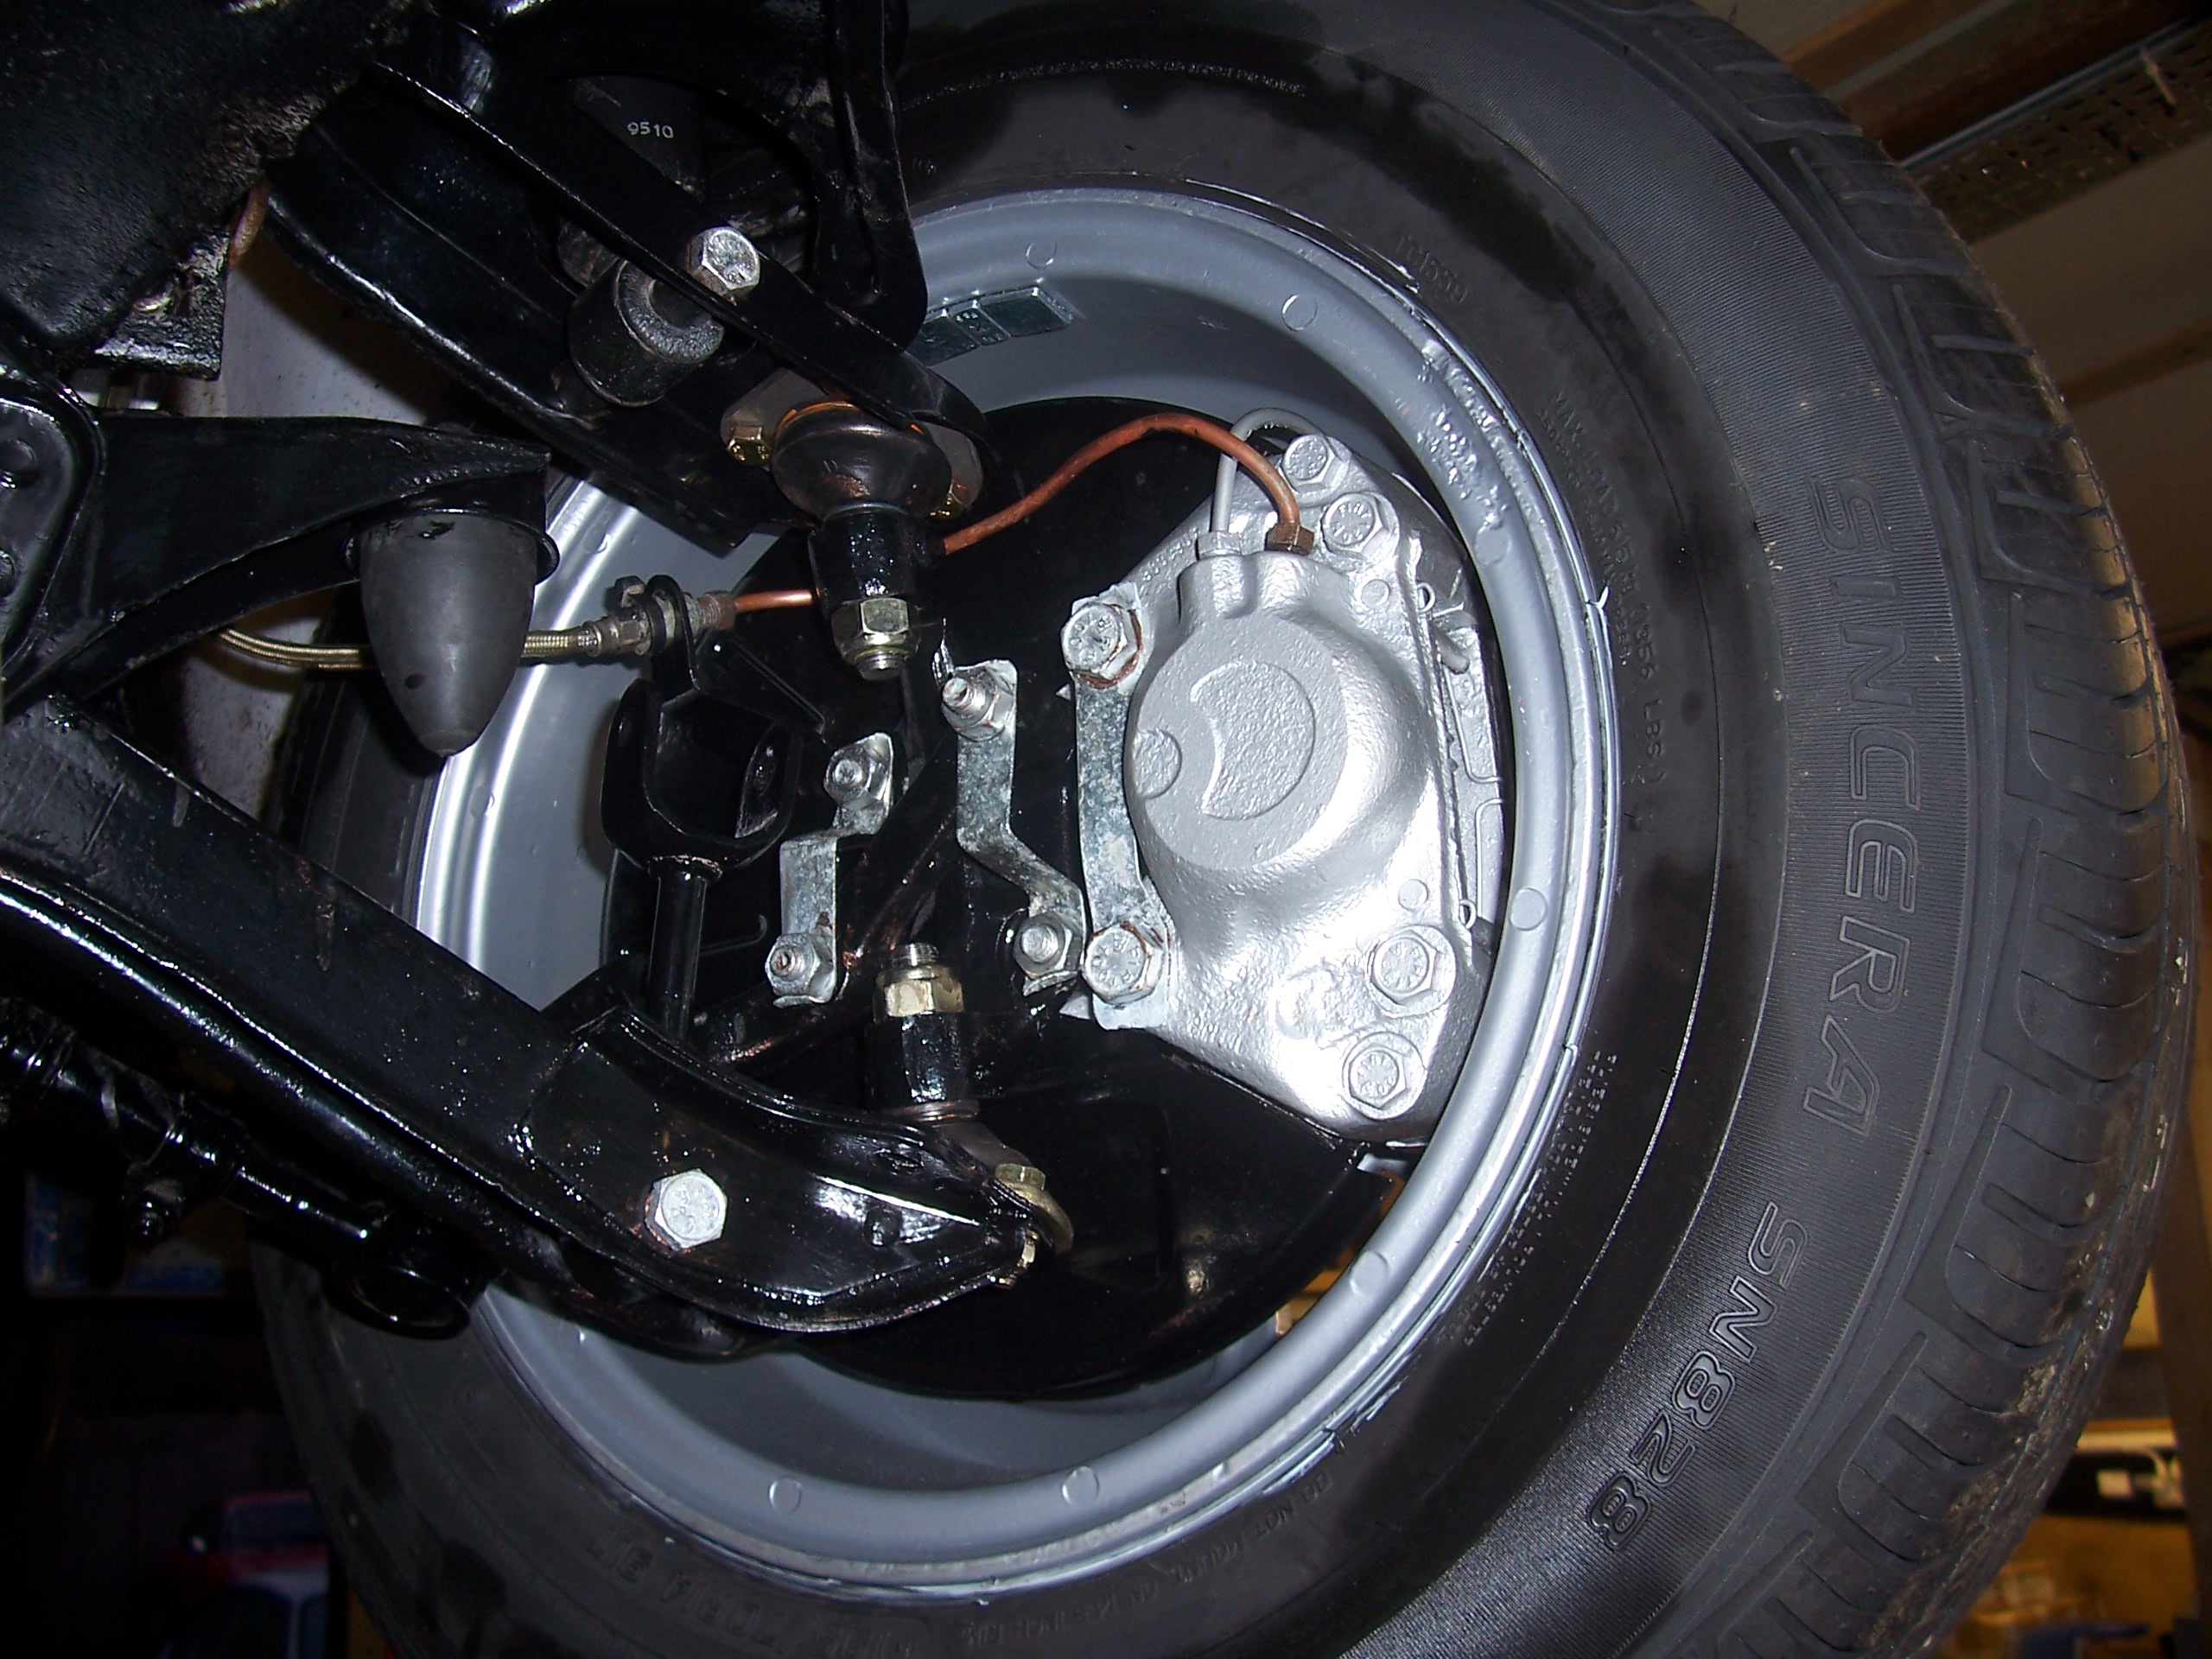
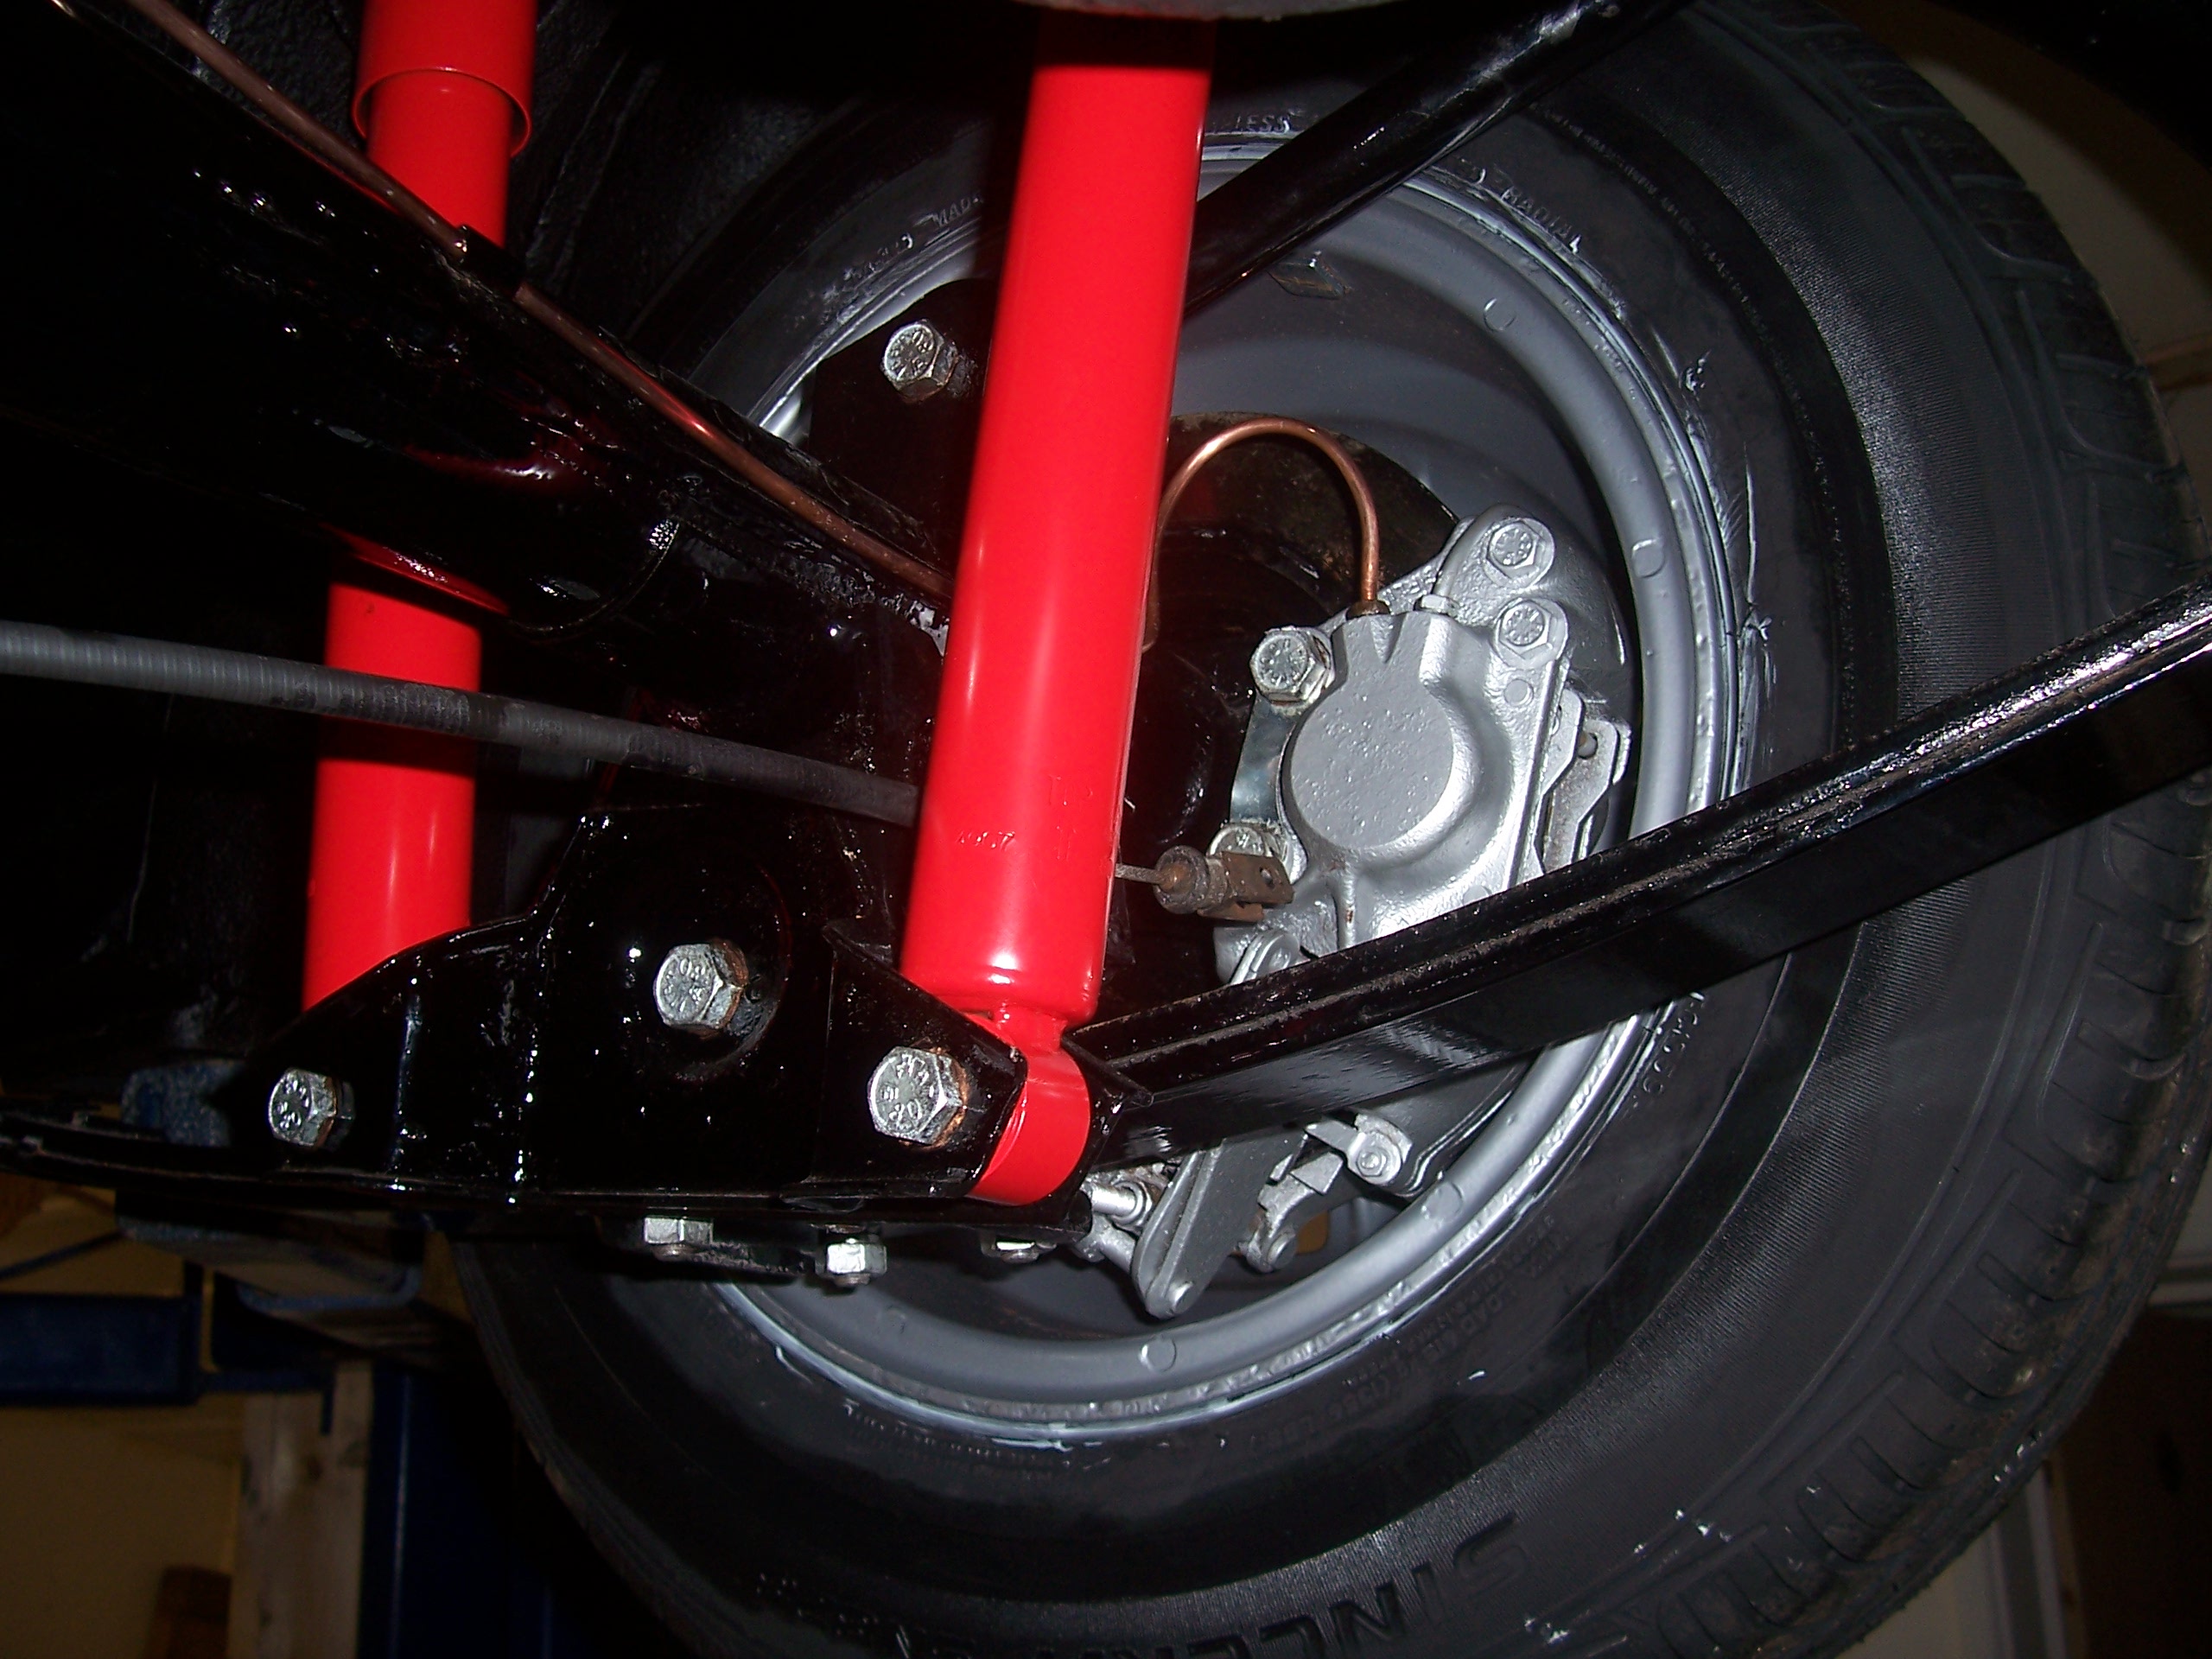
Finally all the internal cavitys were wax injected using Dinitrol 3125 cavity wax including chassis rails, box sections, sills & inner wheel arches. We could then refit all the rebuilt running gear and new stainless steel exhaust system. Due to the long lay up it was also an essential that before refitting the brakes recieved some attention.
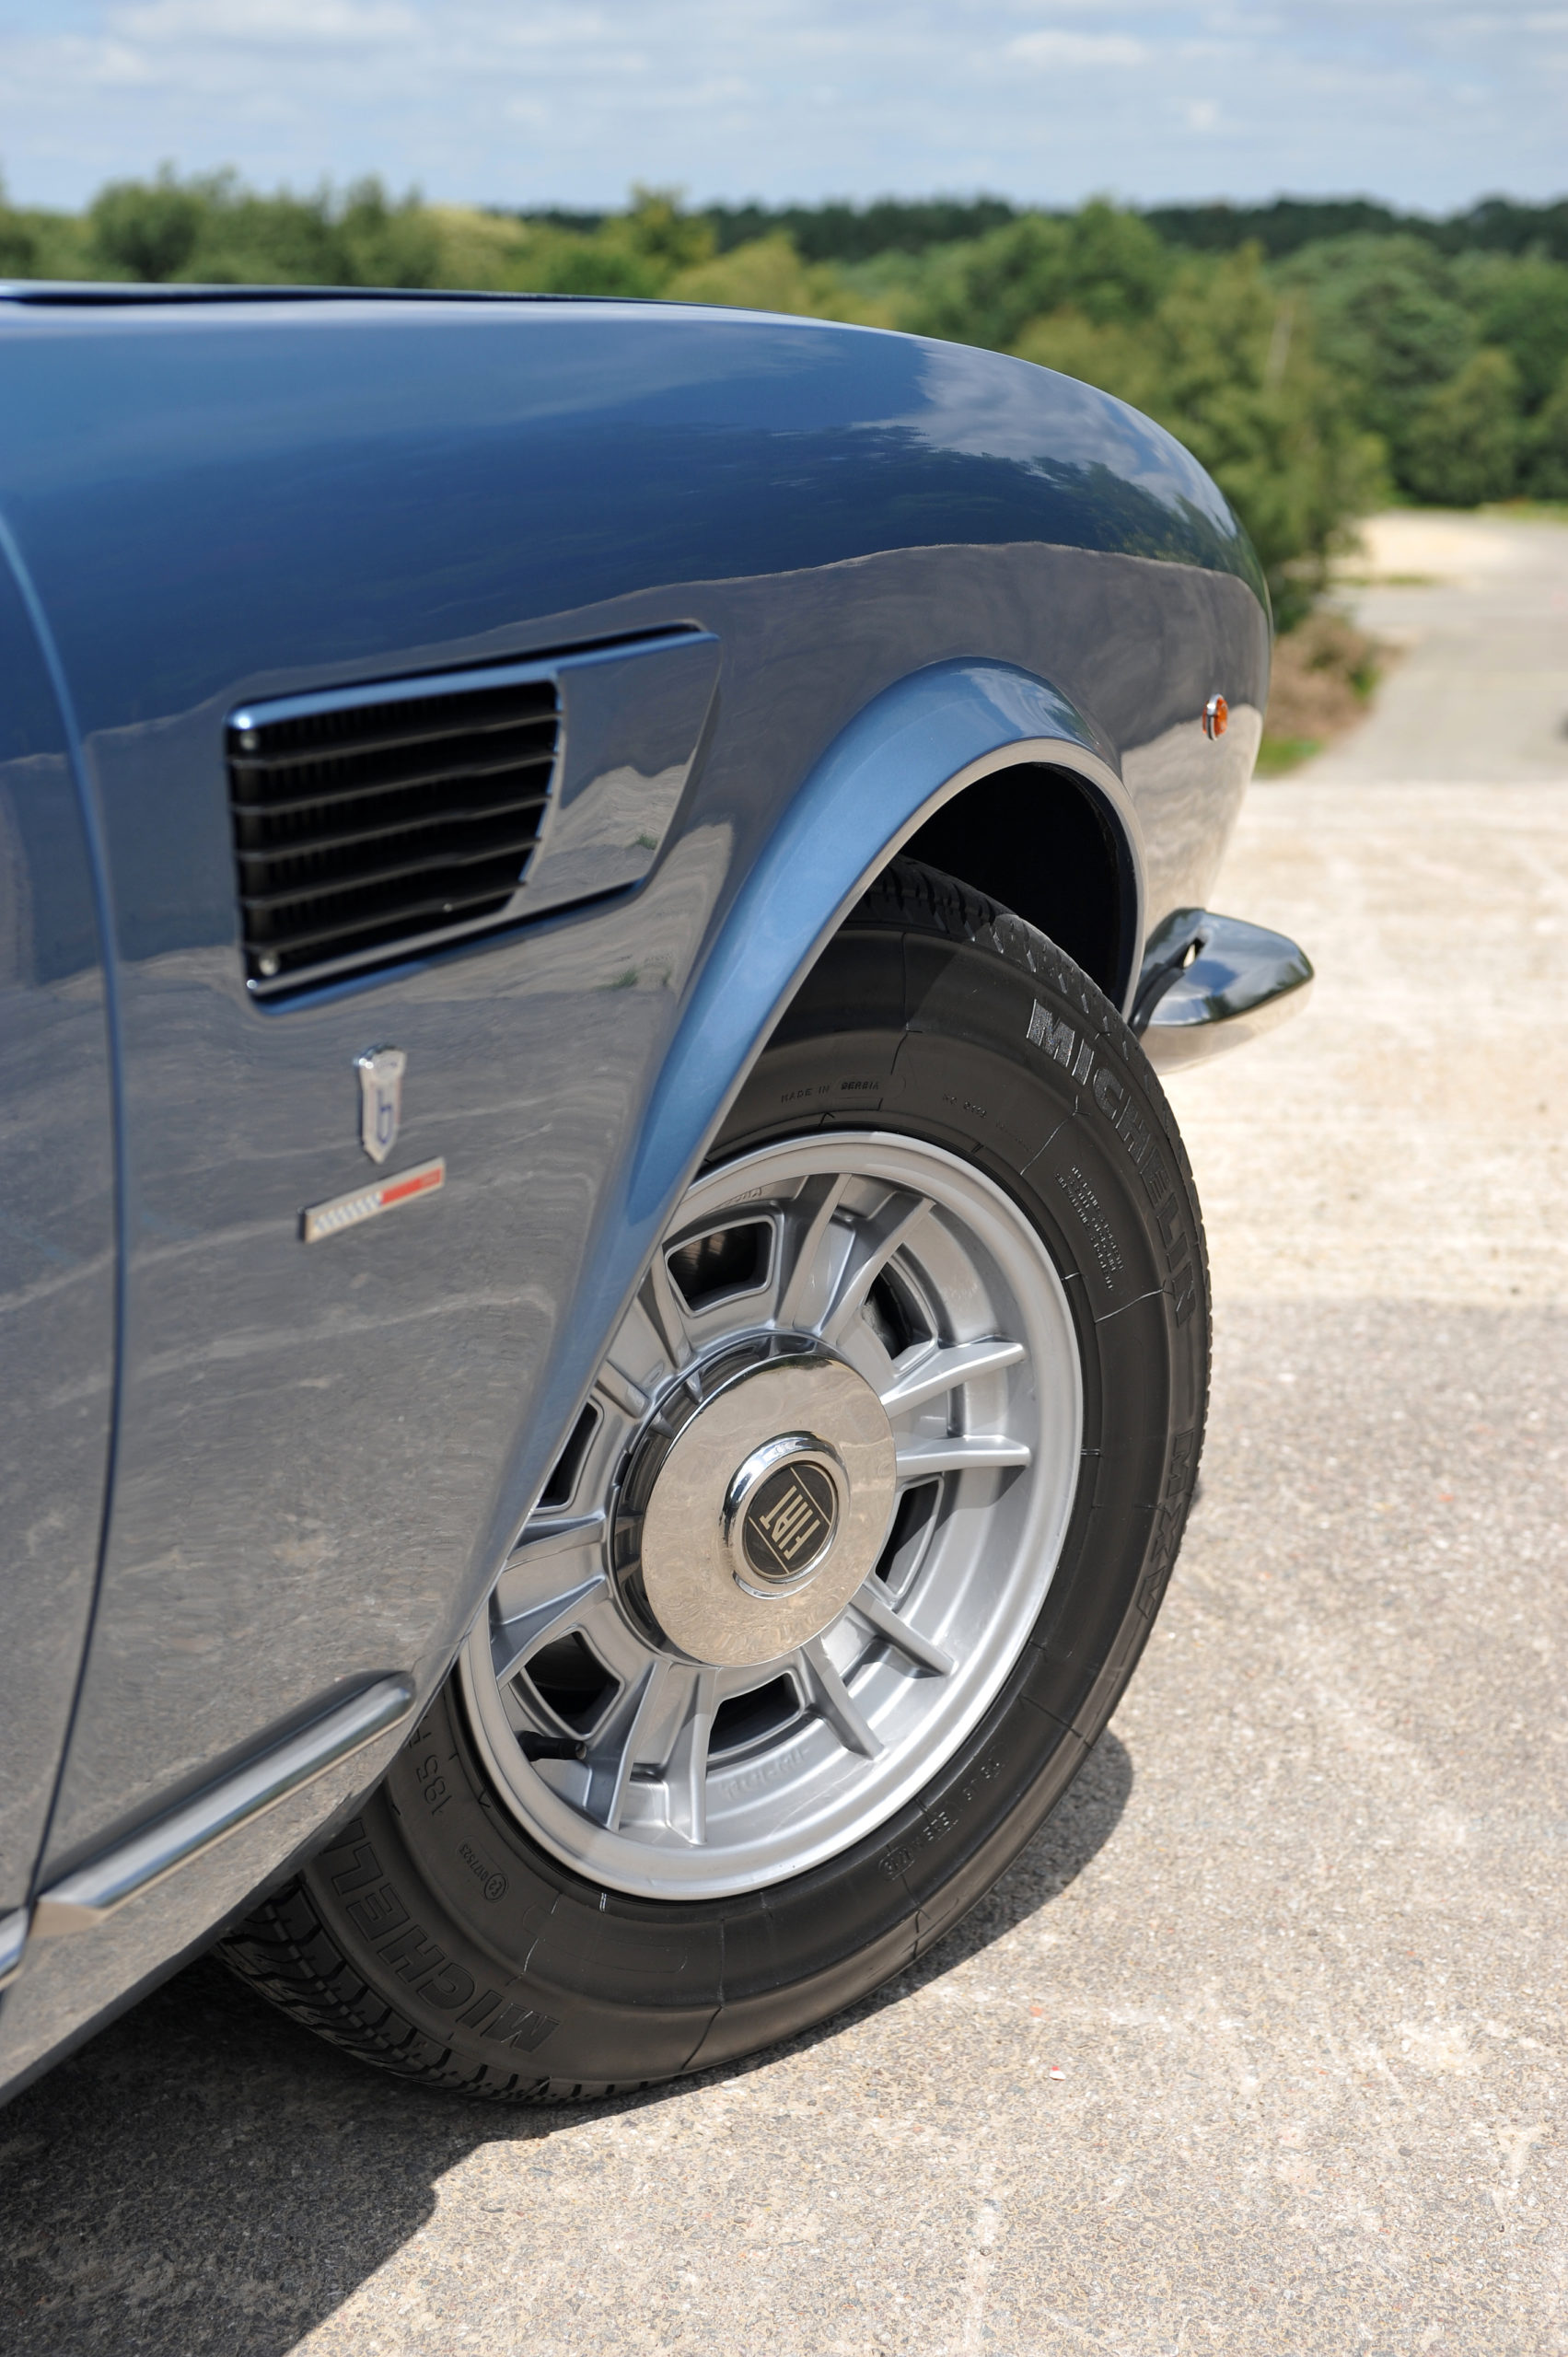
To that end the callipers were stripped down and cleaned, the bodies refinished and new stainless steel pistons fitted with new seals. Finally the newly refrubished wheels with new tyres could go on and she could return to the gorund.
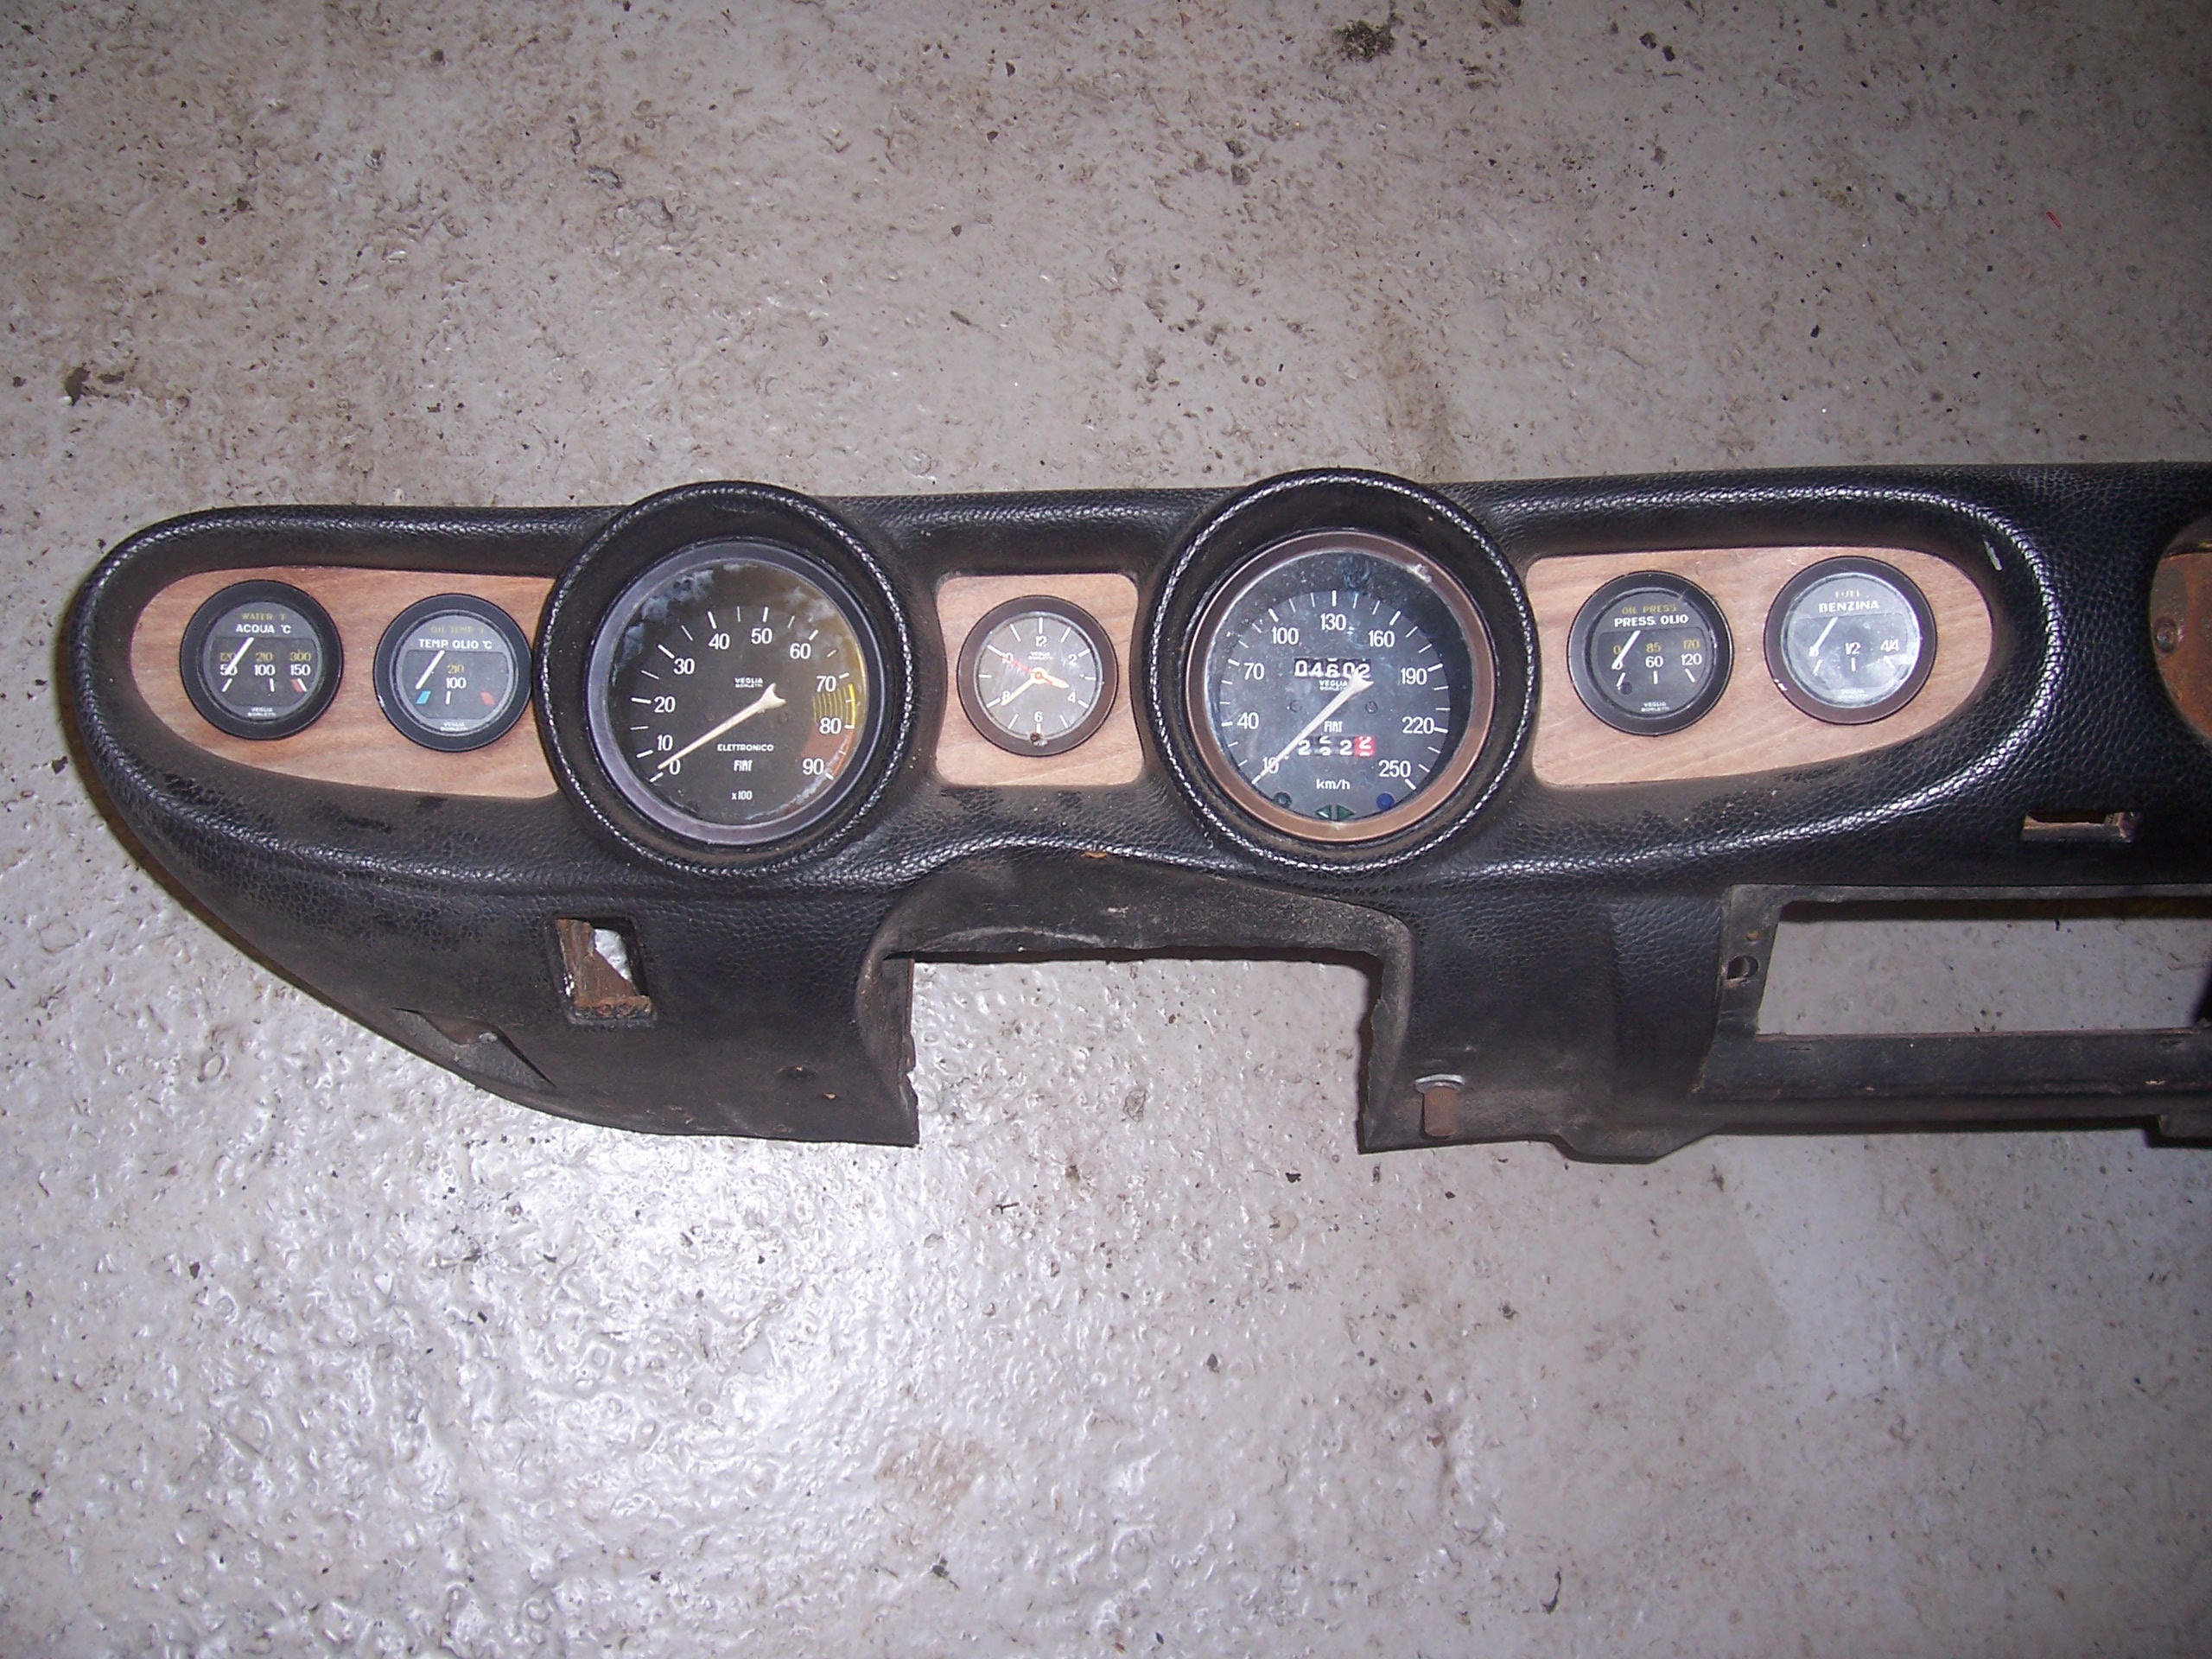
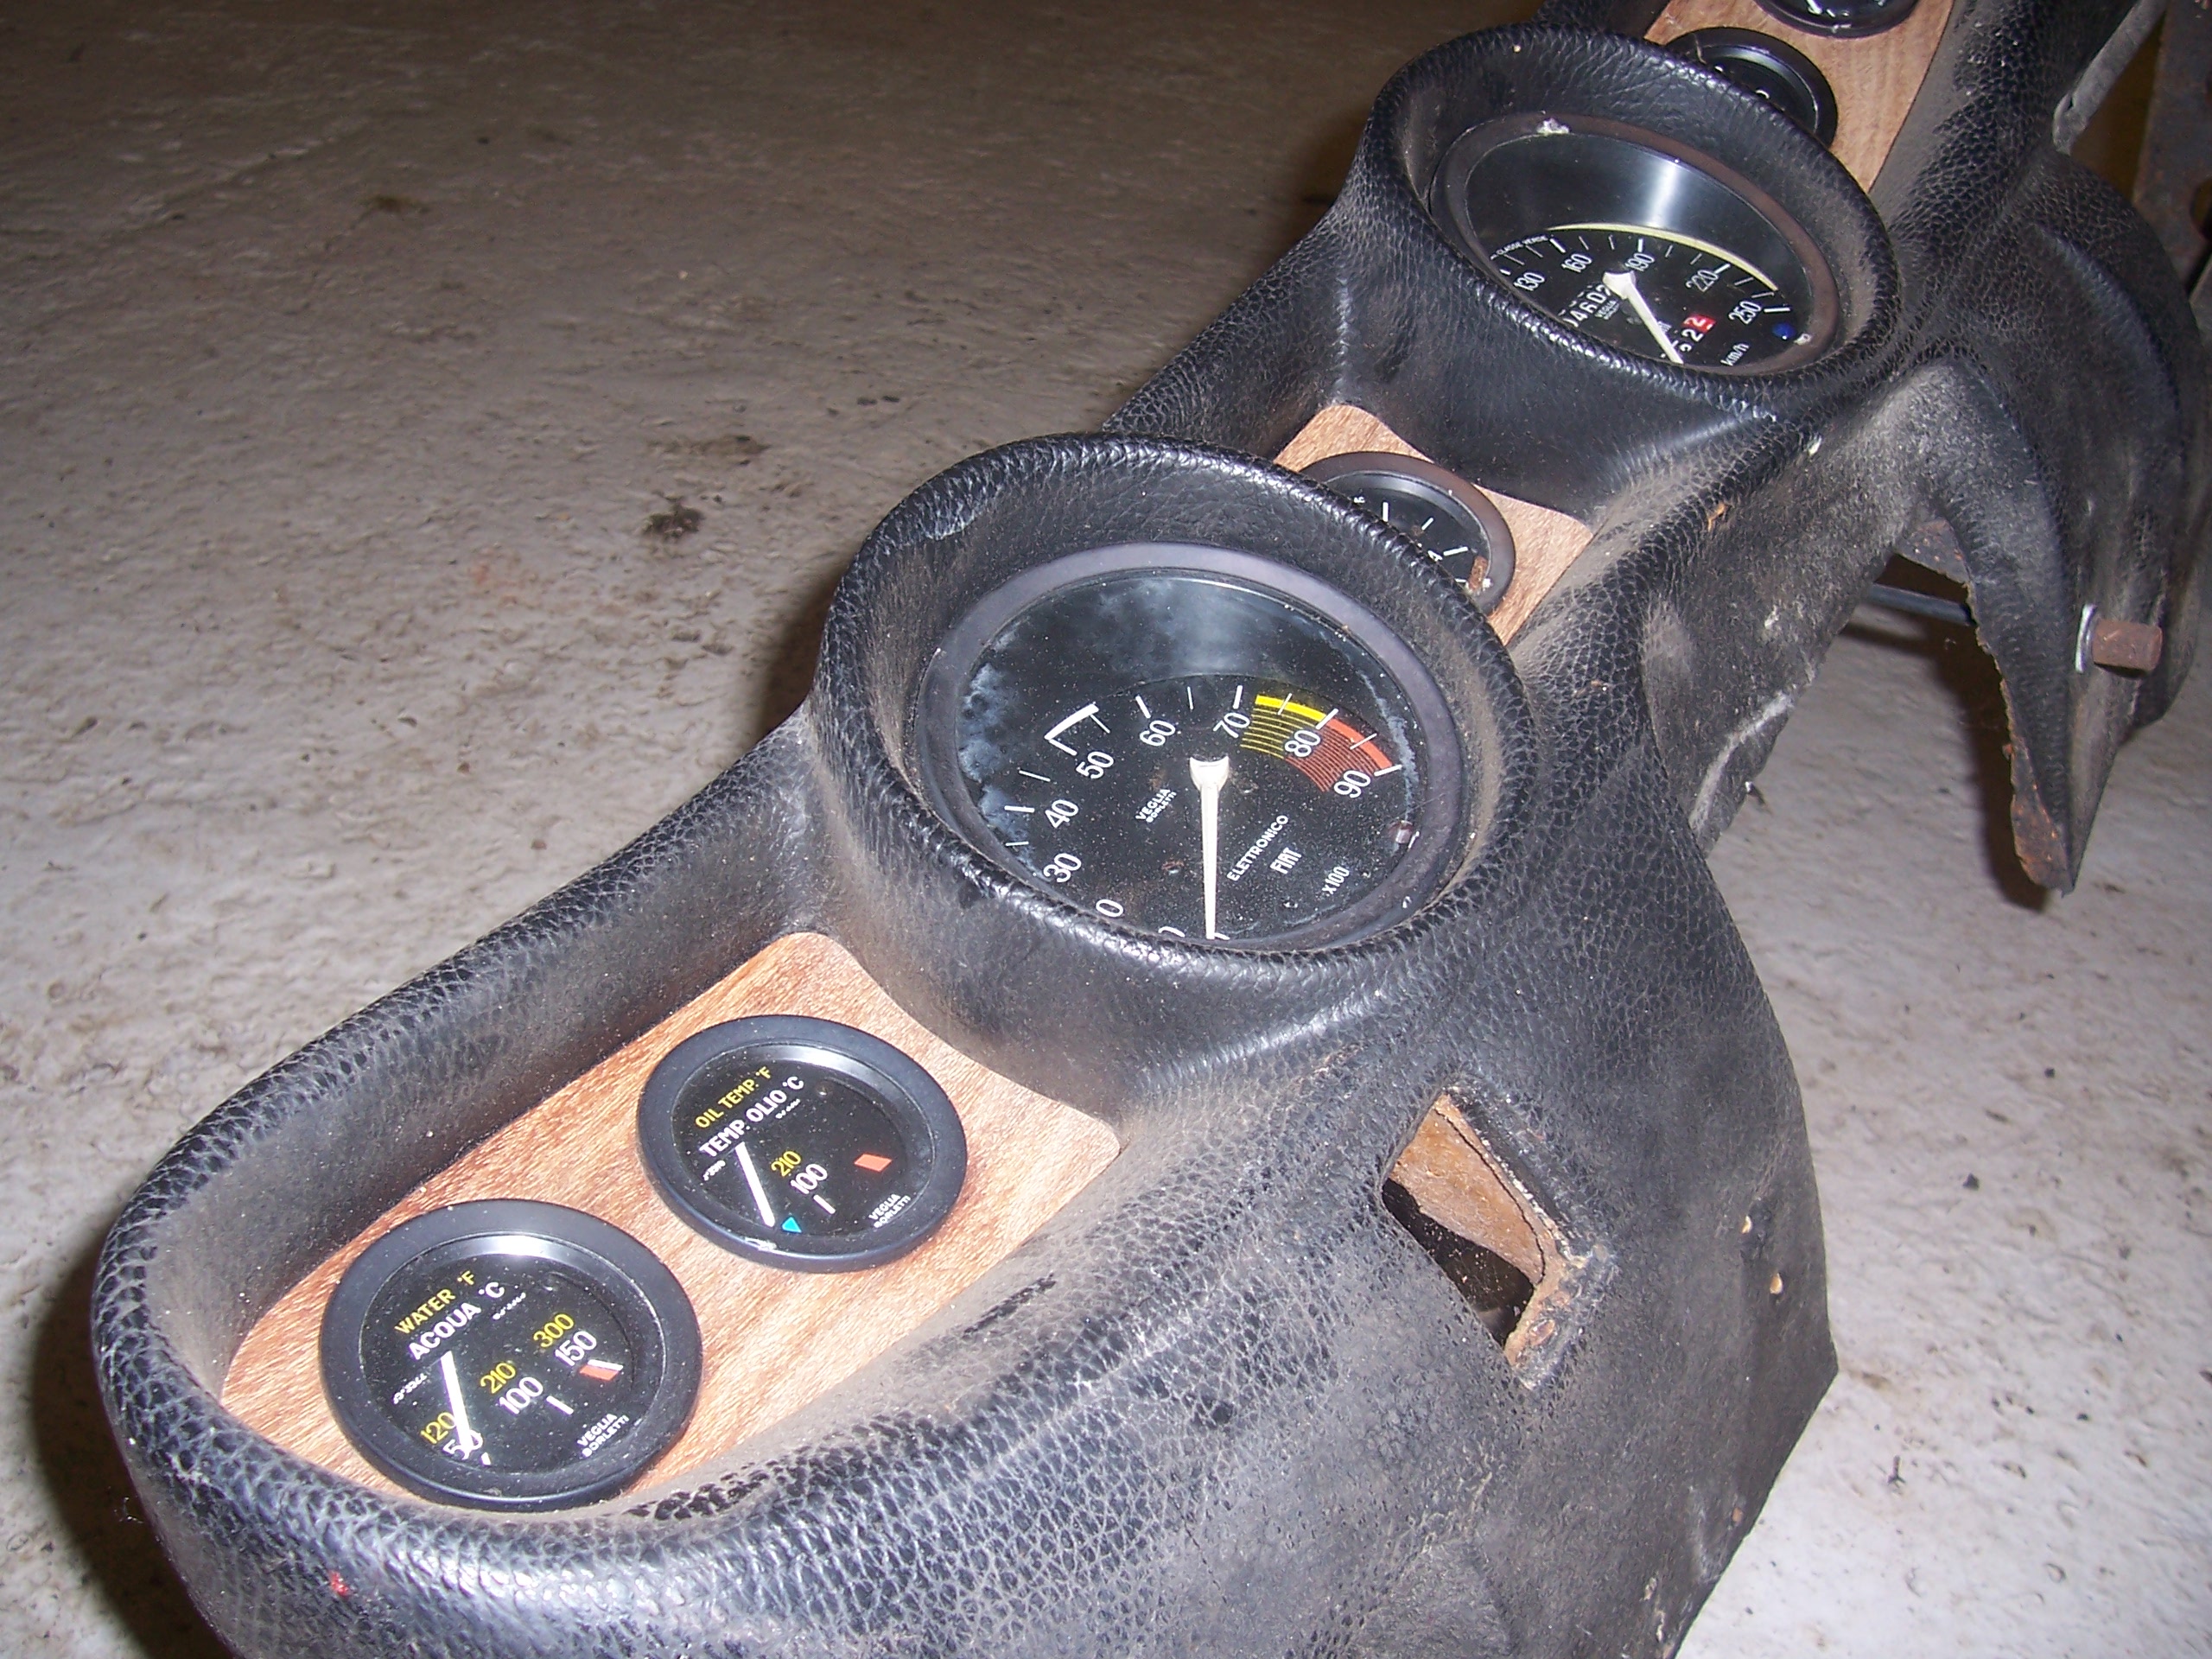
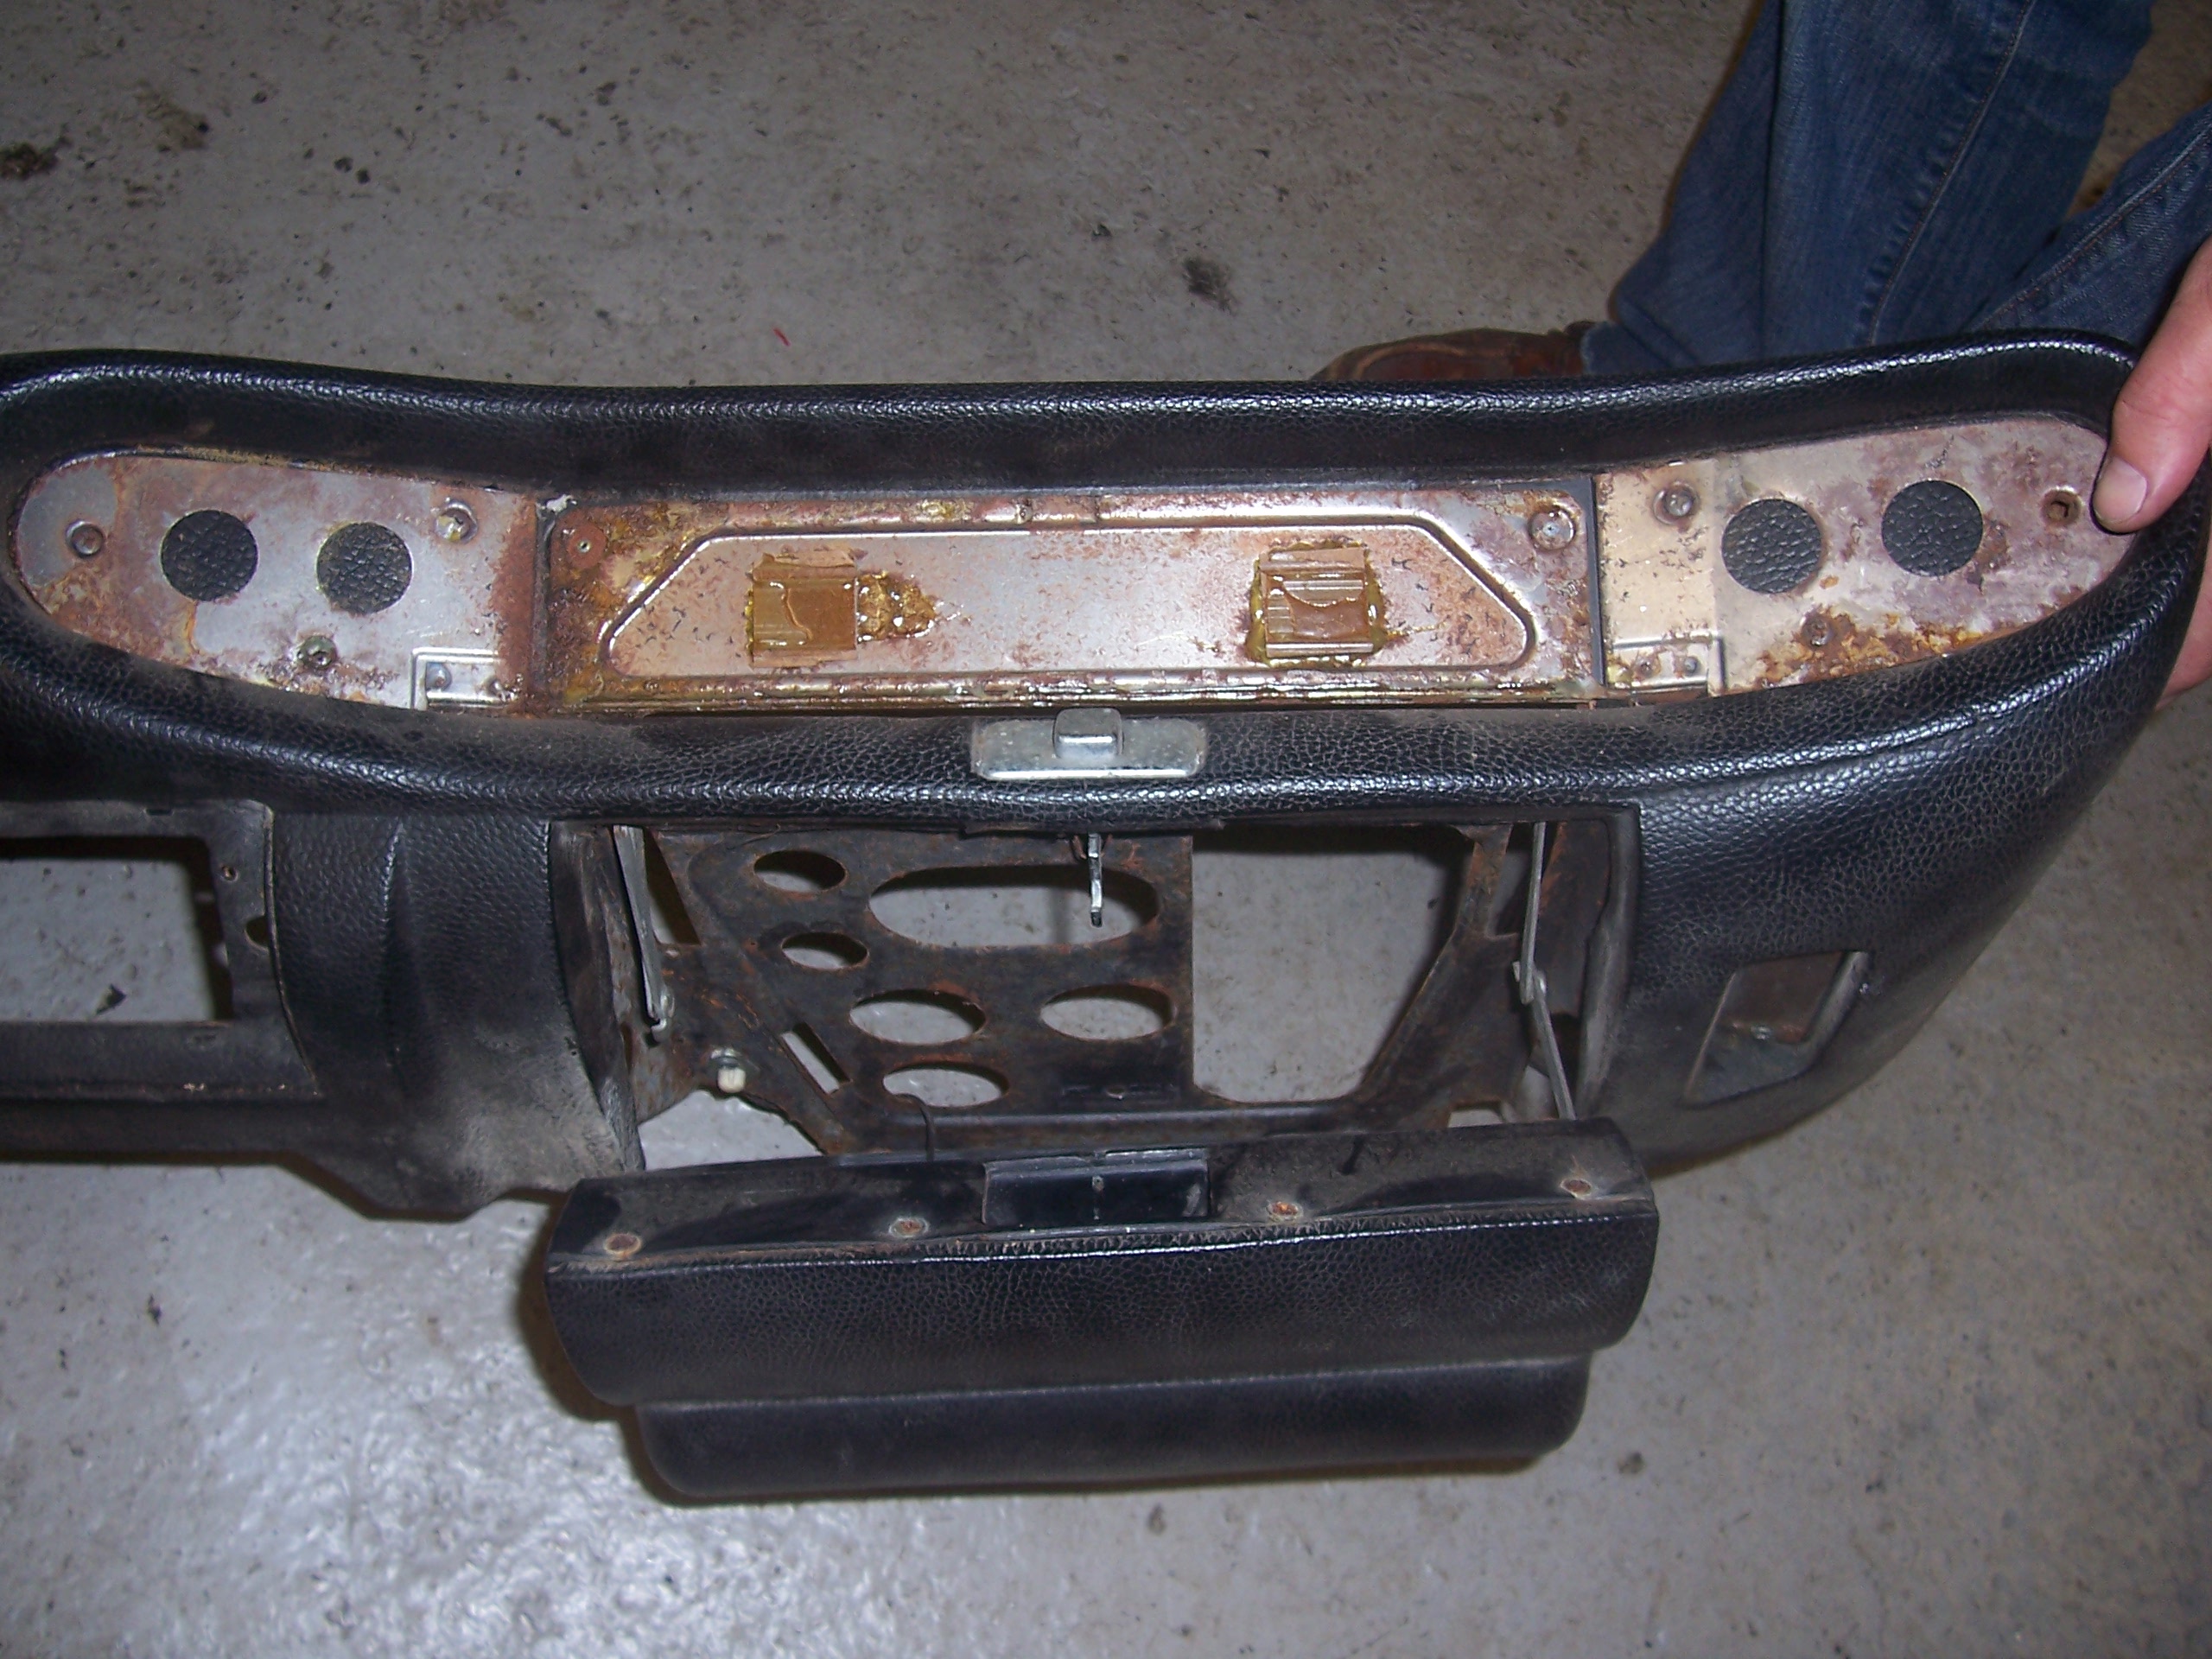
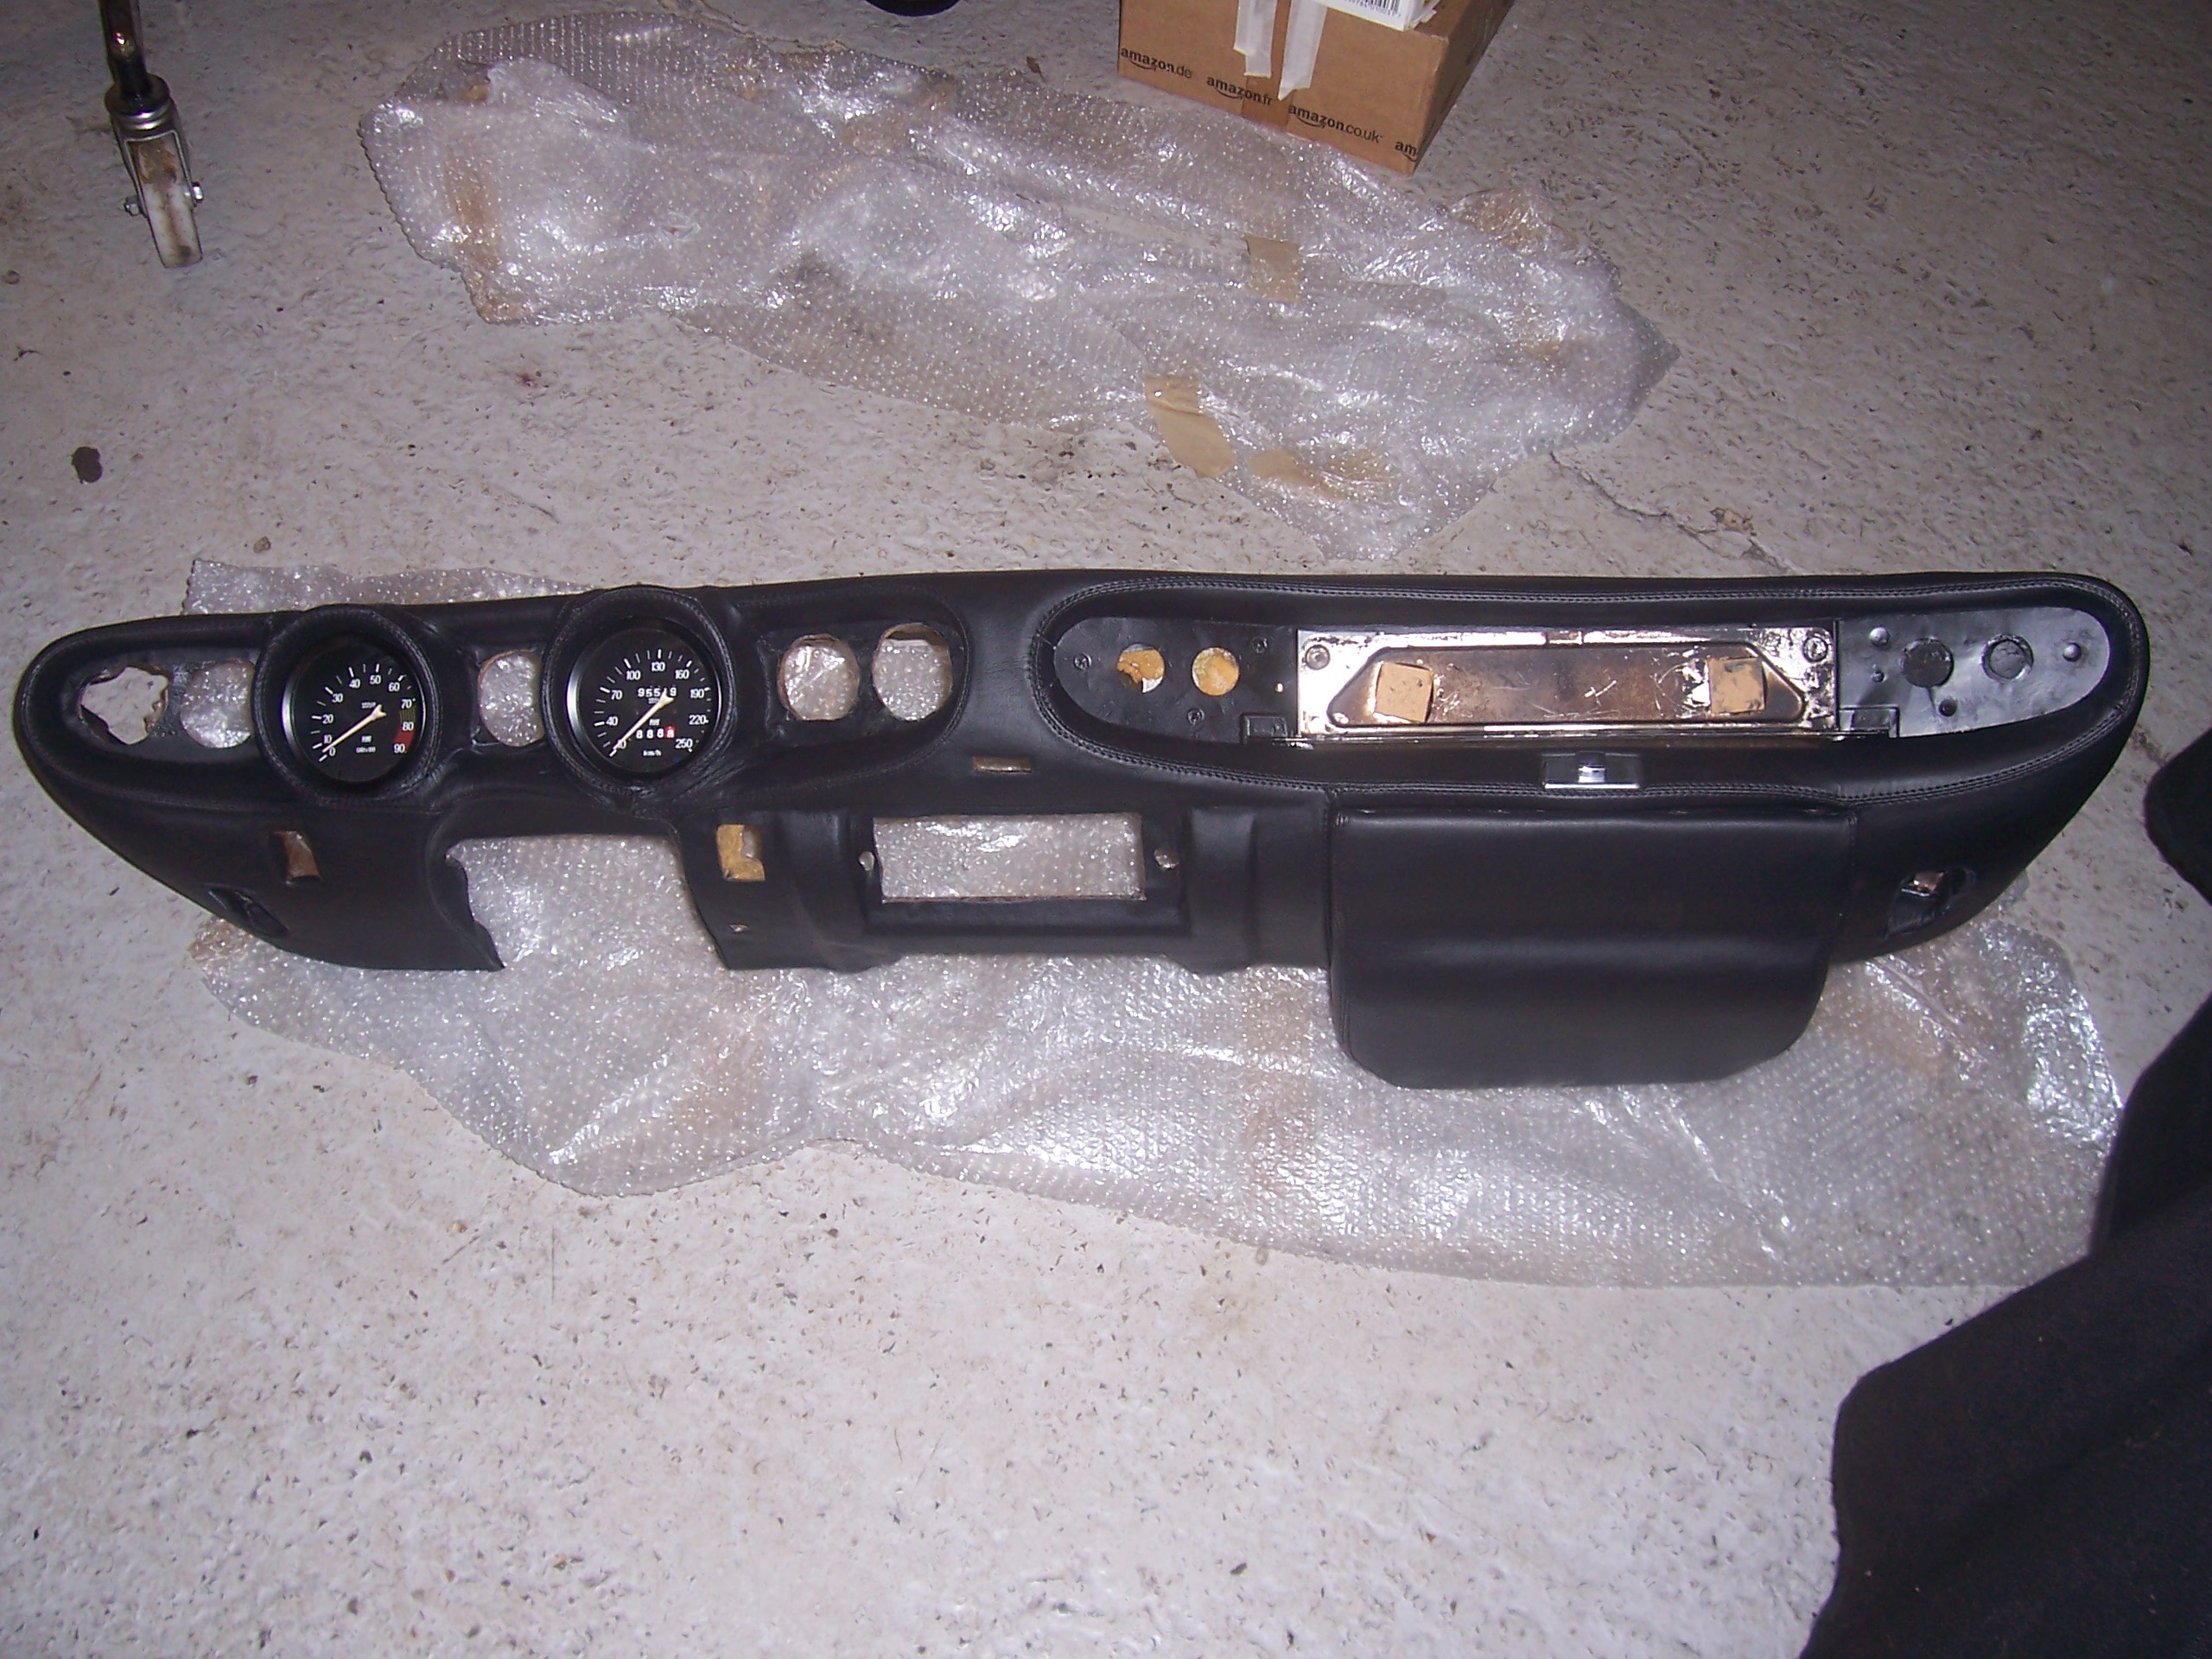
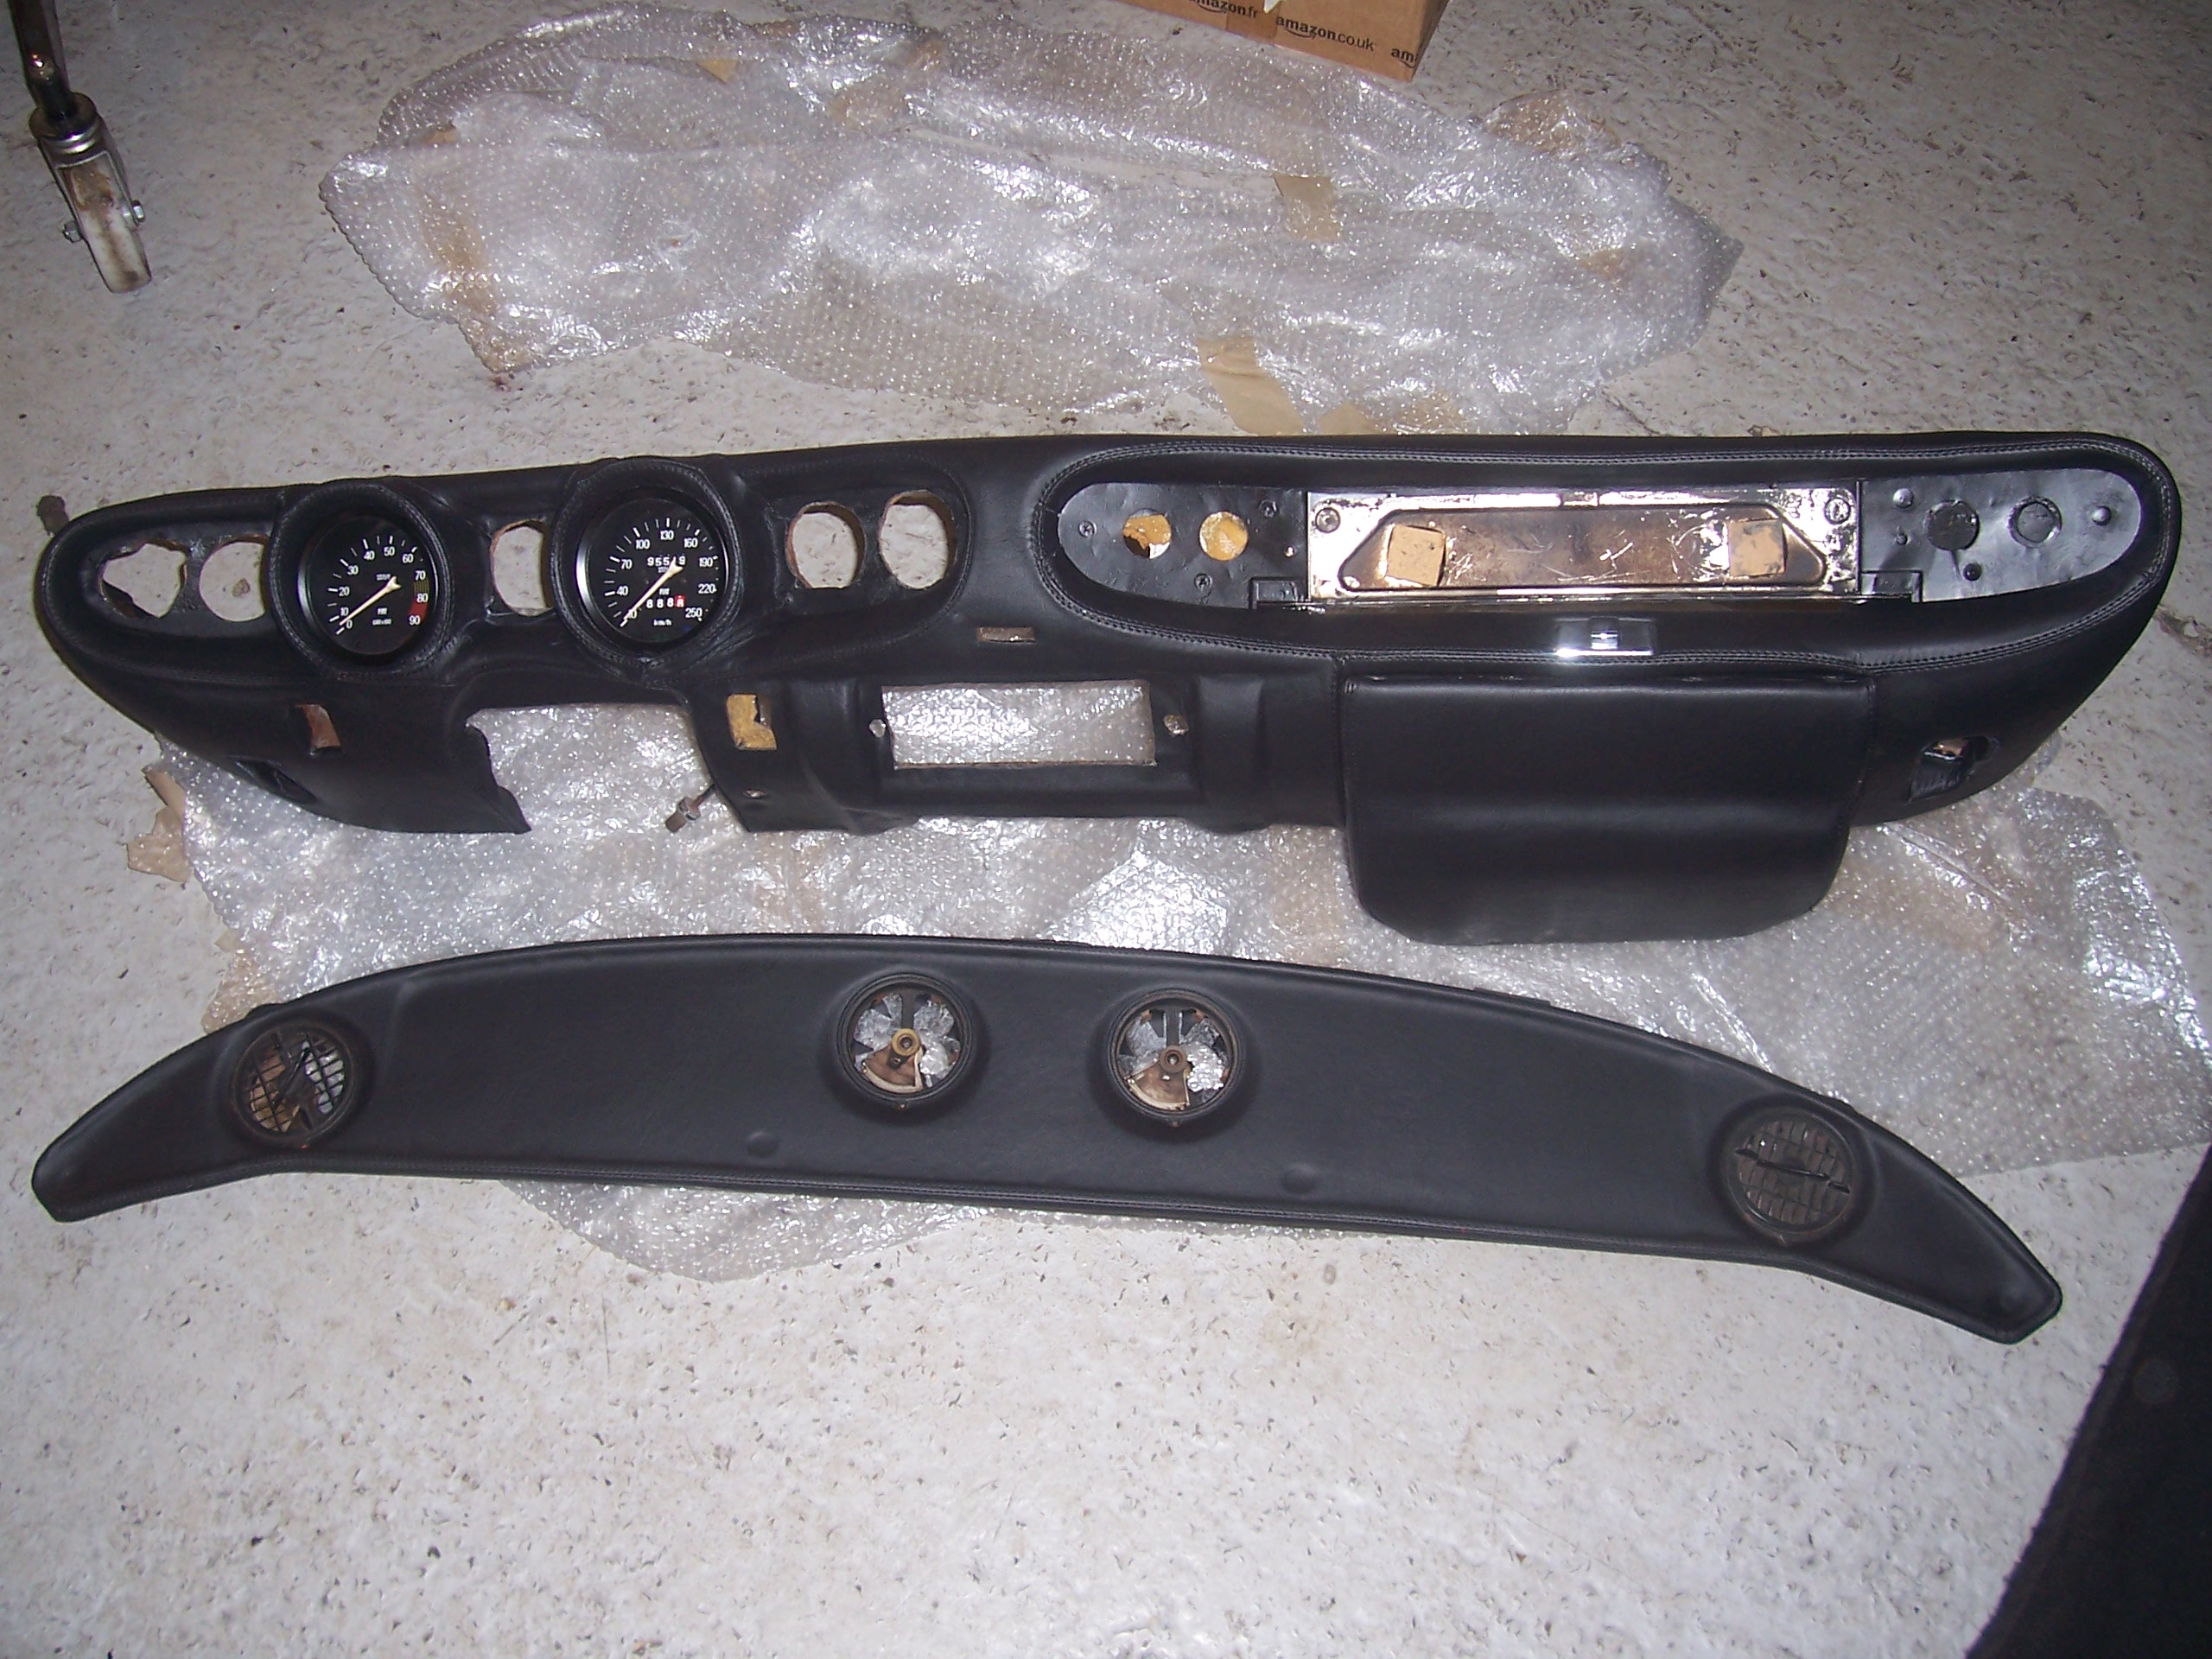
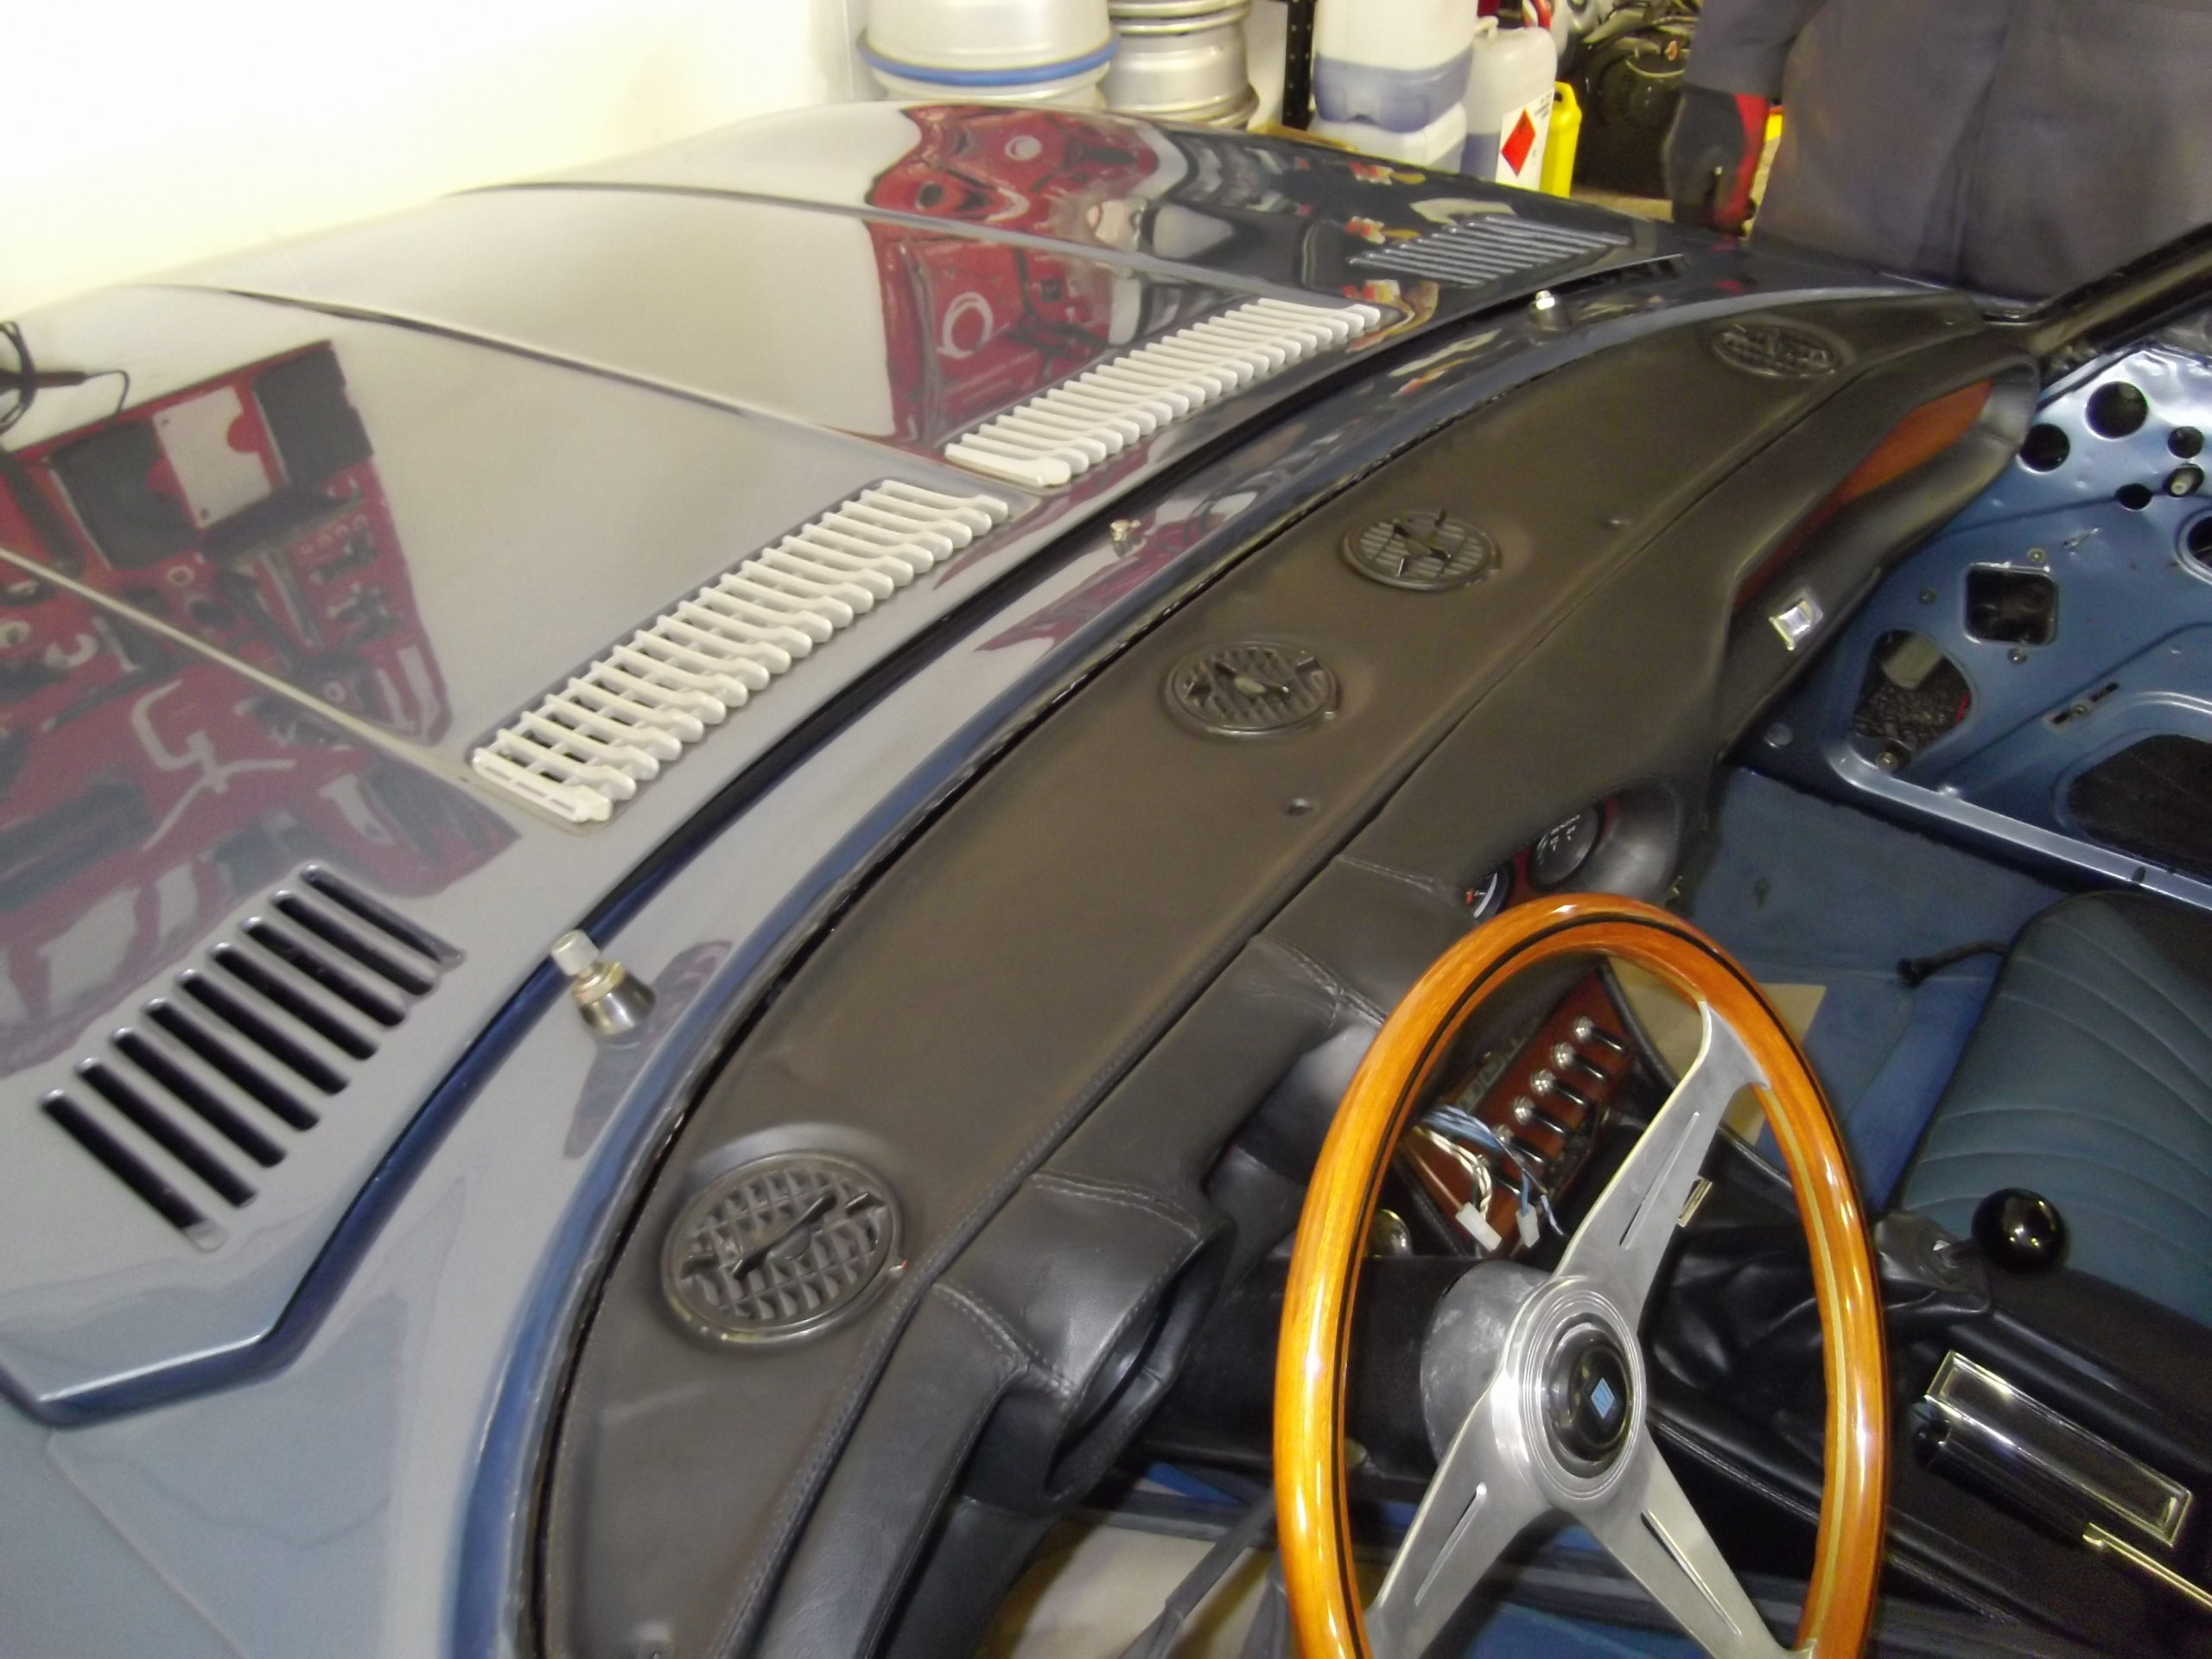
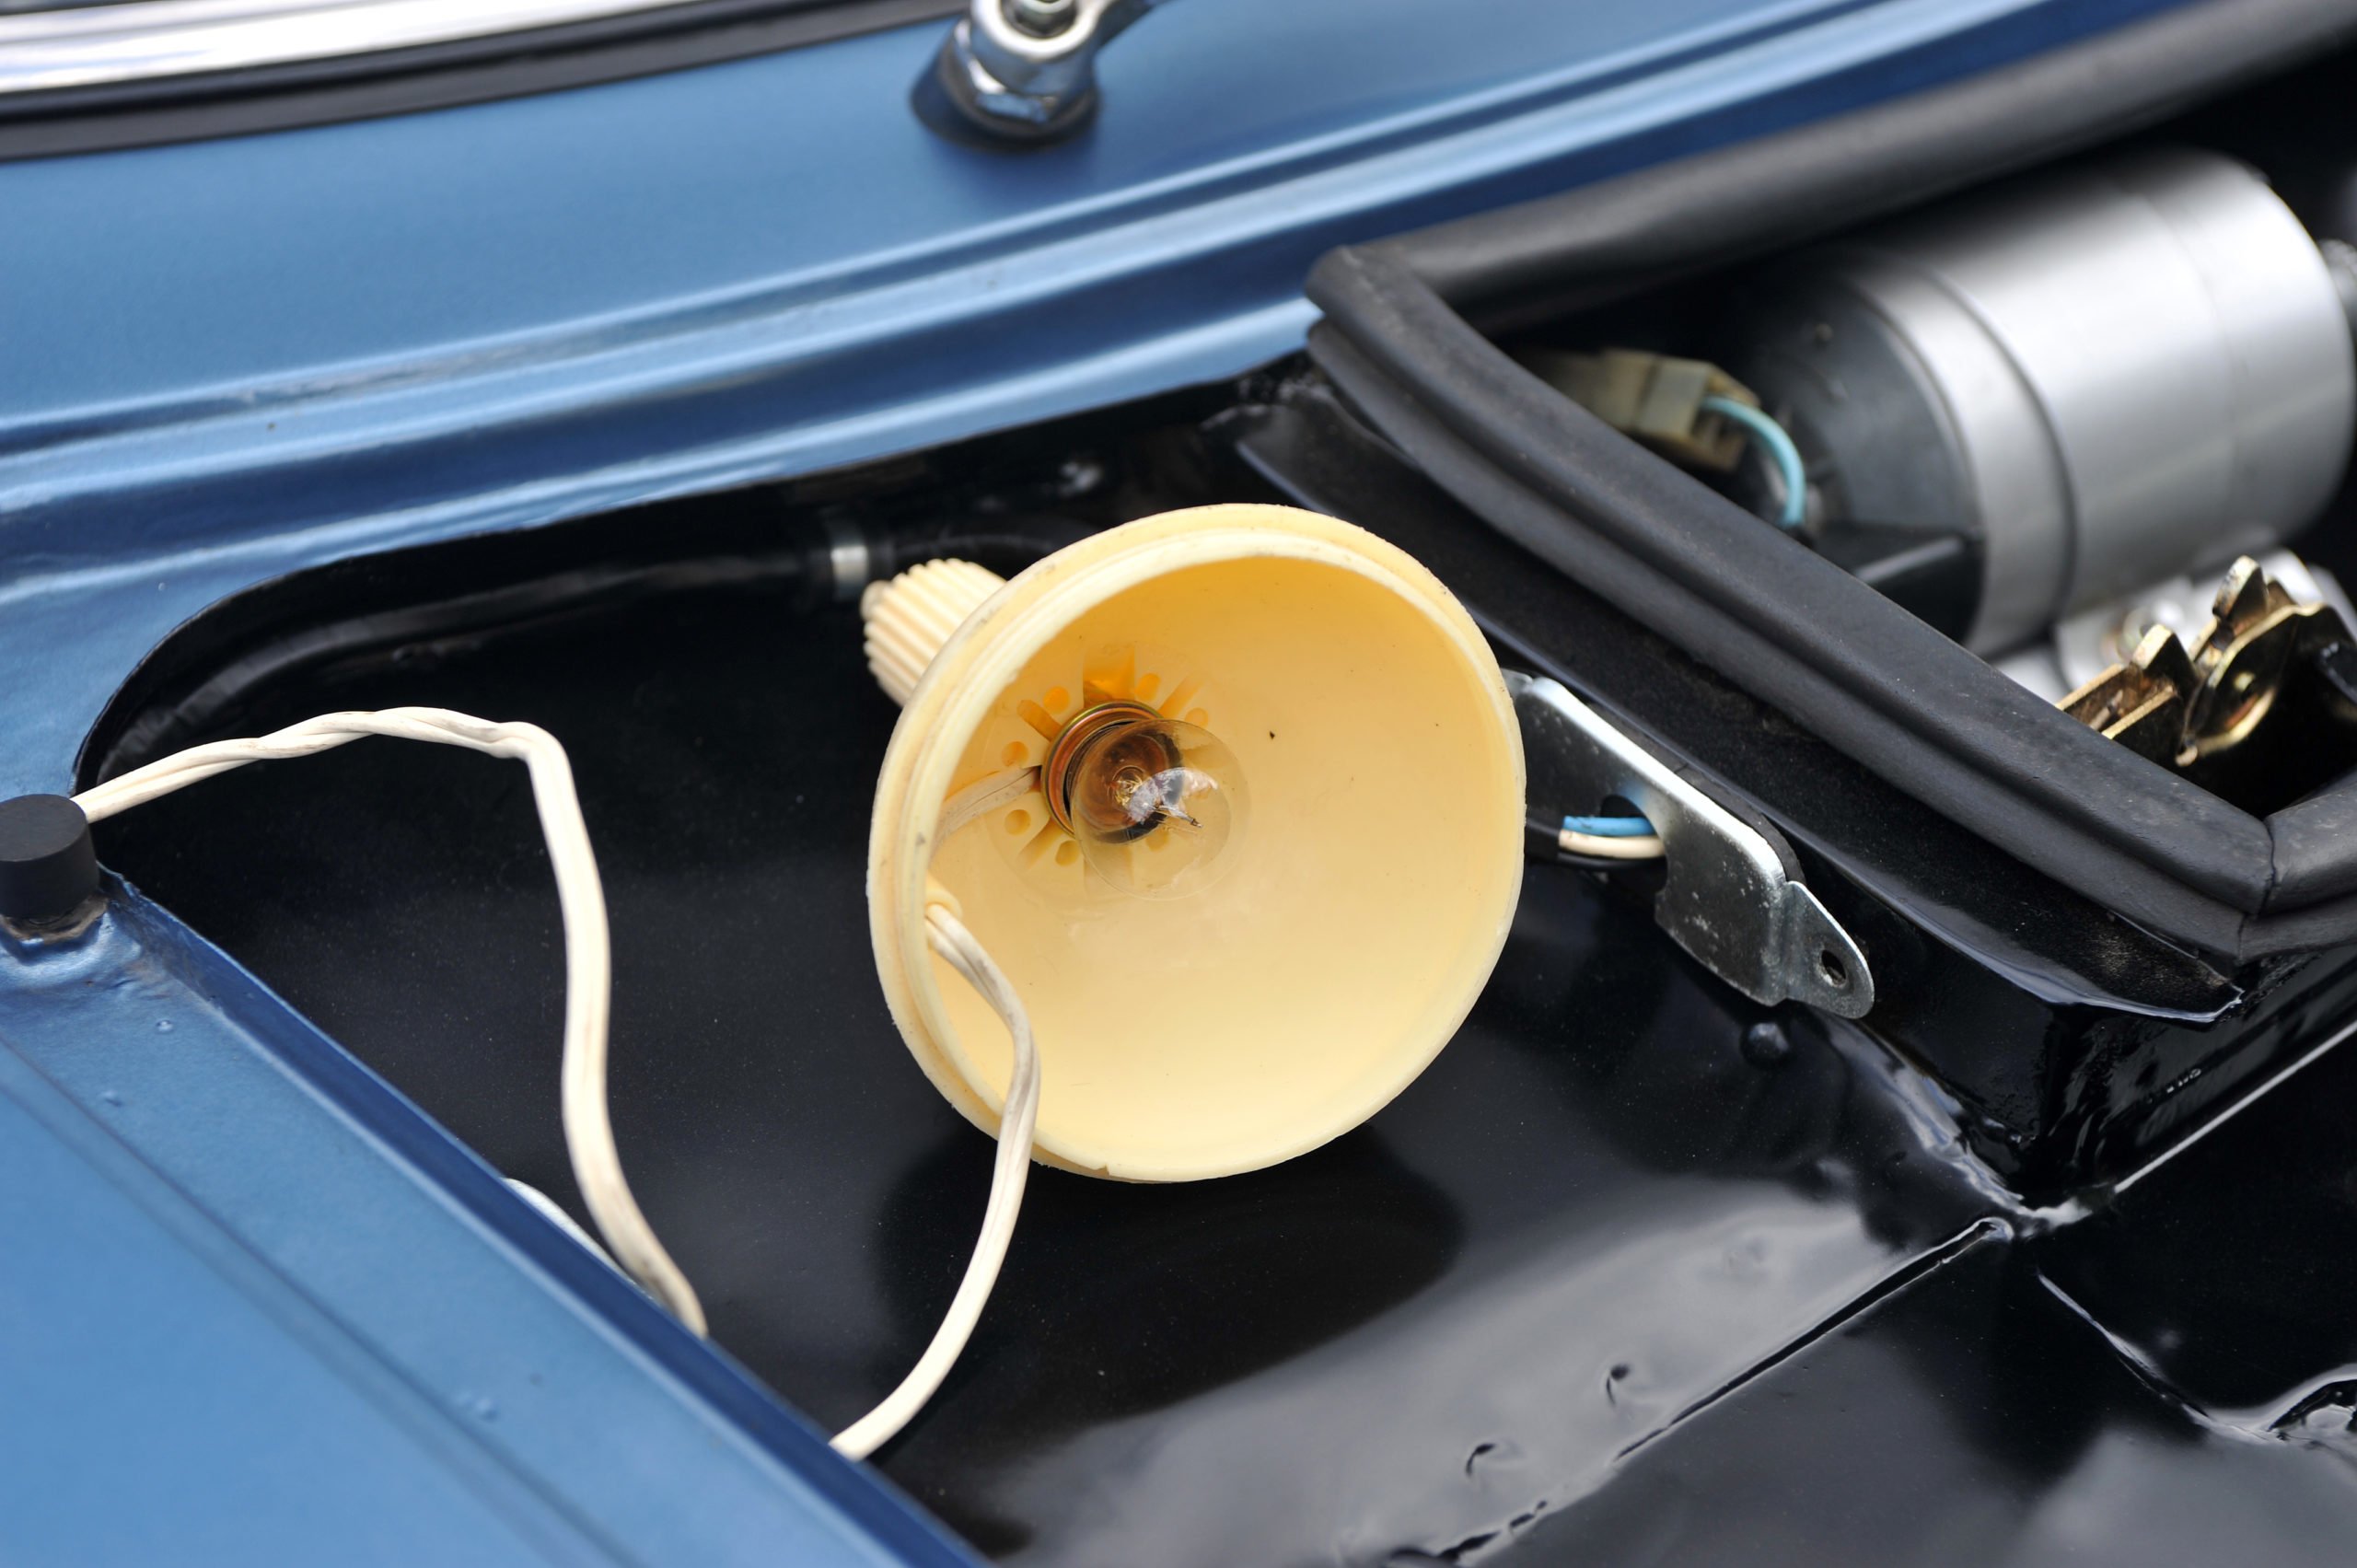
Once back on the floor our attention turned to the interior & exterior fit up. The seats were in very good order having been retrimmed just before her lay up, but the rest of the interior was not quite so good with faded wood work & dial bezels & a couple of small cracks in the dash top. Very carefully the dashboard was removed, followed by all the dials & then the woodwork.
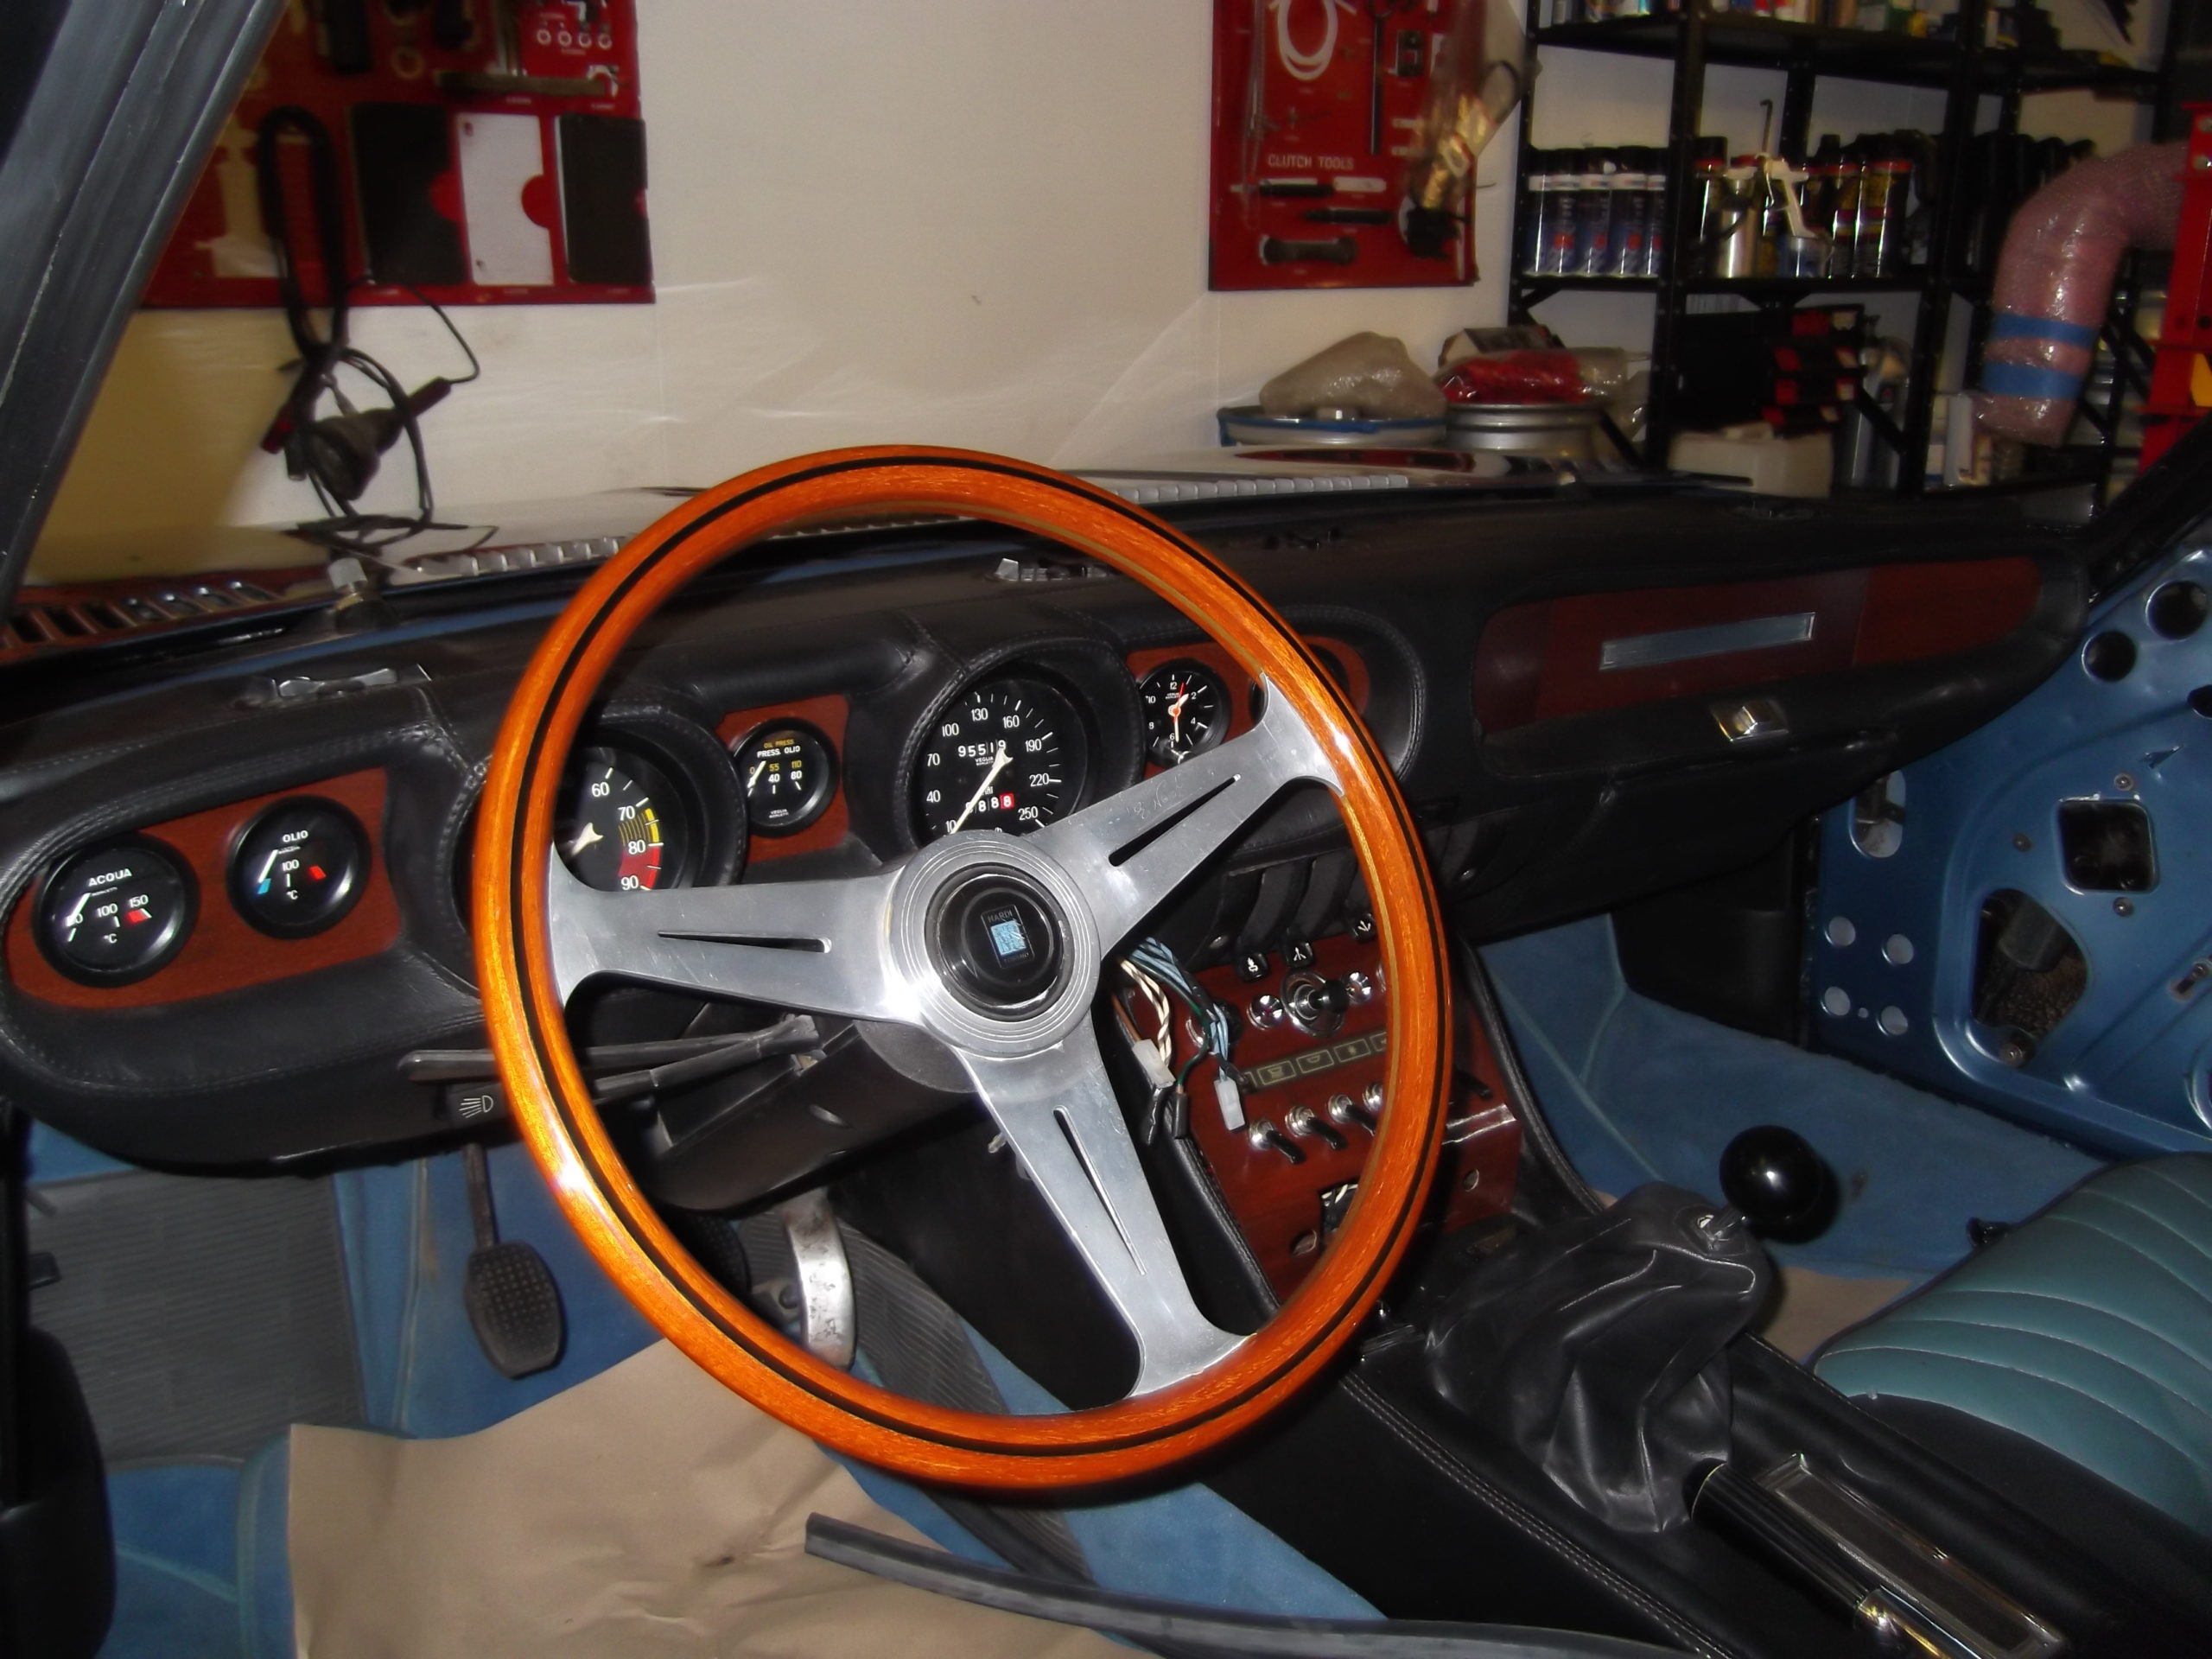
The dash, together with door panels, rear side panels, parcel shelf etc were all retrimmed in black vinyl to match the back & sides of the seats. The wood was carefully stripped back to remove all the faded old varnish. Fortunaltey the rear of the wood panels was in excellent order having never seen the sunlight so we were able to accurately match the finish using a satin yacht stain/varnish.
This was applied in 4 coats with sanding between each to achieve the desired look. After all this it would not have been right to leave the old carpets, so a complete new set were custom made complete with overmats to protect the carpet underneath. Finally, to complete the interior fit up I sourced all new original spec door seals from Italy and fitted these as the originals had perished badly after nearly 50 years of use.


Leave a Reply